Howdy, Stranger!
It looks like you're new here. If you want to get involved, click one of these buttons!
Categories
- 984 All Categories
- 3 Picture Posting and Resizing
- 57 New Member Introductions
- 119 Off-Topic Forum
- 4 Photography
- 2 Resources
- 17 New Product Information
- 168 The SierraWest Forum
- 10 Brett's Blog
- 119 General News & Ramblings
- 3 Re-Release Information
- 6 Q & A about SierraWest
- 9 What Would You Like to See?
- 402 Builds
- 143 HO Scale Builds
- 177 O Scale Builds
- 62 Finished SW Build Pics
- 15 Miscellaneous Builds
- 194 Techniques
- 19 Working with Wood
- 23 Painting Castings
- 5 Masonry
- 23 Scenery
- 37 Tools and Supplies
- 21 Layout Planning & Building
- 40 Miscellaneous
- 24 Prototype Information
- 22 Reference and Research
My first ever Sierra West Scale Kit - Hotel from Main Street
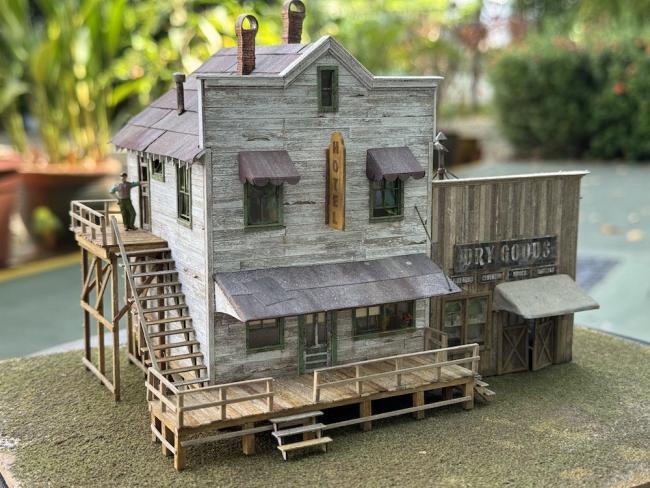
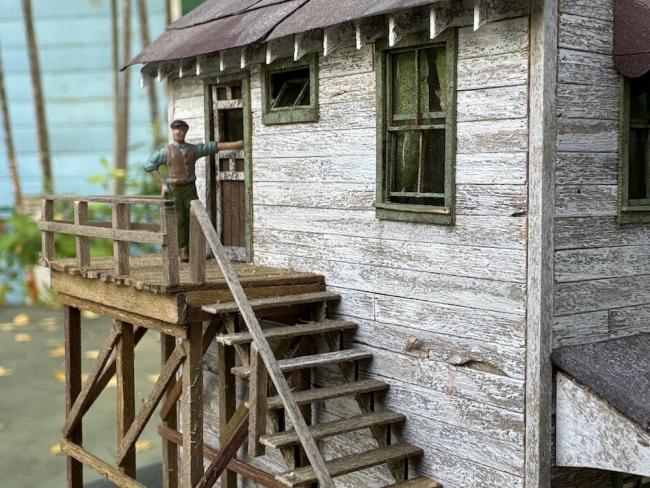
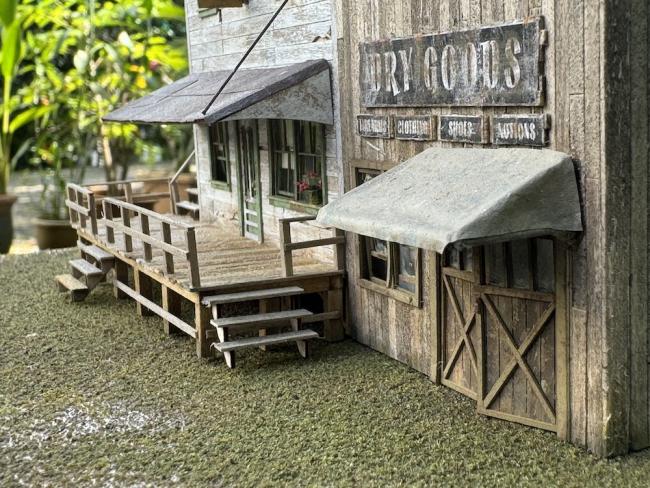
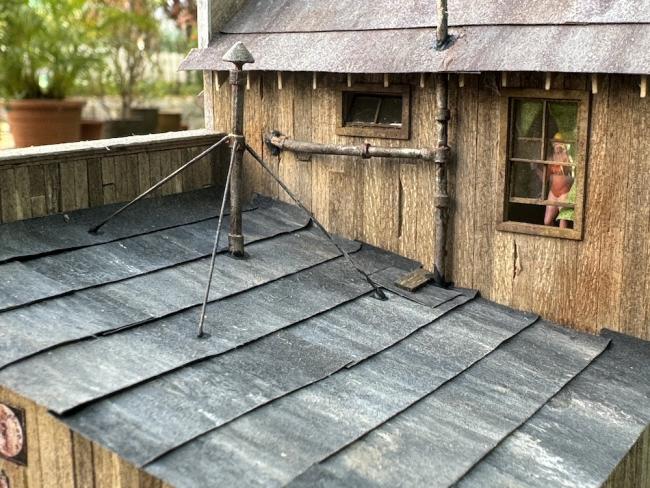
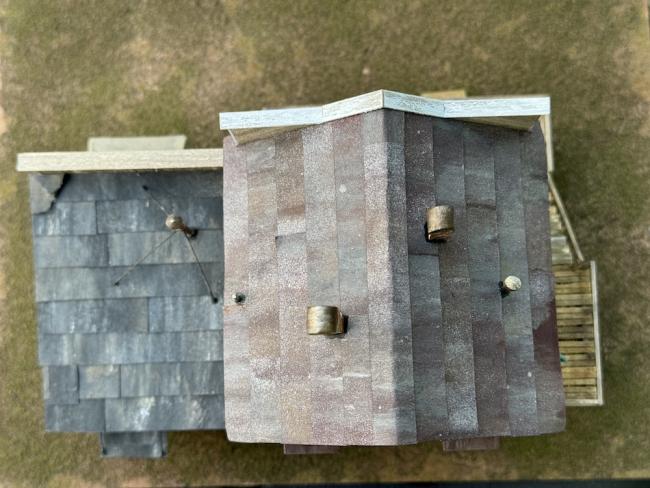
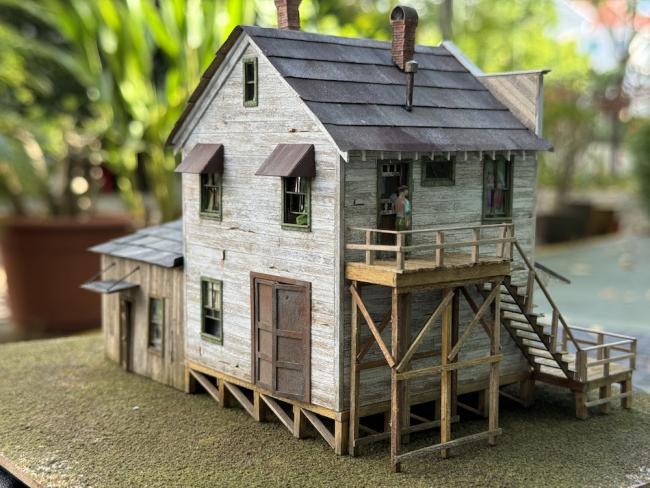
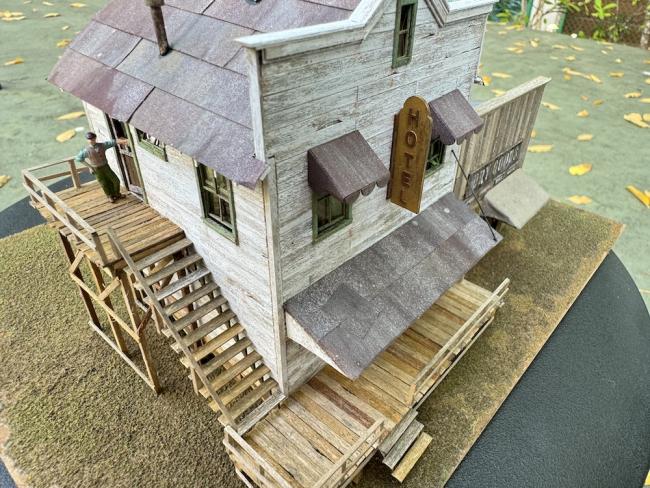
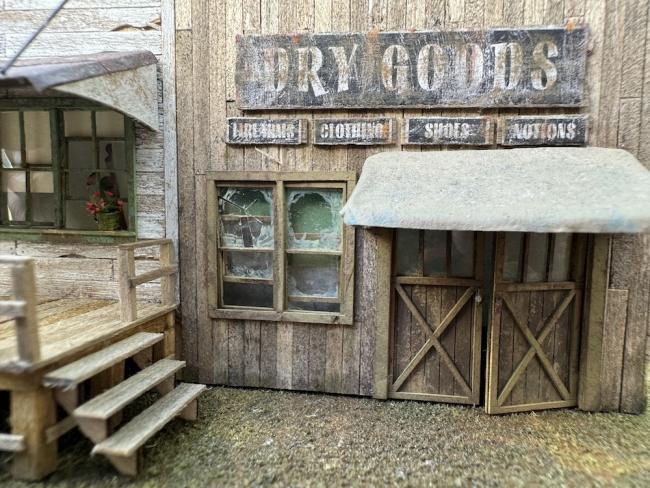
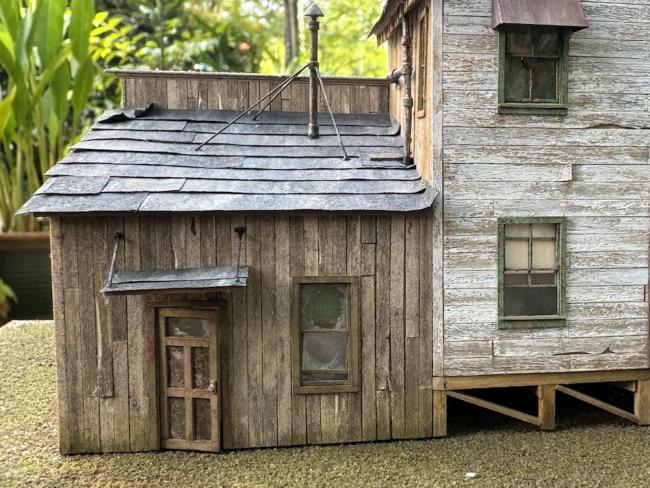
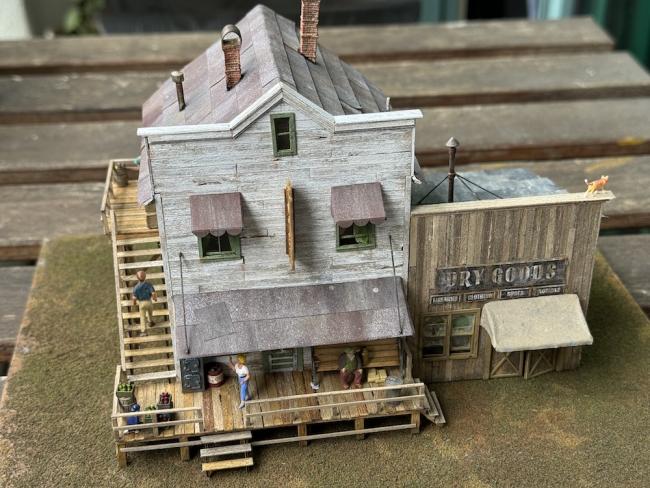
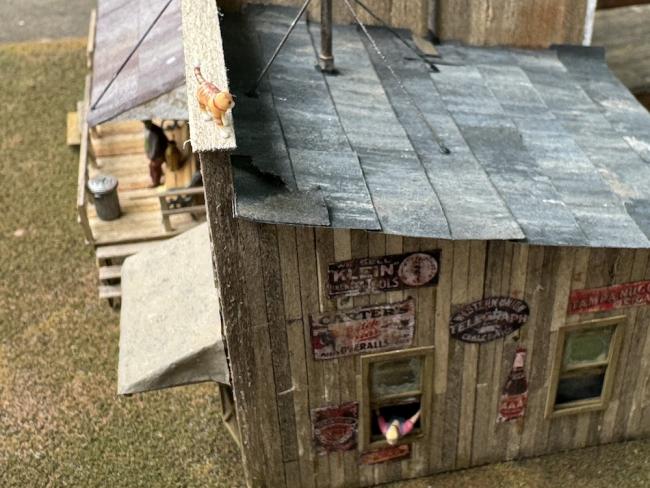
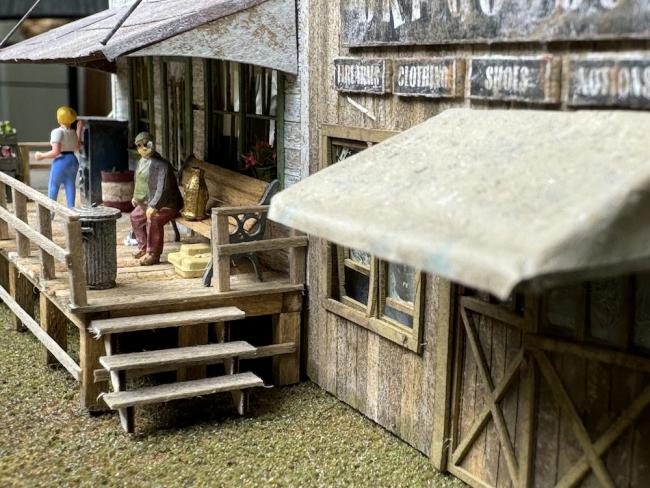
Hi there, I'm sooo excited to share my work in progress of my Main Street build - The Hotel - my first ever Sierra West Scale kit! I've done several other craftsman wood kits from others before but always wanted to build one of these kits but I've had to be patient to order them from eBay or directly from Brett himself.
When I started this build, I really took it upon myself to go through the manual and follow each step - like how I'd be embarking on a graduate course in kit building and weathering. The experience has been very nice but also a little stressful (didn't want to screw things up) and a real learning process.
I took this first building down for a photo shoot on a standard MDF board to take some photos and share with the group.
Gavin (from Singapore!)


Comments
The structures look great and the weathering and textures look just right.
Subtle in some areas and harsh in other areas. Seems like you are getting the feel for this.
Well done indeed.
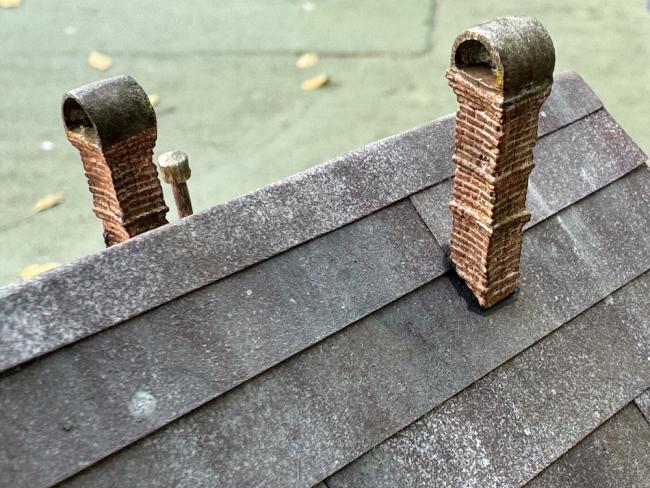
I thoroughly enjoyed myself, testing and learning new things like how to work with resin bricks. After I was almost finished...I had an idea, even though the plans didn't call for an interior - I just wanted to challenge myself and build an interior for this fine structure. This is my FIRST ever attempt so please forgive my amateurism.
After doing this, I decided, well...why not LIGHT it as well...so I did!
Nicely done The interior is great The structure interior and exterior lighting is a definite plus. Your photos are very well done and help tell part of the story of how the structure functions.
Later, Dave S. Tucson, AZ
taking it to the next level with the interior and lighting really makes it stand out.
Great job all around, very nicely done.
This is the 3rd instalment of my Main Street buildings and this time, it is The Yard Office.
Yes it is an easier build but I still tremendously enjoyed learning how to work with the tar paper as walls and how to weather them. I think I did overdo the weathering - almost like from out of a horror movie - but the battens and other details did help bring it back.
I kept re-reading the instructions and am sure I messed up with the corners of the building as it did not have corner posts, I'm not entirely pleased with how my battens didn't overlap nicely (as per the instructions).
Again as you can see, I took my time and decided to create an interior with lights as an addition. It's getting to the stage where these buildings are so nice, I'm starting to feel that it's a waste to not do it. Plus the straightforward roof...to remove and replace...was just too inviting.
Out of the whole structure, I'm quite pleased with my interior makeshift floor which I put together from the leftover wood from the first two structures (another bonus for using Brett's kits!). Took my time with it and really enjoyed the process.
Another thing I tried was bricking up one of the windows. I used Woodland Scenics foam putty for the white cement and actual bricks (cut down to scale) from Warhammer supplies. I think the final effect is "ok".
I took quite a lot of liberties with the casting details too but wanted to simulate real clutter around the building. One thing which still bugs me is the roof. As you can see I've tried my best to add all kinds of stuff to simulate a mess...but ideally I'd like to add some actual scenic material (e.g. dried miniature brown leaves or just actual sand / gravel) to give it "real texture". However in order to do this, I'd need to use some white glue to hold it down and worry about the "stains or darker patches" that would leave on the really nice colour I already have. Any advice is welcome.
Thank you again to everyone for your kind words and support.
As for the roof, some "blown in" debris like leaves would be a nice touch. They would collect around the details. I have taken real leaves and chopped them up into really fine pieces with a single edge razor blade. I have found that leaves that crunch in your hand when you squeeze them chop easier than leaves that only bend when squeezed. I have "piled" them up in areas I want them and taken an eye dropper with water/white glue and put a small drop on the "pile". Any water/glue that spills over can usually be touched up with grey chalk after it dries on a tar paper roof. Another option is to put a small drop of water/glue on the end of a toothpick to place drops on the debris.
I like to add a door to the cabinet to the open section. It adds some more detail. It can easily be made from scrap wood to match the other door on the cabinet. It can be fully opened or partially opened.
The extensive manual itself feels like I've completed a textbook from a course. Learning Brett's ways for how to stain wood, apply individual boards, work with tar paper, choice of chalks...it's all been a very rewarding journey - and a fulfilling one too. Accomplishing a lot of what I had hoped to achieve when I set out. I have been modelling railroads for over two and a half decades, and I have built my share of layouts and buildings. But I feel that building these structures, has really unlocked a new door for me. I have even started too think. Am I a model railroader? A model train collector? Or do I actually enjoy building dioramas the most?
Thanks Brett. And thank you to everyone for your comments and encouragement.
However, there is a small "but" at the end of this series.
The last kit I built from Main Street was the First Aide shed. This was the first "true" / "normal" clapboard kit when compared to the other structures. Yes there was guidance on how to weather and "lift" the boards to create effects but I felt that I was falling back on my old habits. And I'm not sure if all of that was a good thing.
The walls themselves were painted about three times...first a dull grey, then olive green, then white...in addition to staining. I feel "okay" about the outcome but I kinda feel it's been overdone and try as I might, I didn't really get the nail holes or many of the wood effects I had done prior to this process.
I created another interior but to be honest I think I was starting to lose my inspiration and while I wanted to create a "medical" scene, I didn't really have many right items on hand to tell that story...again, I put it down to the lack of creative juice.
I don't wish to end this series on a downer though. I still do very much like the First Aide shed and feel that it definitely has many improvements over my many, many other clapboard kits from other manufacturers. I suppose maybe's Brett's methods, board-on-board, detailed buildings have started to raise the game for me, so I've started to evaluate these buildings and my work on them differently.
And that must be a good thing!
Once again thank you for your kind comments and encouragement.