Howdy, Stranger!
It looks like you're new here. If you want to get involved, click one of these buttons!
Categories
- 981 All Categories
- 3 Picture Posting and Resizing
- 57 New Member Introductions
- 118 Off-Topic Forum
- 4 Photography
- 2 Resources
- 16 New Product Information
- 168 The SierraWest Forum
- 10 Brett's Blog
- 119 General News & Ramblings
- 3 Re-Release Information
- 6 Q & A about SierraWest
- 9 What Would You Like to See?
- 402 Builds
- 143 HO Scale Builds
- 177 O Scale Builds
- 62 Finished SW Build Pics
- 15 Miscellaneous Builds
- 193 Techniques
- 19 Working with Wood
- 22 Painting Castings
- 5 Masonry
- 23 Scenery
- 37 Tools and Supplies
- 21 Layout Planning & Building
- 40 Miscellaneous
- 24 Prototype Information
- 22 Reference and Research
Rust Tuorial
Everybody has their favourite way of creating a rust effect and one of my favourites I learned years ago from one of Brett's kits. I still consider the most important learning tool for fine scale modeling is one of Brett's instruction manuals. Building his kits I've learned dozens of invaluable techniques. This is a weird one and it is so simple and the effect so striking I'm not sure why it os not more popular.
First a coat of flat black paint.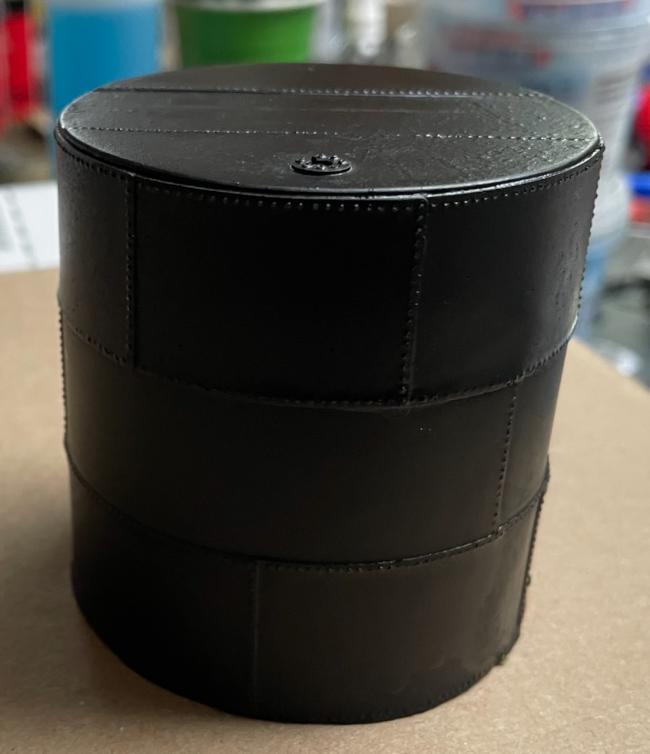
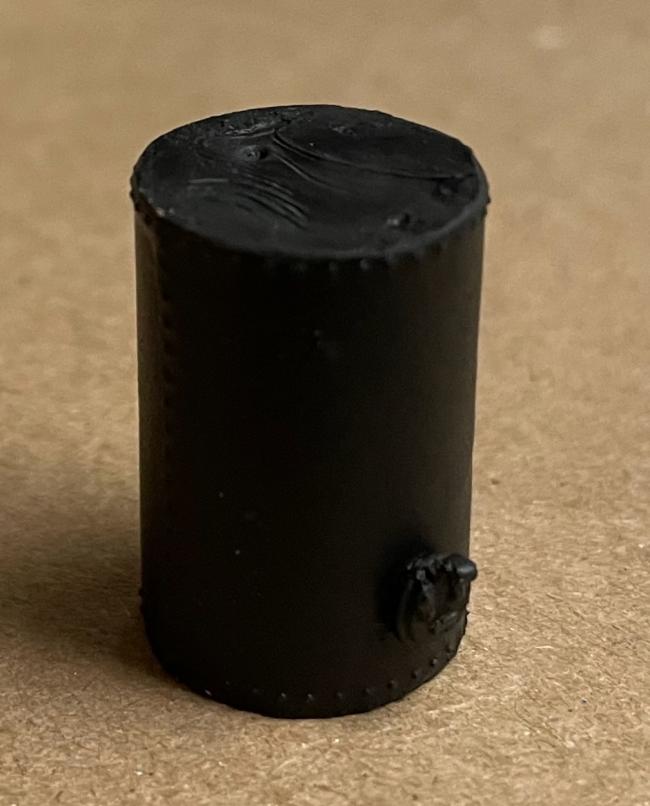
Then I use 70822 - Vallejo Model Color German Camo Black Brown and water it down a bit and slop on a coat. usually I just dip the soft brush in the paint then dip the tip[ into clean water and brush it on. I have tried many "chipping" colours in the past but this by far is the best as an undercoat for chipped paint on metal or for this effect.
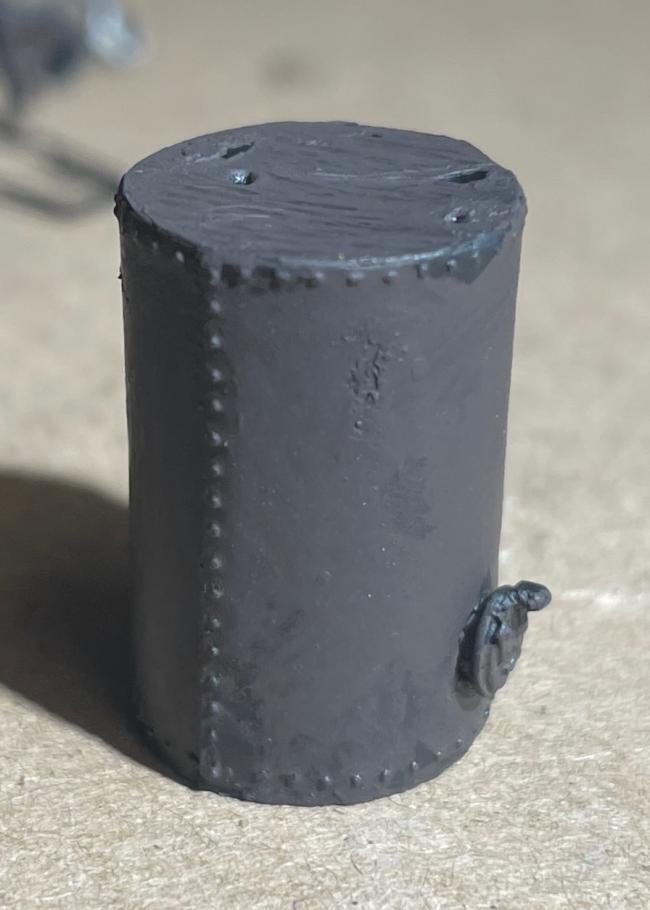
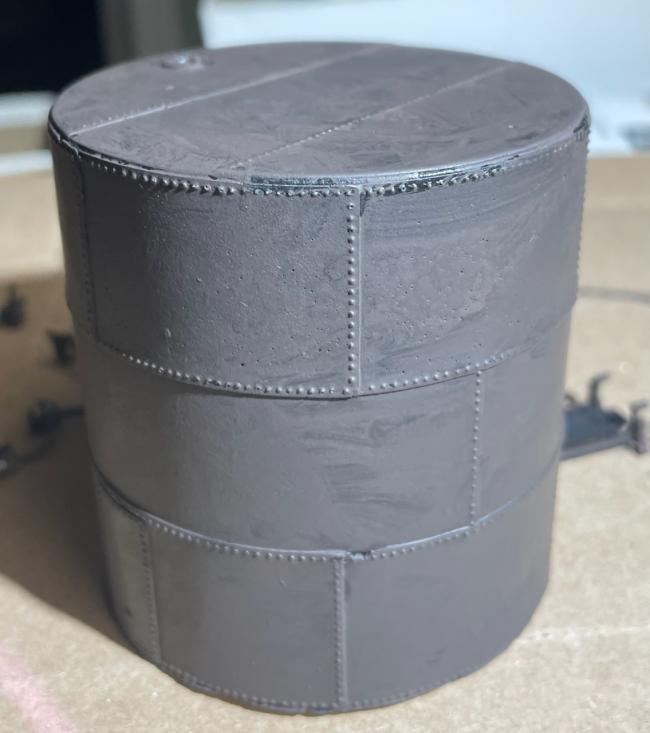
I let this dry for at least 10 minutes.
Now onto the magic. I use Water Mixable oil paint Burnt Umber which is a nice dark brown.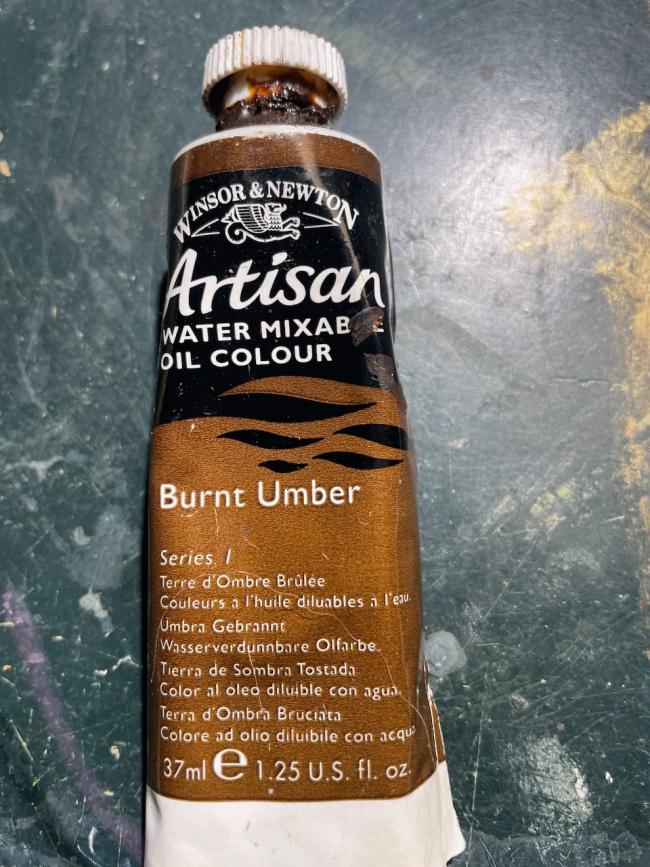
I wear gloves at this point to avoid some mess and more importantly fingerprints
Just a small amt works for multiple casting. I use a small 1-0 or 2-0 brush. An old one is best - this one cost 50 cents when it was new two years ago. I dab on the oil paint (not brushed just dabbed on corners and seams and random spots) I typically cover 5-10% of the surface, sometimes less.
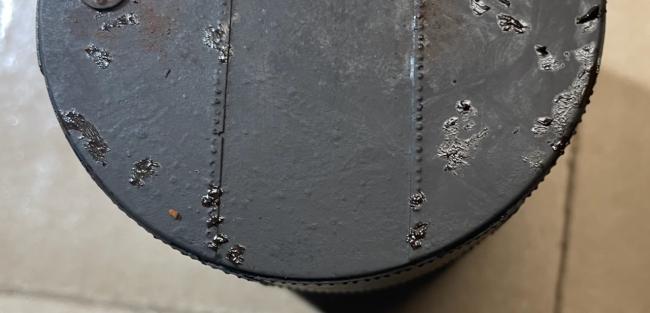
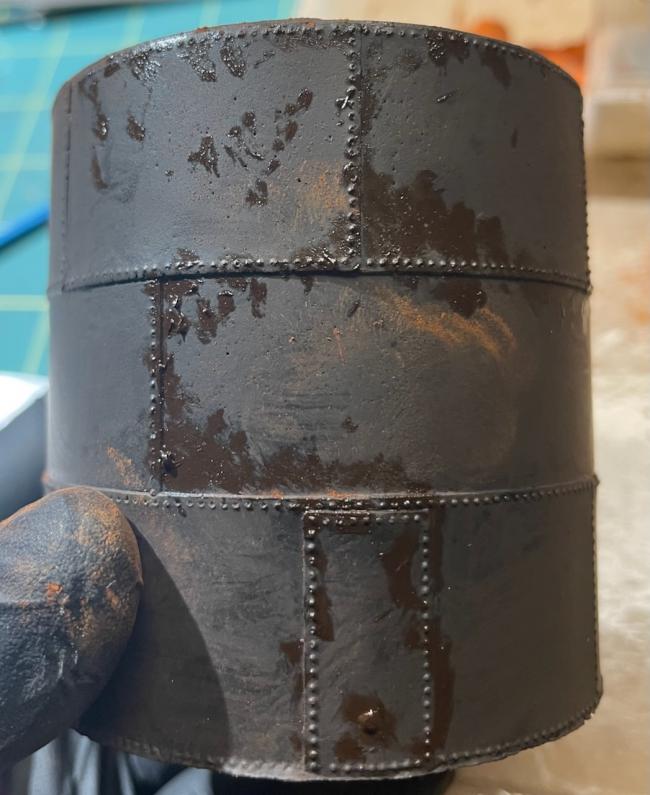
Now I pick up my special tool for applying chalk. The worst brush I can find in my collection:
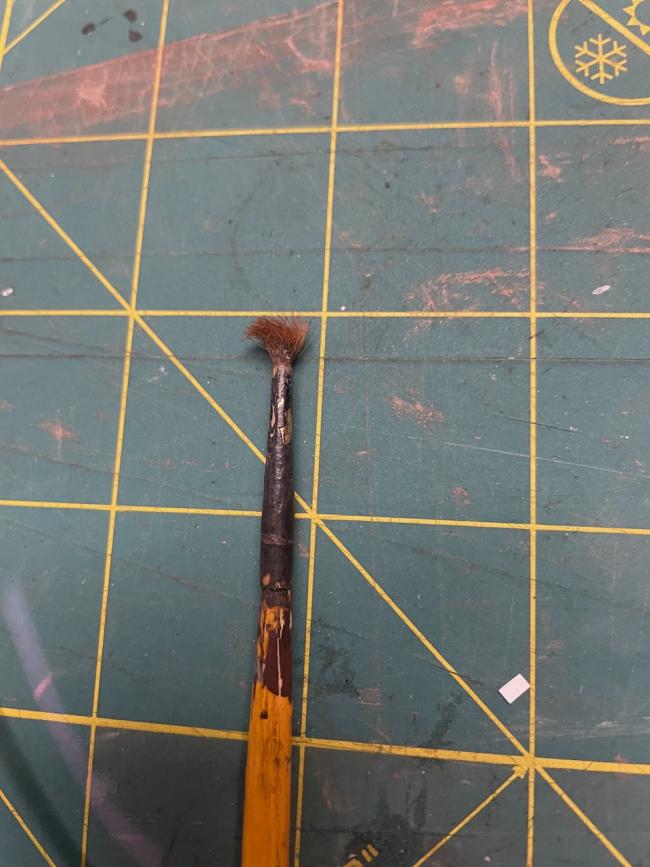
I dip this in various shades of chalk scrapings and blot it all over the surface. I typically start with the darker shades and then only a spot or two of each of the lighter shades.
My go to dark shades are409.5 411.5 and my fave is 370.3
Light shades are 411.7 and 231.5
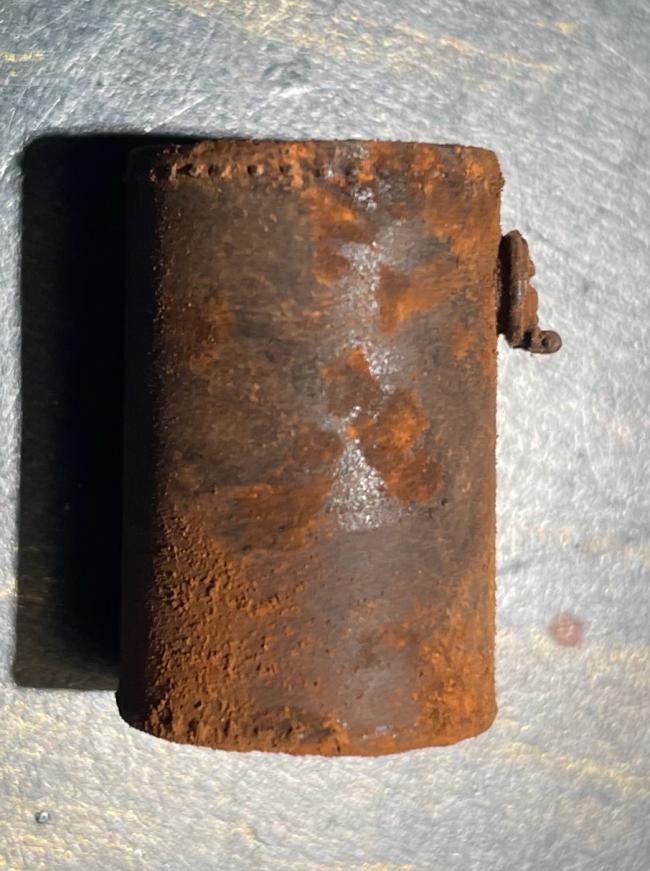
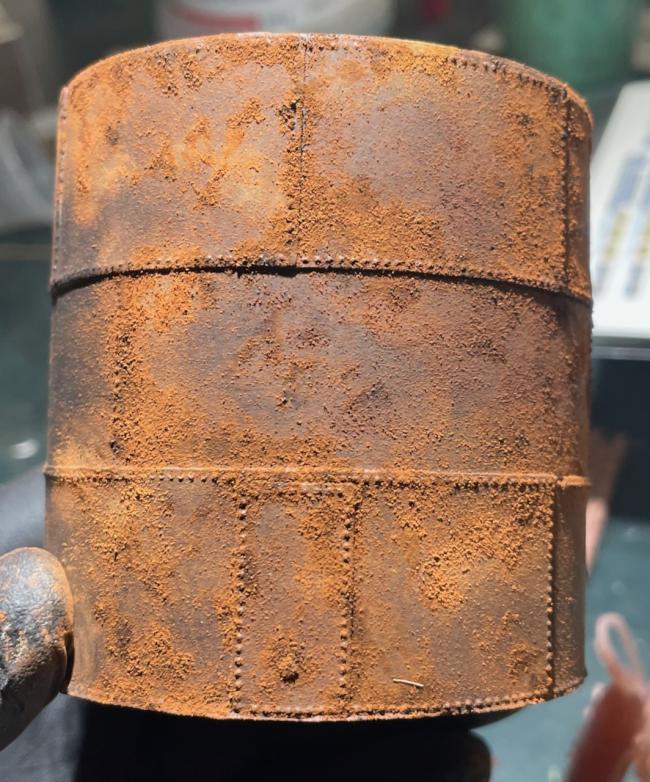
Now the hardest part of this technique - you have to leave these to dry for a few days before touching them. i usually leave them for a week to make sure. This is really annoying when I rust up some styrene strips and find I need an extra to complete a model (see my Sand Car build) but I like the effect and have enough projects on the go.
Most of the time I just dust off the excess chalk after the oil paint dries. Some times I dust on a bit of dullcote for a mottled effect. If I decide to do this I place the casting on the ground and then keeping the spray can around 6' (yes that's six feet) above the casting I spray for a 1 second burst and then wait for the dullcoat to settle on the casting. I repeat 3-4 times per side until I get the effect I want. If you spray it directly on the casting it dissolves the chalk and washes most of the effect away.
First a coat of flat black paint.


Then I use 70822 - Vallejo Model Color German Camo Black Brown and water it down a bit and slop on a coat. usually I just dip the soft brush in the paint then dip the tip[ into clean water and brush it on. I have tried many "chipping" colours in the past but this by far is the best as an undercoat for chipped paint on metal or for this effect.


I let this dry for at least 10 minutes.
Now onto the magic. I use Water Mixable oil paint Burnt Umber which is a nice dark brown.

I wear gloves at this point to avoid some mess and more importantly fingerprints
Just a small amt works for multiple casting. I use a small 1-0 or 2-0 brush. An old one is best - this one cost 50 cents when it was new two years ago. I dab on the oil paint (not brushed just dabbed on corners and seams and random spots) I typically cover 5-10% of the surface, sometimes less.


Now I pick up my special tool for applying chalk. The worst brush I can find in my collection:

I dip this in various shades of chalk scrapings and blot it all over the surface. I typically start with the darker shades and then only a spot or two of each of the lighter shades.
My go to dark shades are409.5 411.5 and my fave is 370.3
Light shades are 411.7 and 231.5


Now the hardest part of this technique - you have to leave these to dry for a few days before touching them. i usually leave them for a week to make sure. This is really annoying when I rust up some styrene strips and find I need an extra to complete a model (see my Sand Car build) but I like the effect and have enough projects on the go.
Most of the time I just dust off the excess chalk after the oil paint dries. Some times I dust on a bit of dullcote for a mottled effect. If I decide to do this I place the casting on the ground and then keeping the spray can around 6' (yes that's six feet) above the casting I spray for a 1 second burst and then wait for the dullcoat to settle on the casting. I repeat 3-4 times per side until I get the effect I want. If you spray it directly on the casting it dissolves the chalk and washes most of the effect away.

Comments
Thanks for sharing.
terry