Howdy, Stranger!
It looks like you're new here. If you want to get involved, click one of these buttons!
Categories
- 981 All Categories
- 3 Picture Posting and Resizing
- 57 New Member Introductions
- 118 Off-Topic Forum
- 4 Photography
- 2 Resources
- 16 New Product Information
- 168 The SierraWest Forum
- 10 Brett's Blog
- 119 General News & Ramblings
- 3 Re-Release Information
- 6 Q & A about SierraWest
- 9 What Would You Like to See?
- 402 Builds
- 143 HO Scale Builds
- 177 O Scale Builds
- 62 Finished SW Build Pics
- 15 Miscellaneous Builds
- 193 Techniques
- 19 Working with Wood
- 22 Painting Castings
- 5 Masonry
- 23 Scenery
- 37 Tools and Supplies
- 21 Layout Planning & Building
- 40 Miscellaneous
- 24 Prototype Information
- 22 Reference and Research
Bob's O Scale Sawmill
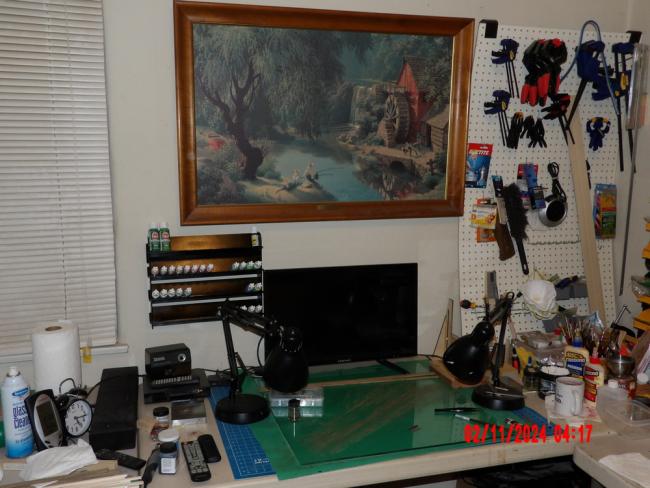
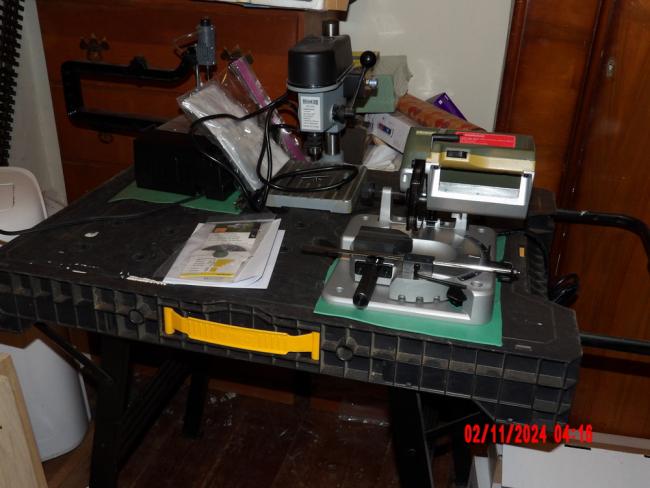
I now have all three Parts of the sawmill kit. I gathered many supplies while waiting, including the chalk sticks, some AK Interactive paints, two pieces of 1/4" thick glass, and a powered miter saw (which has been on the wish list for quite a while). Here is the incredibly messy hobby room:


I have seen here that not everyone uses glass as a work surface, but now that I have it I will use it. I do like glass as a surface for staining, but will probable stick with a cutting mat for cutting. I also bought a piece large enough to accommodate the largest templates, which may not have been necessary, but certainly will do no harm. The beams will be taped to the template with double-sided tape as described in the manual. The green material under the glass in pictures above is an underlayment for a laminate floor, and prevents any movement of the glass. It is also used as a vibration isolator under the machines. I love it.
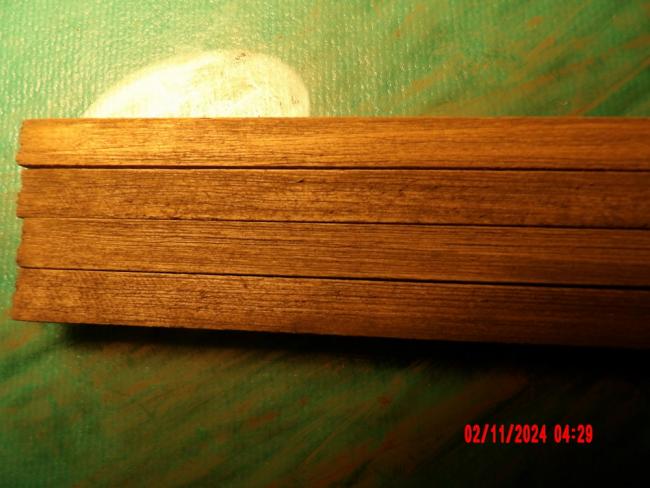
I started by graining the wood beams and joist material with a plumber's brush as called for in the manual:

Looked good to me but I lost some of the grain definition trying to clean up the fuzzies. Given that much of this material will not be seen, I am accepting the results and may treat select visible portions more, including knots, etc., as individual pieces are added.
Regarding wood-to-wood gluing: I assume that any chalk, stain, etc. should be removed from a glued area prior to gluing. Certainly that's what I'd do with paint. Correct?

Enough for now. . .
bob
I have seen here that not everyone uses glass as a work surface, but now that I have it I will use it. I do like glass as a surface for staining, but will probable stick with a cutting mat for cutting. I also bought a piece large enough to accommodate the largest templates, which may not have been necessary, but certainly will do no harm. The beams will be taped to the template with double-sided tape as described in the manual. The green material under the glass in pictures above is an underlayment for a laminate floor, and prevents any movement of the glass. It is also used as a vibration isolator under the machines. I love it.
I started by graining the wood beams and joist material with a plumber's brush as called for in the manual:
Looked good to me but I lost some of the grain definition trying to clean up the fuzzies. Given that much of this material will not be seen, I am accepting the results and may treat select visible portions more, including knots, etc., as individual pieces are added.
Regarding wood-to-wood gluing: I assume that any chalk, stain, etc. should be removed from a glued area prior to gluing. Certainly that's what I'd do with paint. Correct?
Enough for now. . .
bob

Comments
I will hit the wood a little bit harder in the future.
Also, in retrospect, I think that overbrushing the chalk with the alcohol results in a overly homogenous coloring. I used 3 shades of umber, but there is not much distinction left after brushing. I need to quit a little earlier. It's good to get these lessons out of the way early, and with the support structure, rather than with the floors and walls.
Onward!
terry
Ken has some great insight for you. Over grain with the expectance on loosing some definition while defuzzing.
On very visible areas I also go back and re'add some grain with a finer brush, to clean out what is there and also add a second or third level of detail.
Like Ken, I never clean off the chalk from glueing areas... there is no need and it has no effect, I have glued thousands of chalked pieces of wood together and never had an issue, everything is solid.
Learning the various uses of the chalk effects/colouring is something you will get used to and how the variations work, it will click very quickly and you will love all of the things you can do very easily... practice and play, it will come quickly.
I can't wait to see your next progress pics as the build comes together.
Jerry
There are many other people on YouTube doing similar videos , some better than others, but if you spend time sifting through some of them you should get a pretty good grounding on how to go about producing decent scenery. However, most of them are working on layouts rather than dioramas so some of the equipment they use might not work on smaller projects . I am mainly thinking of static grass applicators here.
See you back here in a few weeks time when you have viewed a few dozen videos on scenery and are sick of the sight of them !