Howdy, Stranger!
It looks like you're new here. If you want to get involved, click one of these buttons!
Categories
- 991 All Categories
- 3 Picture Posting and Resizing
- 60 New Member Introductions
- 118 Off-Topic Forum
- 2 Photography
- 2 Resources
- 18 New Product Information
- 170 The SierraWest Forum
- 12 Brett's Blog
- 120 General News & Ramblings
- 3 Re-Release Information
- 6 Q & A about SierraWest
- 9 What Would You Like to See?
- 408 Builds
- 146 HO Scale Builds
- 183 O Scale Builds
- 58 Finished SW Build Pics
- 15 Miscellaneous Builds
- 194 Techniques
- 19 Working with Wood
- 23 Painting Castings
- 4 Masonry
- 23 Scenery
- 37 Tools and Supplies
- 22 Layout Planning & Building
- 40 Miscellaneous
- 20 Prototype Information
- 19 Reference and Research
ALCO's Shipyard at Foss' Landing
When we last discussed Ant'ny Foss' history at the landing that bears his name, he had built an empire servicing the fishermen and weekenders nearby. Now we take a look at his shipbuilding venture just around the bend. We start with a couple of pics to give you an overview of his endeavors. In the first pic, we see the ship's chandlery across the lane from the main shipyard. The sawmill cuts lumber to size and steams it to make it sufficiently pliable. In the background, the large building houses the office and workshop. The second picture shows that a warehouse (with rusty steel doors) and Yard Master's office are connected to the workshop. 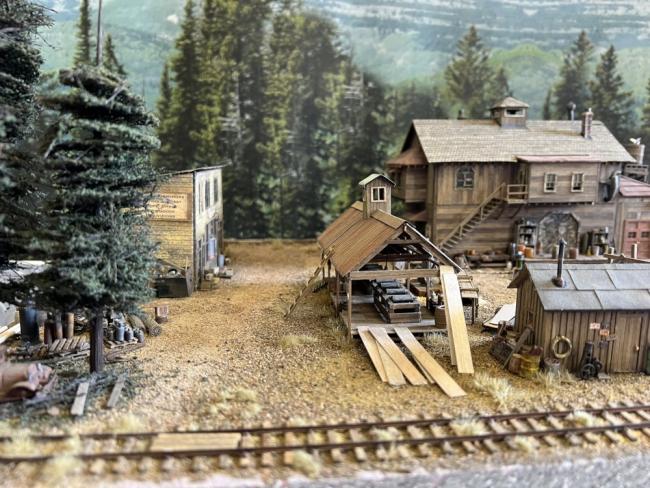
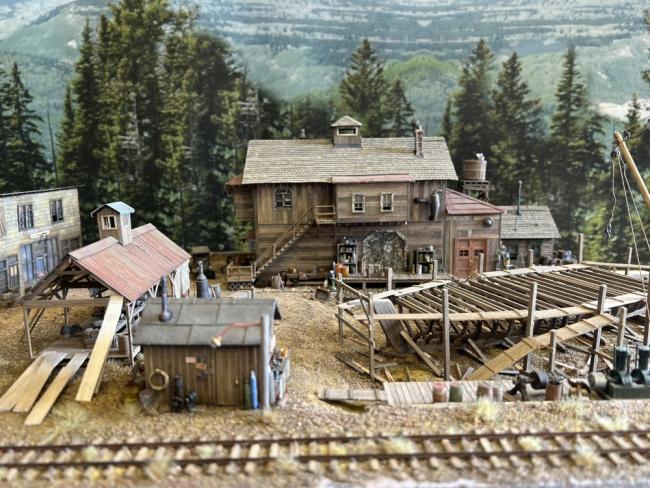
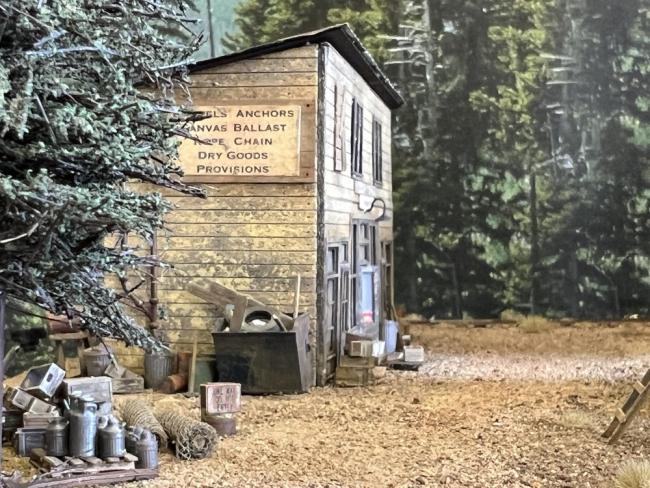
Below, we see the ship chandlery and its storage yard. [This structure is scratch built]. After that, you see the roof of the sawmill. Since the chandlery roof is done with PCB Etchant, I decided to go with the green rust approach introduced by "Bill" and available under the Techniques folder on this forum. Other than a grey spray can primer coat, the rest is done with acrylics. First of all, I washed the roofing with alcohol to enhance the adherence of the primer. Then I painted the roofing with a suitable light green paint. Then I used rust colored paints. I painted the ribs and the bottom edge with dark rust and then I put dots here and there of light rust. Then I applied the secret sauce. I use the same container for alcohol when I'm using chalks. So, over time, a dark chalk sediment settles to the bottom. I use a brush that will hold a good bit of alcohol, sweep the bottom of the container to pick up a lot of chalk, and let this mixture drip/dribble down the length of the roofing. This dissolves the light rust dots and makes them look realistic and run down along with the dark chalk residue.

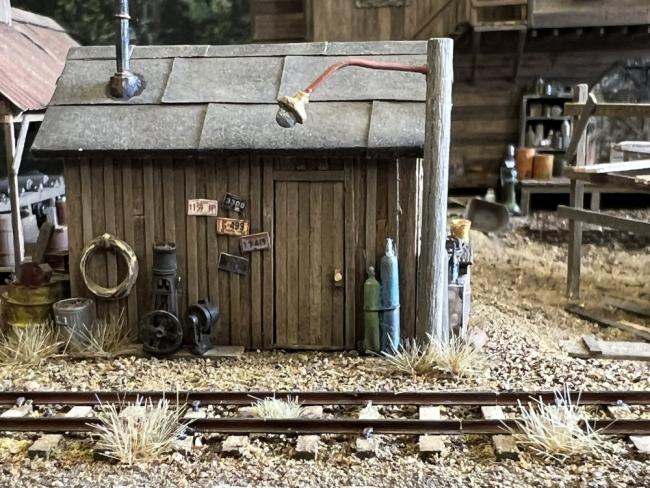
Next, here's a storage shed with a small bench on the end of the building to save the workers from having to go back inside the large building. After that, there's a shot of the ship being constructed, the railroad track to get deliveries up close, and the entire building in the background.
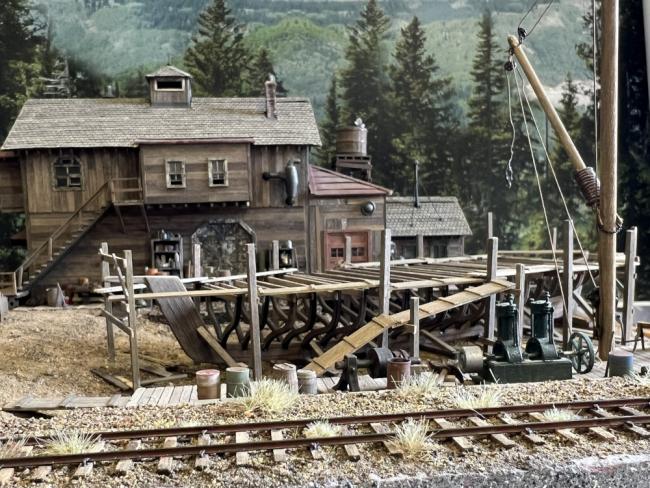
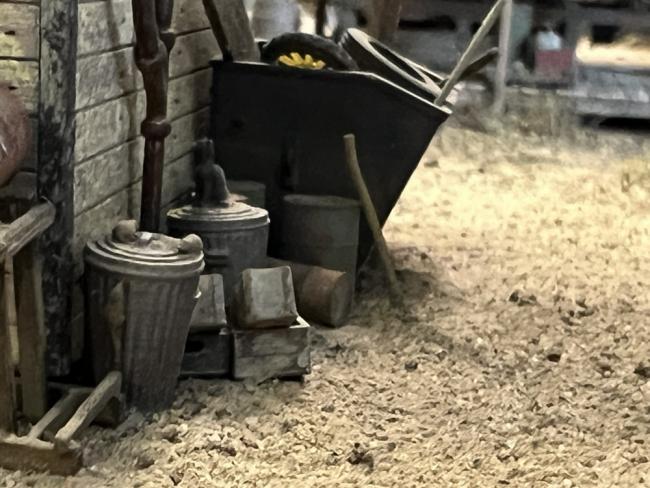
Here, you see the steam box in the left corner, and a 3DP wheelbarrow and manual drill (the drill is located on the corner of the warehouse.

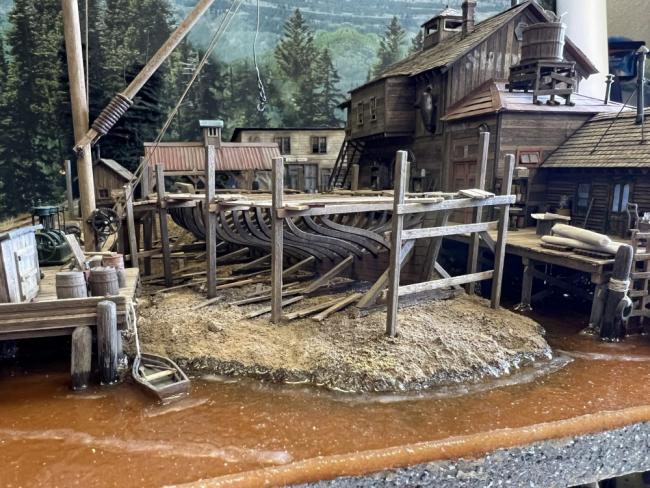
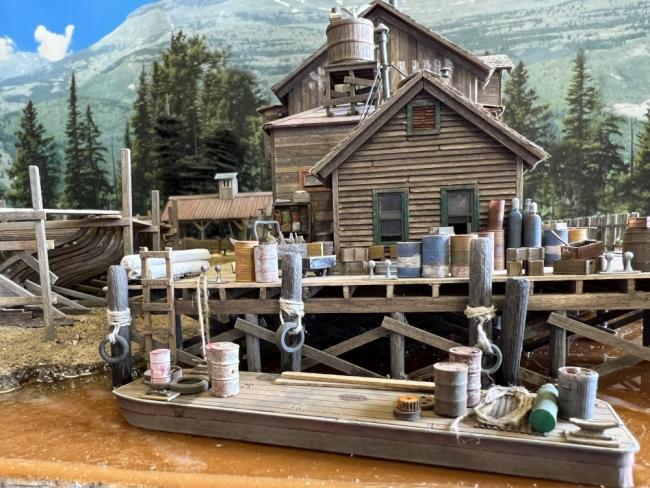
Here's an interesting shot of the ship under construction and a rowboat. Gives a feel for the size of things. After that, is a shot of the end of the Yardmaster's office and a small work barge that's tied up.
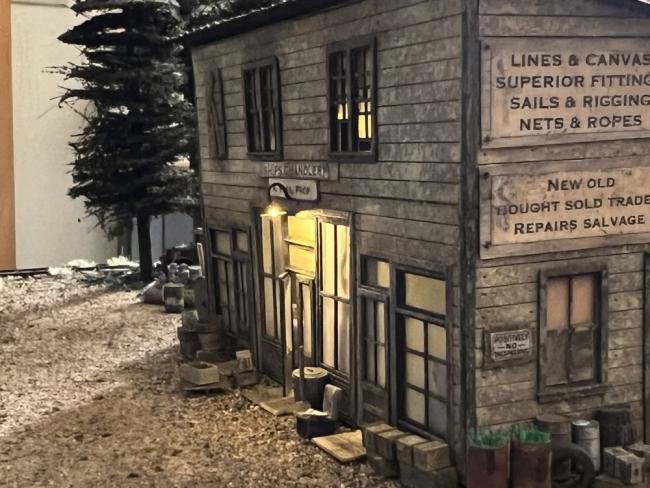
Now we're on the opposite side of the lane from before. The truck's hood is open and there's a bottle of oil sitting on the running board ready to be poured in. You can also see the chandlery has a wall of windows and doors on the first floor. The next few pics take you around the chandlery.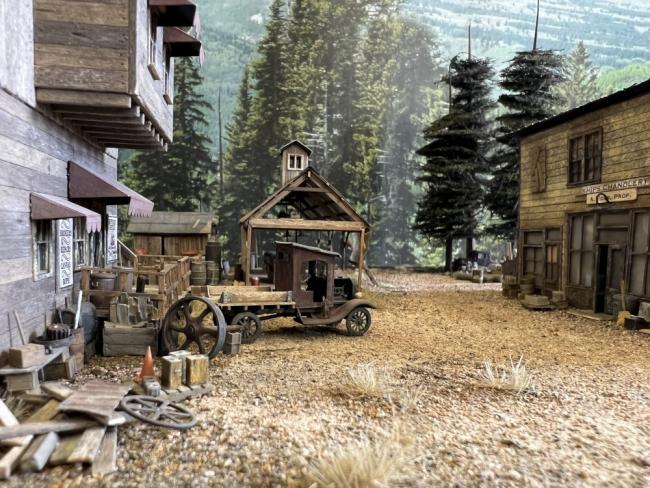
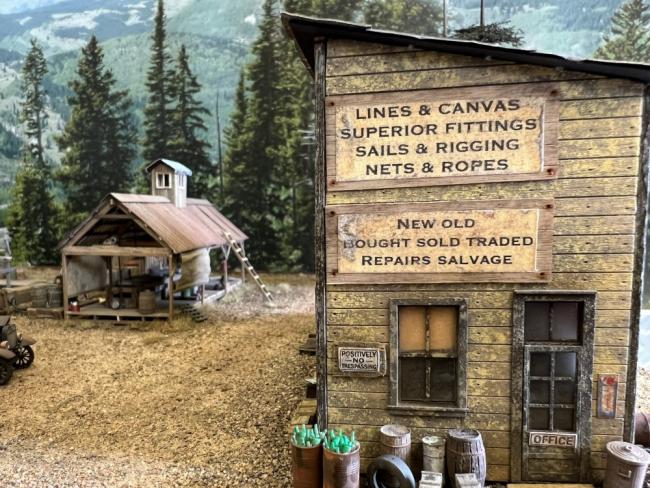
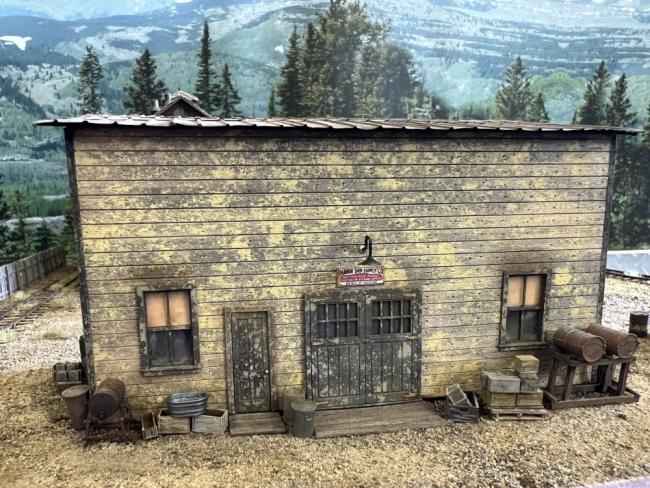
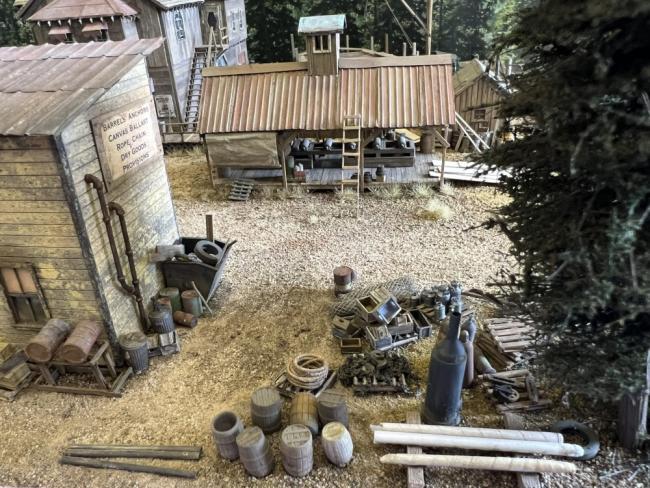
This is my first dio with lighting. The front, back, and inside are lit.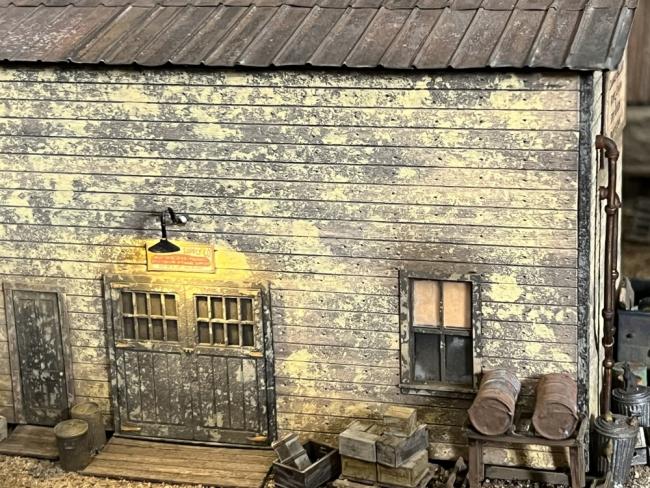
Final pic: A closeup of a cat spying something climbing up the wall or pipe and 3 pack rats. The cat needs to get to work! Hope everyone enjoys the pictures.
Below, we see the ship chandlery and its storage yard. [This structure is scratch built]. After that, you see the roof of the sawmill. Since the chandlery roof is done with PCB Etchant, I decided to go with the green rust approach introduced by "Bill" and available under the Techniques folder on this forum. Other than a grey spray can primer coat, the rest is done with acrylics. First of all, I washed the roofing with alcohol to enhance the adherence of the primer. Then I painted the roofing with a suitable light green paint. Then I used rust colored paints. I painted the ribs and the bottom edge with dark rust and then I put dots here and there of light rust. Then I applied the secret sauce. I use the same container for alcohol when I'm using chalks. So, over time, a dark chalk sediment settles to the bottom. I use a brush that will hold a good bit of alcohol, sweep the bottom of the container to pick up a lot of chalk, and let this mixture drip/dribble down the length of the roofing. This dissolves the light rust dots and makes them look realistic and run down along with the dark chalk residue.
Next, here's a storage shed with a small bench on the end of the building to save the workers from having to go back inside the large building. After that, there's a shot of the ship being constructed, the railroad track to get deliveries up close, and the entire building in the background.
Here, you see the steam box in the left corner, and a 3DP wheelbarrow and manual drill (the drill is located on the corner of the warehouse.
Here's an interesting shot of the ship under construction and a rowboat. Gives a feel for the size of things. After that, is a shot of the end of the Yardmaster's office and a small work barge that's tied up.
Now we're on the opposite side of the lane from before. The truck's hood is open and there's a bottle of oil sitting on the running board ready to be poured in. You can also see the chandlery has a wall of windows and doors on the first floor. The next few pics take you around the chandlery.
This is my first dio with lighting. The front, back, and inside are lit.
Final pic: A closeup of a cat spying something climbing up the wall or pipe and 3 pack rats. The cat needs to get to work! Hope everyone enjoys the pictures.


Comments
I will need to go back and enjoy these photos a few more times.
So well done.
Jerry
Fantastic job on this build.
George