Howdy, Stranger!
It looks like you're new here. If you want to get involved, click one of these buttons!
Categories
- 954 All Categories
- 3 Picture Posting and Resizing
- 60 New Member Introductions
- 100 Off-Topic Forum
- 2 Photography
- 2 Resources
- 18 New Product Information
- 164 The SierraWest Forum
- 11 Brett's Blog
- 120 General News & Ramblings
- 3 Re-Release Information
- 1 Q & A about SierraWest
- 9 What Would You Like to See?
- 405 Builds
- 145 HO Scale Builds
- 185 O Scale Builds
- 58 Finished SW Build Pics
- 11 Miscellaneous Builds
- 185 Techniques
- 19 Working with Wood
- 23 Painting Castings
- 4 Masonry
- 16 Scenery
- 37 Tools and Supplies
- 22 Layout Planning & Building
- 38 Miscellaneous
- 19 Prototype Information
- 18 Reference and Research
Main Street
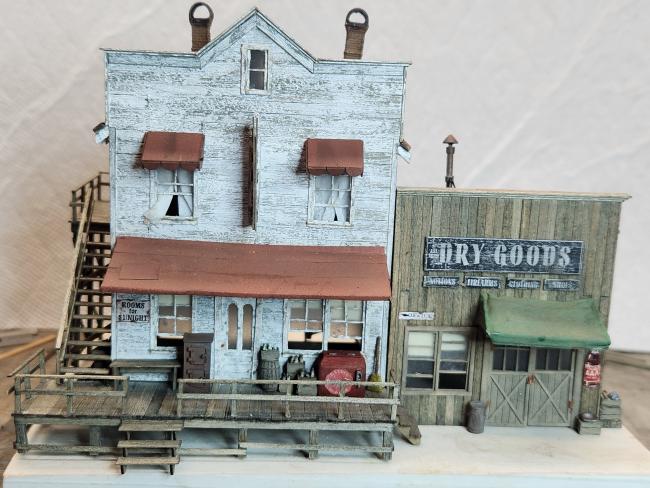
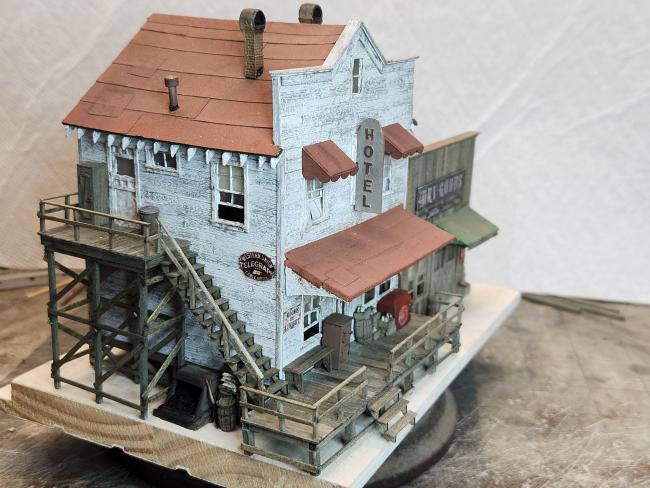
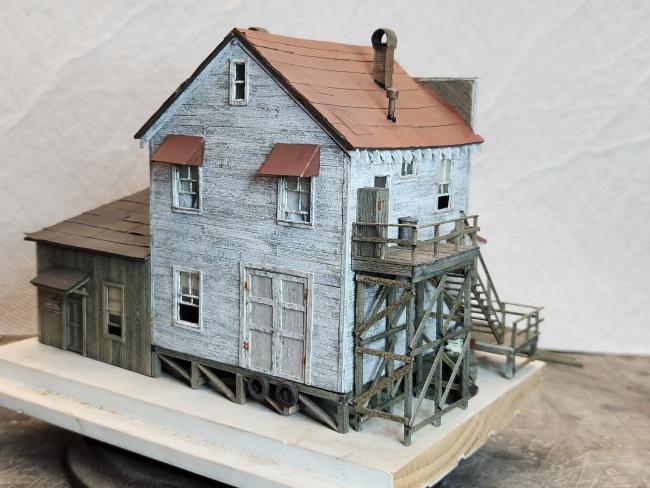
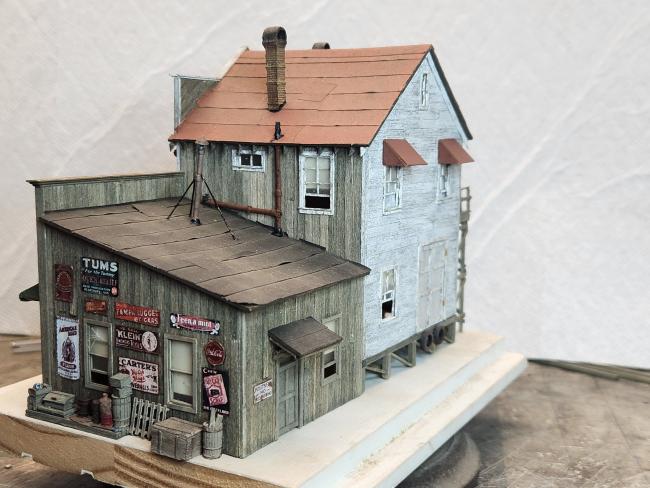
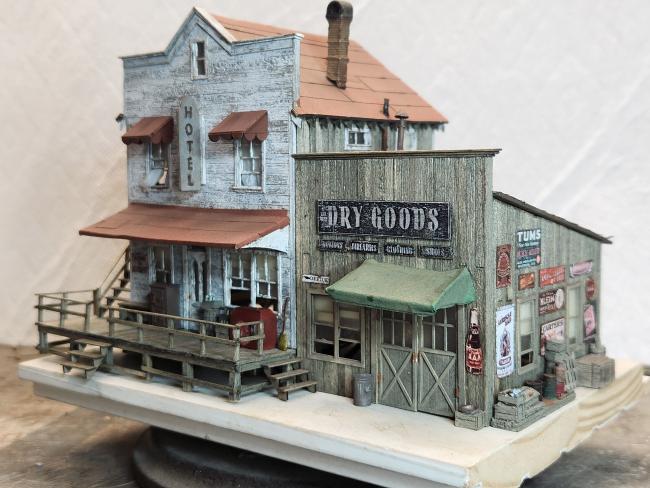
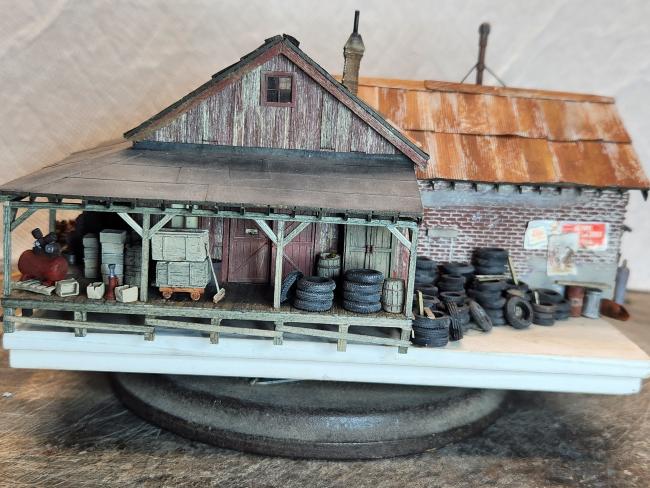
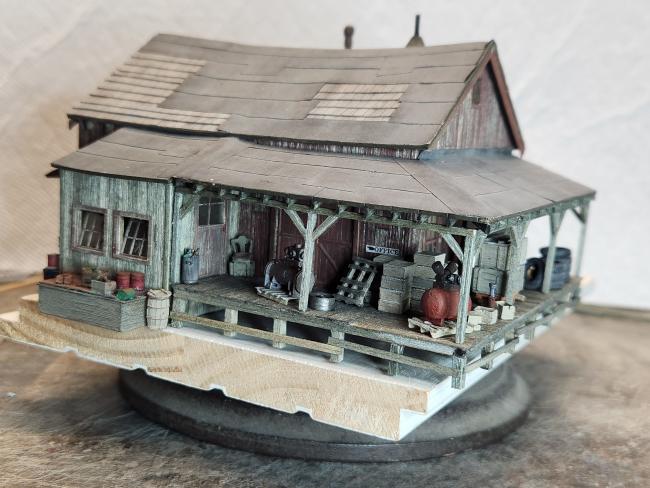
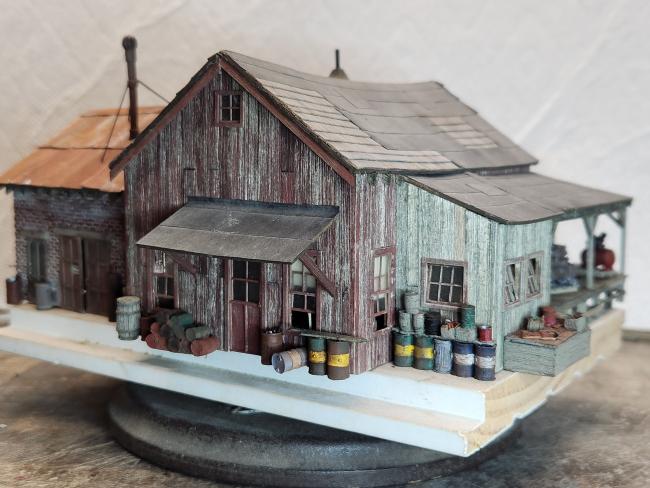
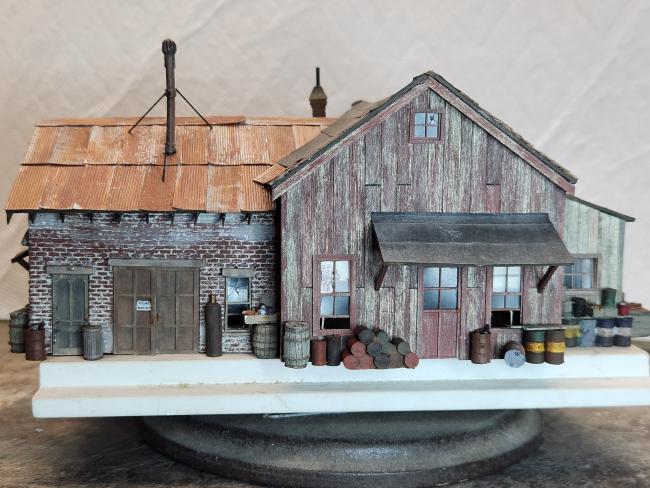
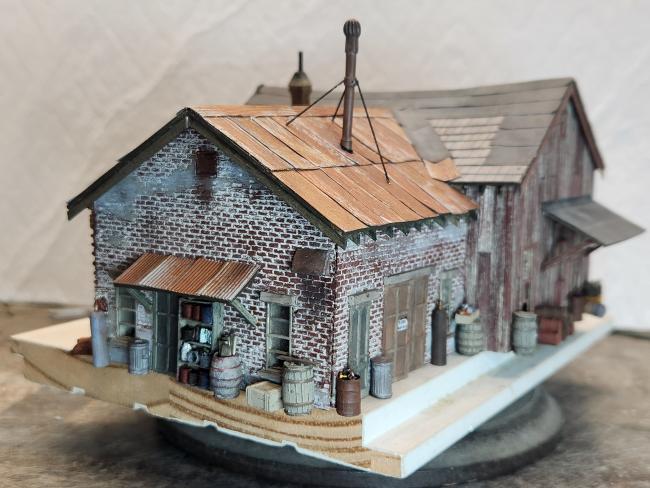
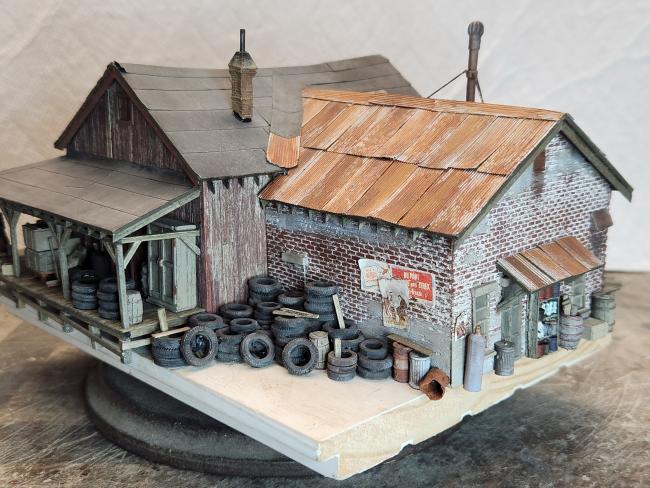
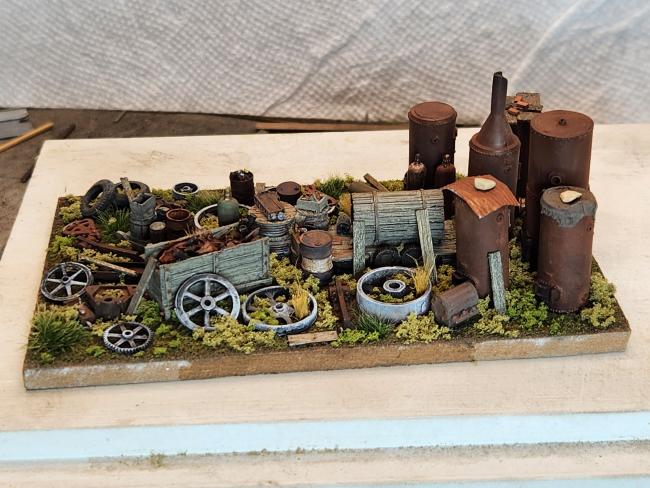
I just finished the Logging Camp Main Street kit and thought I'd post some photos here.
Hotel and Dry Goods Store
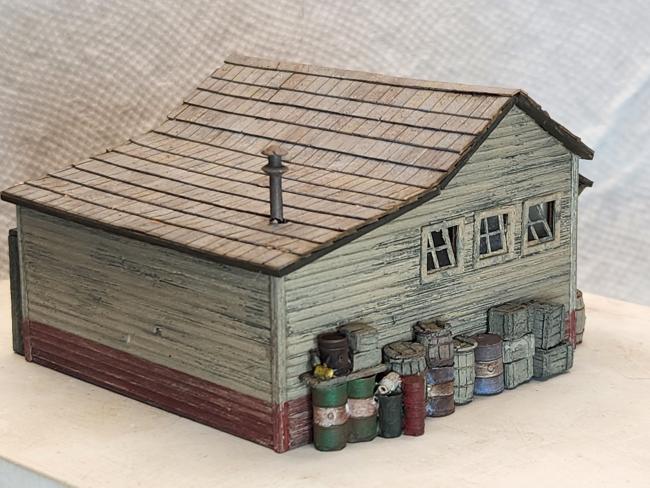
Warehouse
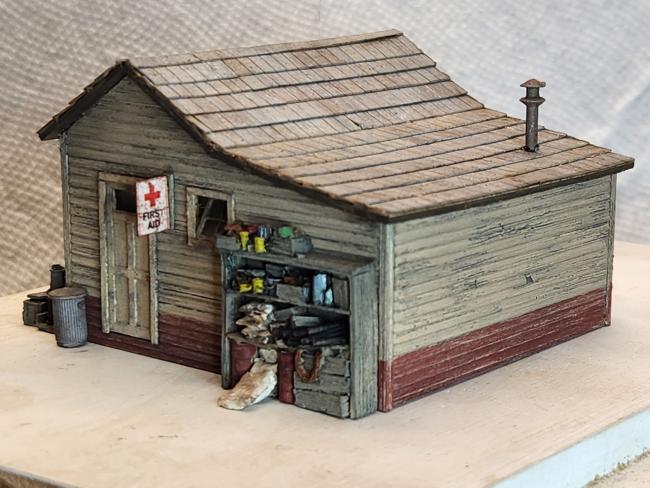
First Aid Building
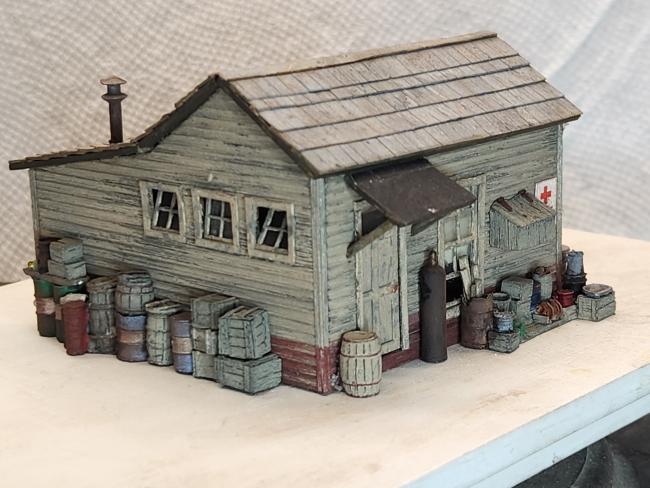
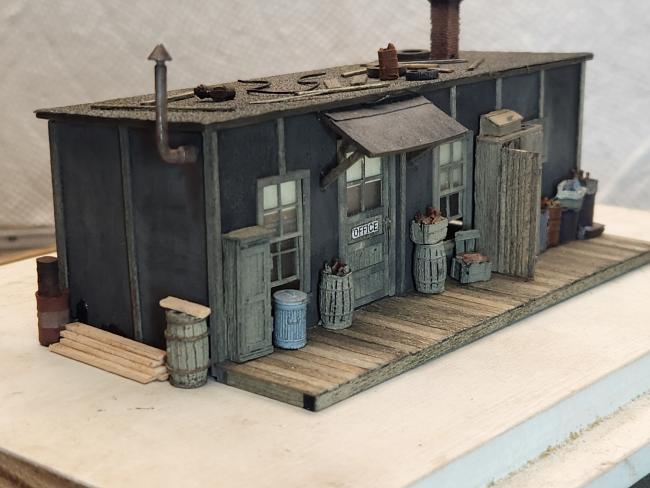
Yard Office
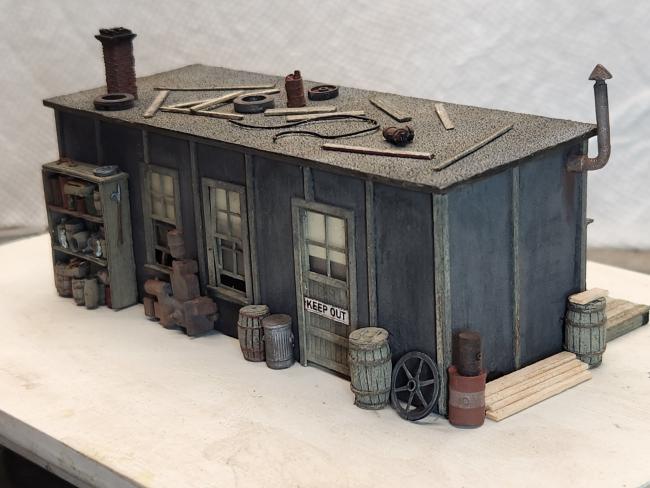
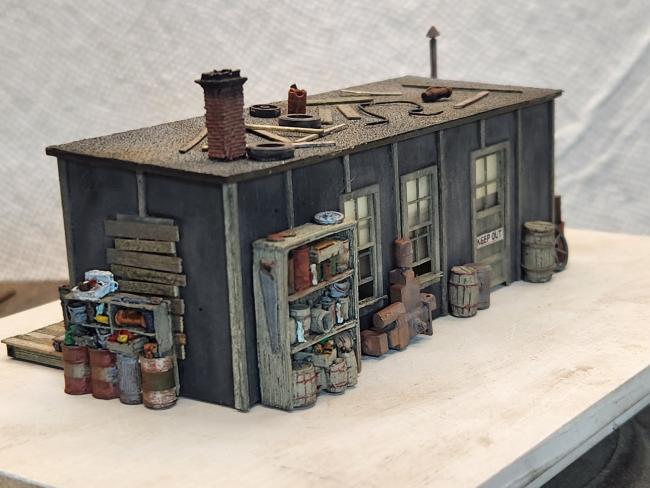
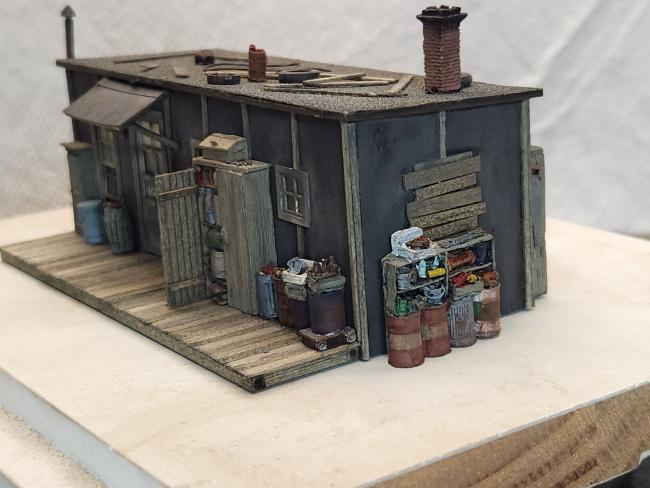
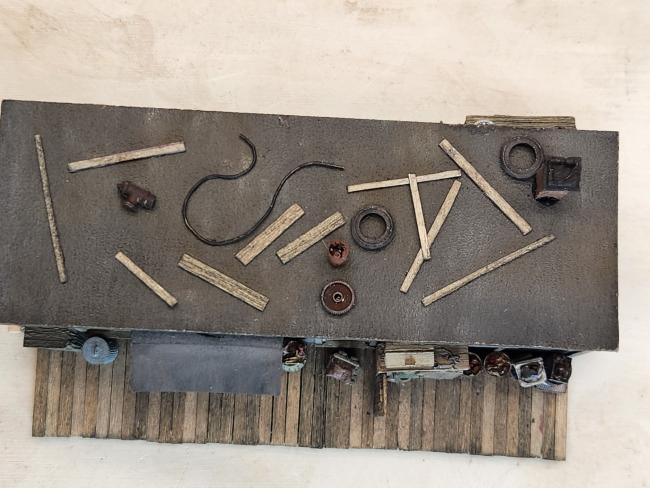
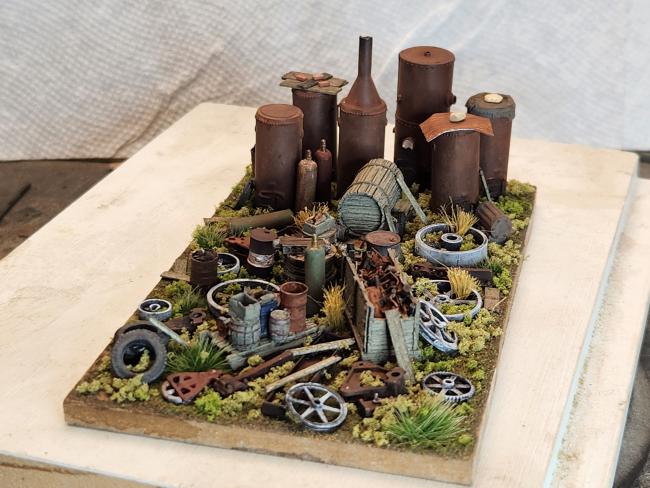
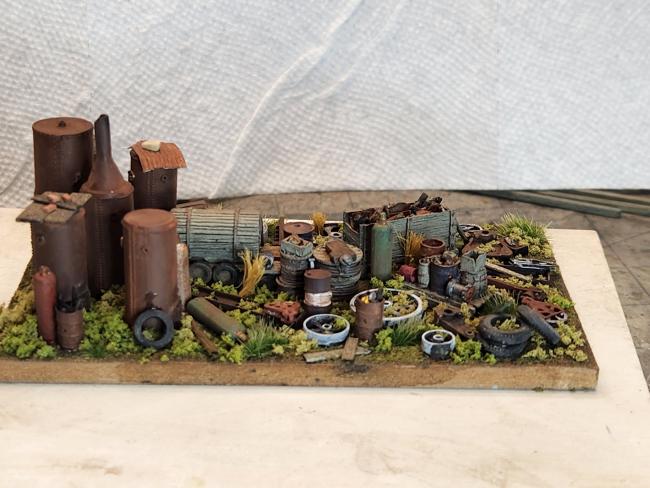
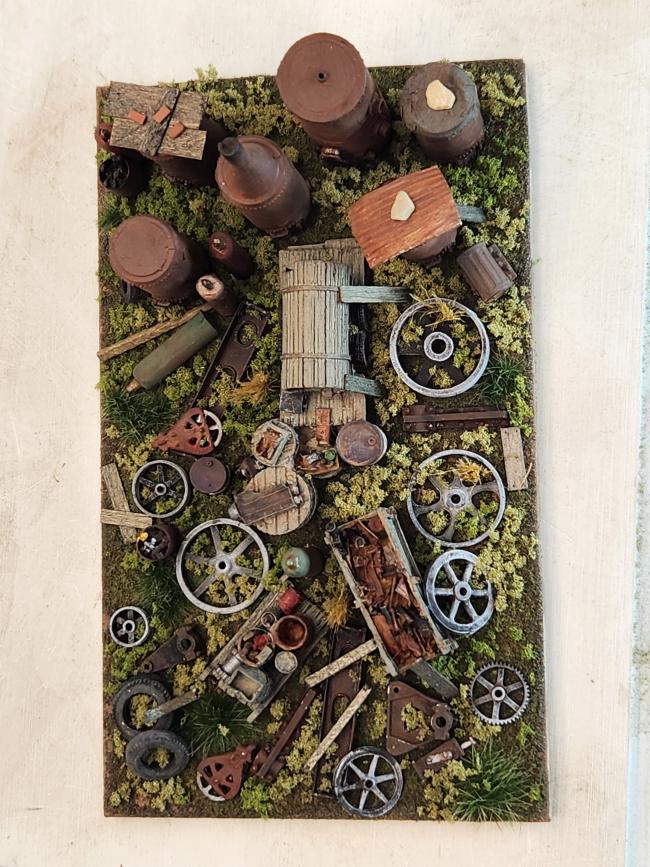
The Junk Pile
Hotel and Dry Goods Store


Warehouse


First Aid Building


Yard Office


The Junk Pile


Comments
Thanks, Dave S. Tucson, AZ
Jerry
Dave, For the finishing on the siding of the buildings, I basically follow the instructions. Wire brush the bare wood to create grain, whether it's individual boards, as on the Hotel, or sheet siding as on the First Aid Station. I follow that with a steel wool brushing to remove fuzz.
Then I stain the wood with A/I for a base of weathered wood. After that's dry, I "damp brush" the wood, depending how weathered I want the wood to be. More paint on the brush the less weathered, and the less paint on the brush the more weathered. Usually after the paint is completely dry I will again go over it with a steel wire brush, again the more weathered the heavier the brushing. The wood MUST be completely dry. After the brushing I will go over the wood with steel wool to remove fuzz.
The Hotel I wanted a less weathered look and the Warehouse I wanted a more weathered look, thus more brushing of the boards of the warehouse after they were applied to the cardboard base.
As for the sloped roof on the Warehouse, again I followed the instructions. The cardboard roof base is laser scribed with lines where to cut. Instead of one solid line down the center where you would normally fold a roof there are scribed lines that bow out from the center line about 1/4" total, that is about 1/8" each side of center. They each begin and end about 1/2" in from each end of the roof so as not to cut the roof through. When you glue the roof to the walls of the structure you glue the center lines together creating the sag in the roof.
I hope this is helps.
Thanks for that detailed explanation. Since I don't model in HO scale I don't have the kit or the instruction manual. However, your explanation is very helpful. I'll do some practice strips to try to get the look I am after.
Thanks again for sharing this explanation and all the great photos of your completed structures.
Later, Dave S Tucson, AZ