Howdy, Stranger!
It looks like you're new here. If you want to get involved, click one of these buttons!
Categories
- 997 All Categories
- 3 Picture Posting and Resizing
- 60 New Member Introductions
- 118 Off-Topic Forum
- 2 Photography
- 2 Resources
- 18 New Product Information
- 171 The SierraWest Forum
- 12 Brett's Blog
- 120 General News & Ramblings
- 3 Re-Release Information
- 6 Q & A about SierraWest
- 9 What Would You Like to See?
- 412 Builds
- 146 HO Scale Builds
- 183 O Scale Builds
- 62 Finished SW Build Pics
- 15 Miscellaneous Builds
- 194 Techniques
- 19 Working with Wood
- 23 Painting Castings
- 4 Masonry
- 23 Scenery
- 37 Tools and Supplies
- 22 Layout Planning & Building
- 40 Miscellaneous
- 21 Prototype Information
- 20 Reference and Research
Variations on a theme... The Woodcutters'
Ok guys, as I can't install the dueling shacks for now, (the layout is in France, I am in Belgium for a few more weeks,) I thought, well lets move on to the next build. ( I know Brett is anxious to see his kits come together....) A step higher on the difficulty ladder  ..
..
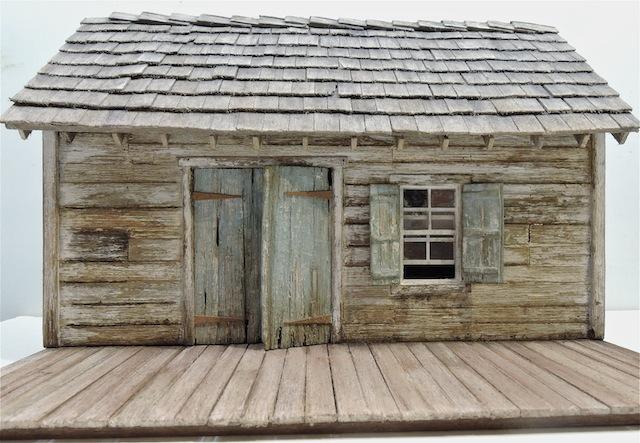
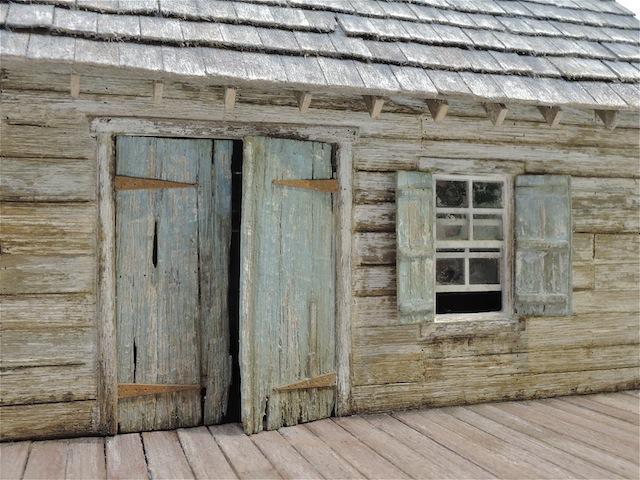
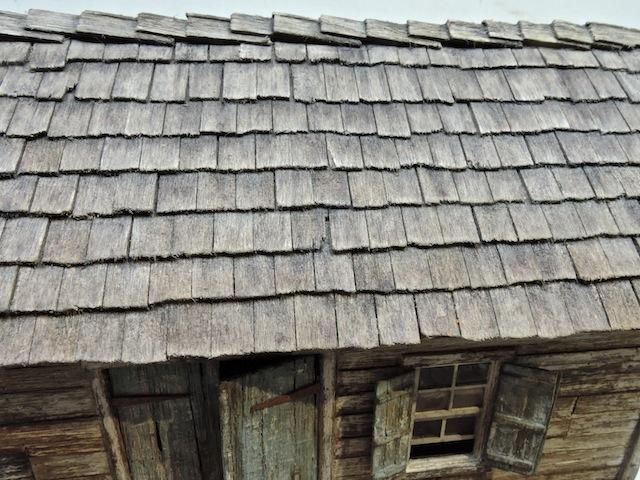
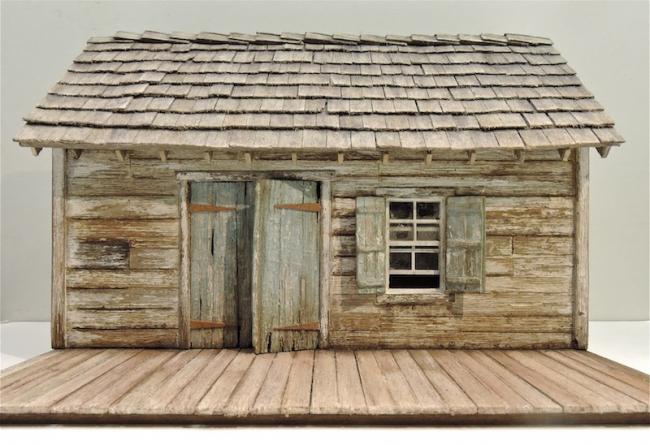
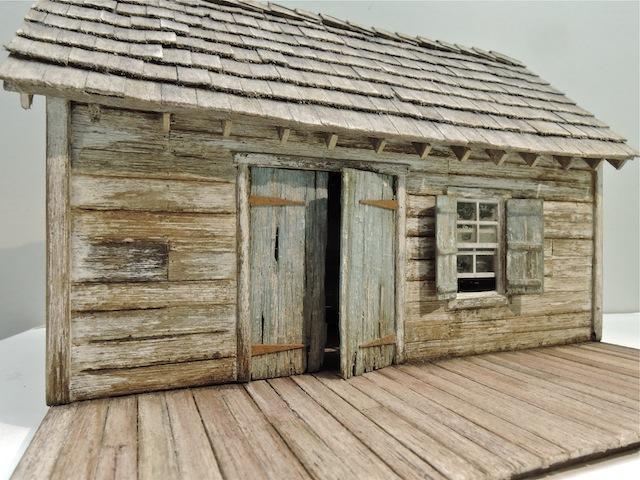
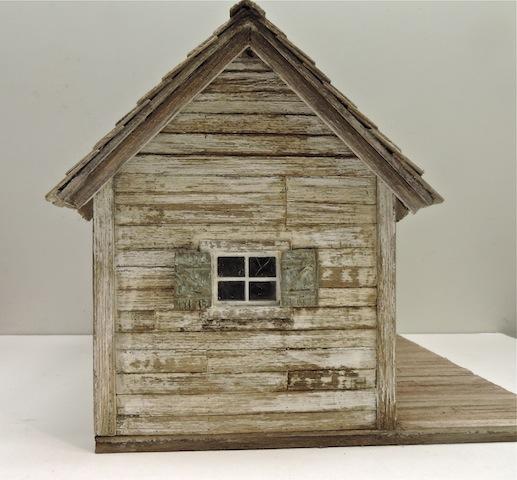
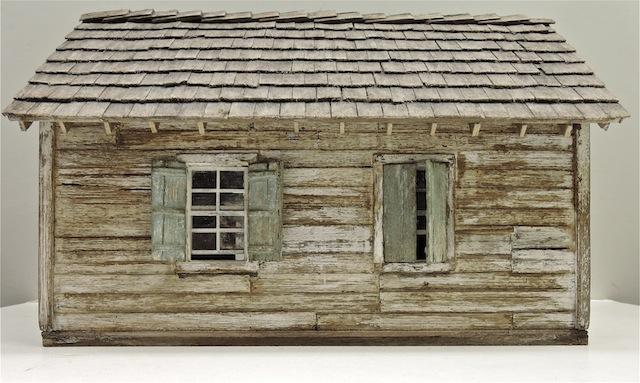
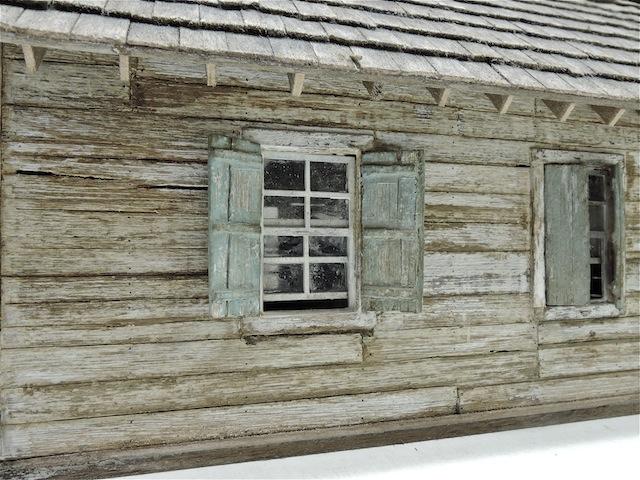
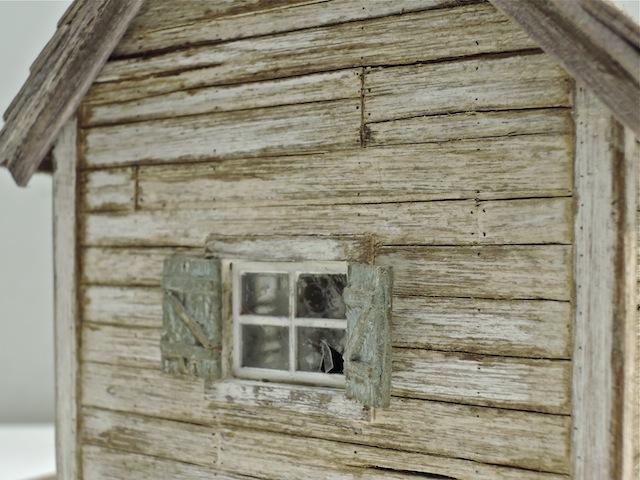
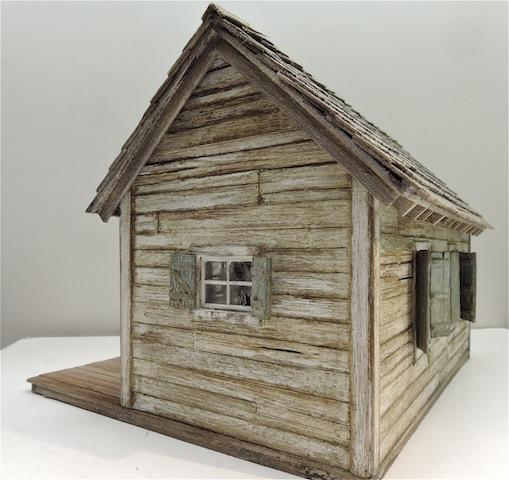
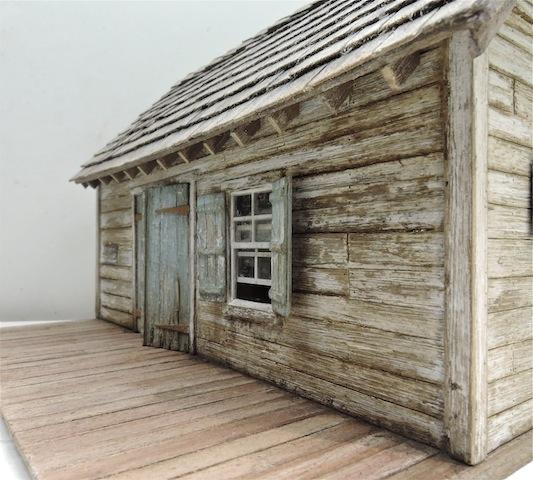
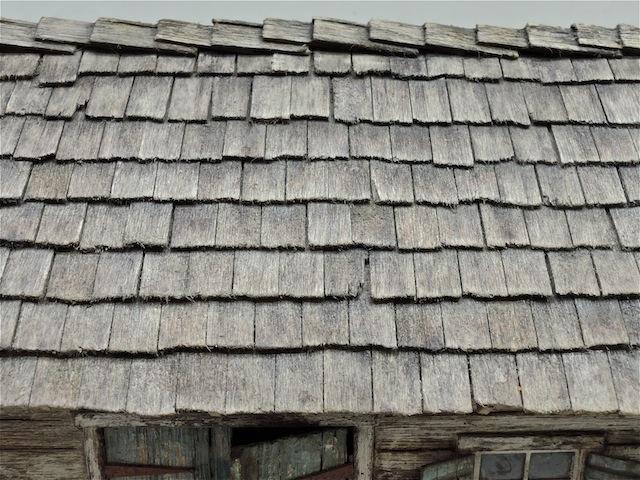
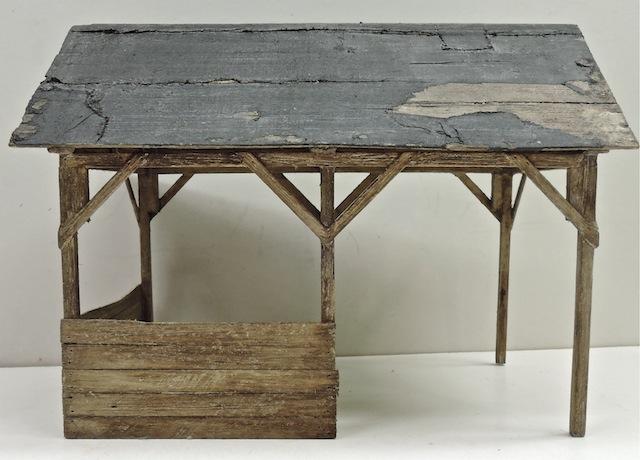
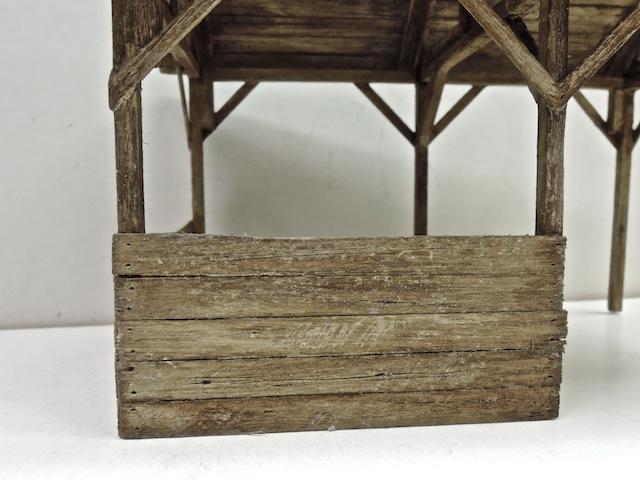
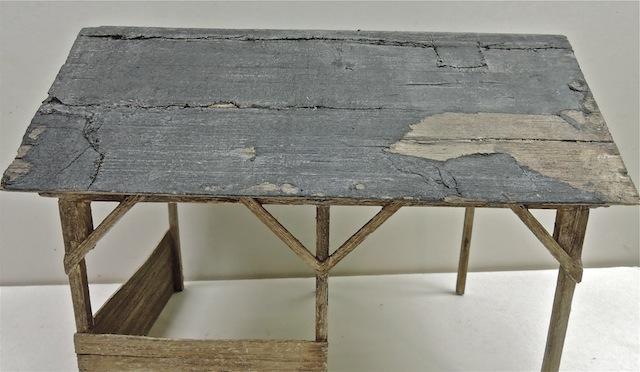
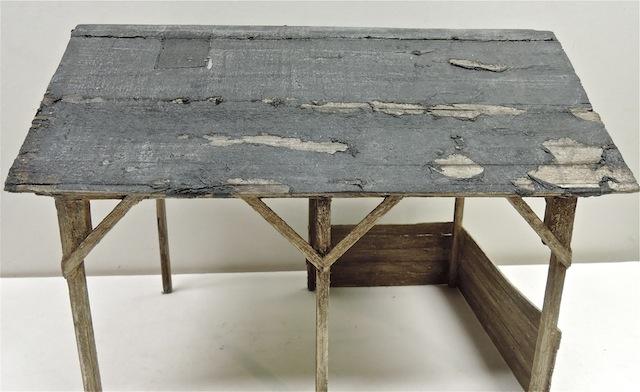
So, I decided to start with the Woodcutters Shack. Already some time ago , but only now a little bit presentable. As always, I like to put in my personal touch, variations on a theme so to speak.
The construction of the edifices is done, but no final patination yet. So, still a lot of work in that department.... Same for the marvelous details. With each kit I am overwhelmed by their beauty.
Here we go...
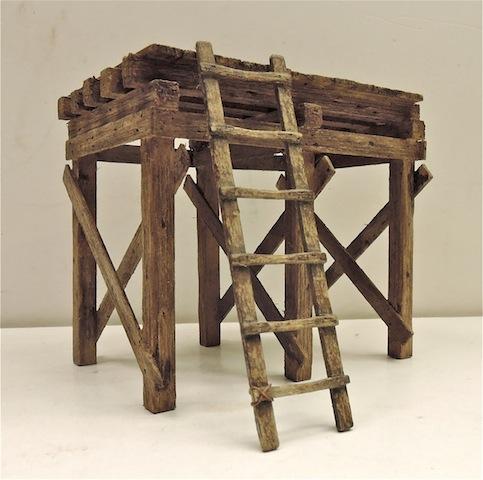
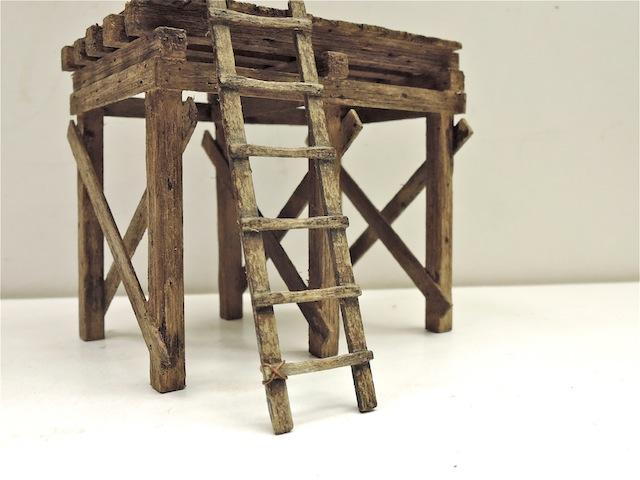
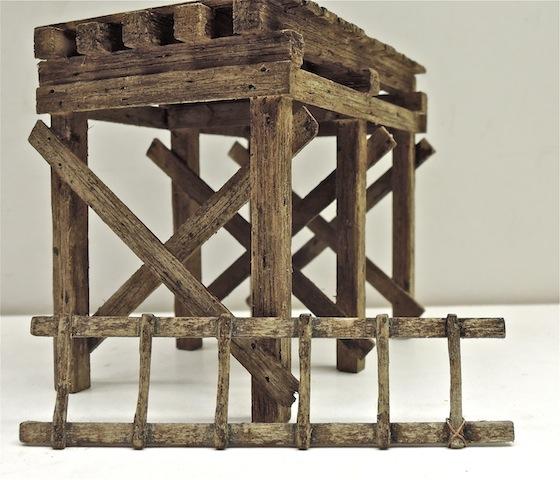
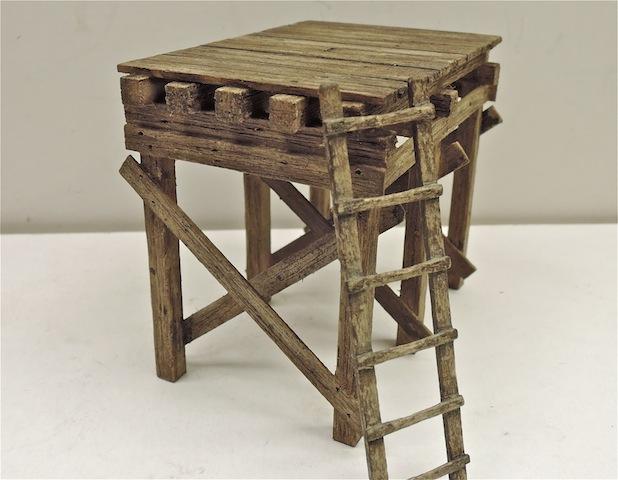
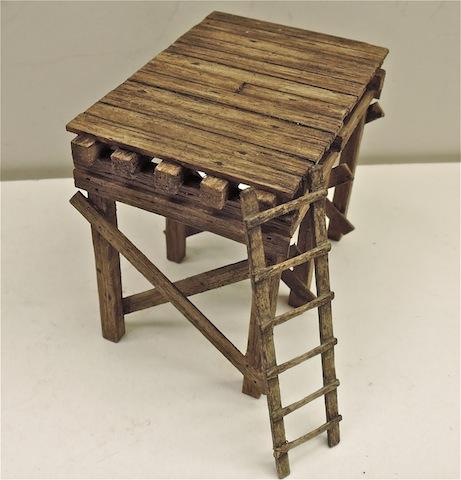
More later.
Robert
So, I decided to start with the Woodcutters Shack. Already some time ago , but only now a little bit presentable. As always, I like to put in my personal touch, variations on a theme so to speak.
The construction of the edifices is done, but no final patination yet. So, still a lot of work in that department.... Same for the marvelous details. With each kit I am overwhelmed by their beauty.
Here we go...
More later.
Robert

Comments
Alan
Joel
Very nice, I like your coloring and texture as it is not to dark.
More separate details will be added of course.
OK, back to the euh.....bench....
I hope you'll post a brief tutorial on how you achieved that corrosion effect. It's so well done, Mark!
For the rust, two things are important. Color and structure. For the colors, I used the Rembrandt chalks numbers; 411,5 Burnt Sienna, 236,5 Light Orange, 236,3, another light Orange, 409,3 Burnt Umber, and 700,5, Black.
As always I primed the castings, resin or white metal, with my black cellulose thinner metal primer. This is a strong primer which can take any patination. Soft or aggressive . ( I use it to prime my brass build rolling stock )
Can handle and resist any solvent except cellulose thinner of course.
Now any primer will do, just bare in mind what solvent it is made of.
The structure is build up by mixing these chalks with a mat varnish as a binder. Applied in several layers.
With this thickness, the alcohol won't hold the chalk together.
For the rest it is just a matter of playing around with the colors. Just pay attention that the rust on cast iron is different than rust on steel plates of which the reservoir is made of. The latter will result more in layers of rust.
The black chalk is used very thrifty . Just to give some accents here and there.
Now sometimes when I don't like the result, I just wash everything back off with thinner and start all over again.........
I hope this is of some use. But when I look at all the forum members' results, I wonder if I can show you anything you didn't already know.
Robert
Alan
Stunning and real are the two adjectives that come to mind when I look at this build. But the two components that really jump out at me are the tar paper roof and the rusted castings. If I didn't know that this was posted on a modeling forum and I had not seen some of your previous postings I would be hard pressed to say with certainty that these weren't just photos of real life examples.
Can you explain how you make your " black cellulose thinner metal primer"? Is it a home brew or a commercially available product?
Thanks, Joyeux Noel , Dave S. Tucson, AZ
We're all here to learn and improve. I ain't ashamed to admit it: You're showing me stuff!
Geezerbill
And now that I see the photo's so much enlarged, I wonder what the tiny holes all around are. They don't really show when you see the tank from a normal point of view. Oh, and I put the ladder upside down...oops
Soon more..
Steve Custer asked me this, but it can be of use to everyone who was wondering, so here some explanation.
Hey Steve, it's very simple. I used the chalks but instead of applying them with alcohol, I used diluted turpentine based mat varnish. This will hold the 'thicker' layers better when dry than the alcohol.
Also, when dry another layer on top won't dissolve the previous one like with alcohol. Using a rather stiff bristle brush gives the texture. Several thin layers of different rust tones are applied. Then with diluted oils I did the darker parts.
So no rocket science here....
For those who have build it, they know, a small, no, a tiny lantern in white metal is included. So , says I, why don't we make this little fellow functional, than it can stand on a workbench or so ,in front of the shack, and lighten up the scene...
Well this is what I did. I'll let the photos speak for themselves..
One thing, either you have eagle eyes, which I don't have , or serious magnifying spectacles ...
I used an smd led and soldered two thin wires to it.
soon more