Howdy, Stranger!
It looks like you're new here. If you want to get involved, click one of these buttons!
Categories
- 954 All Categories
- 3 Picture Posting and Resizing
- 60 New Member Introductions
- 100 Off-Topic Forum
- 2 Photography
- 2 Resources
- 18 New Product Information
- 164 The SierraWest Forum
- 11 Brett's Blog
- 120 General News & Ramblings
- 3 Re-Release Information
- 1 Q & A about SierraWest
- 9 What Would You Like to See?
- 405 Builds
- 145 HO Scale Builds
- 185 O Scale Builds
- 58 Finished SW Build Pics
- 11 Miscellaneous Builds
- 185 Techniques
- 19 Working with Wood
- 23 Painting Castings
- 4 Masonry
- 16 Scenery
- 37 Tools and Supplies
- 22 Layout Planning & Building
- 38 Miscellaneous
- 19 Prototype Information
- 18 Reference and Research
Dueling shacks: Tarpaper
After enjoying the boxes and its content, being struck with awe because of the great quality of it, the first thing one does is reflect on how and with what to begin.
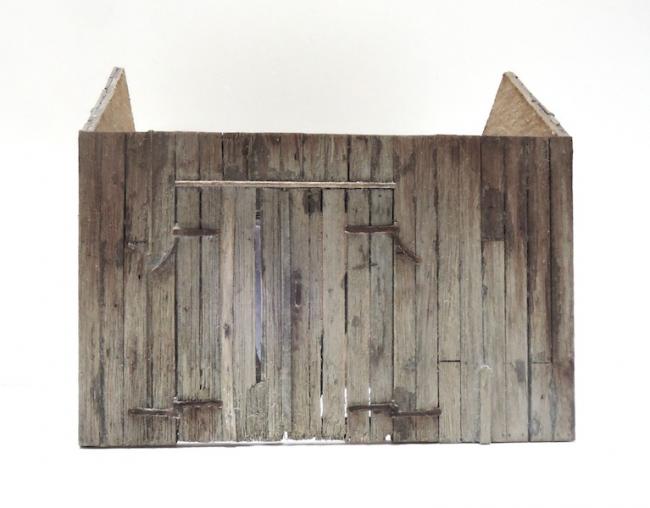
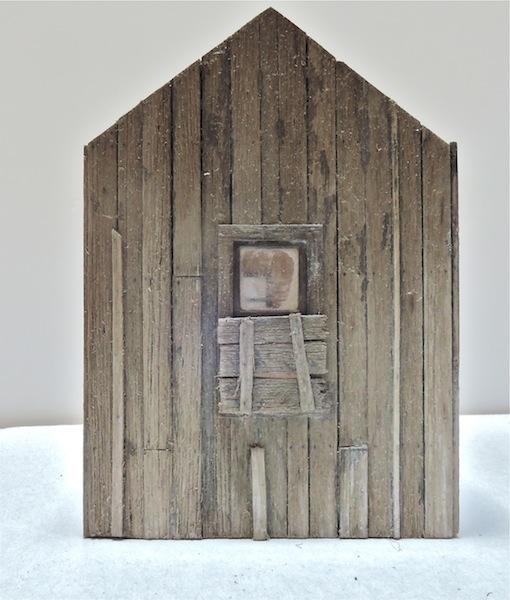
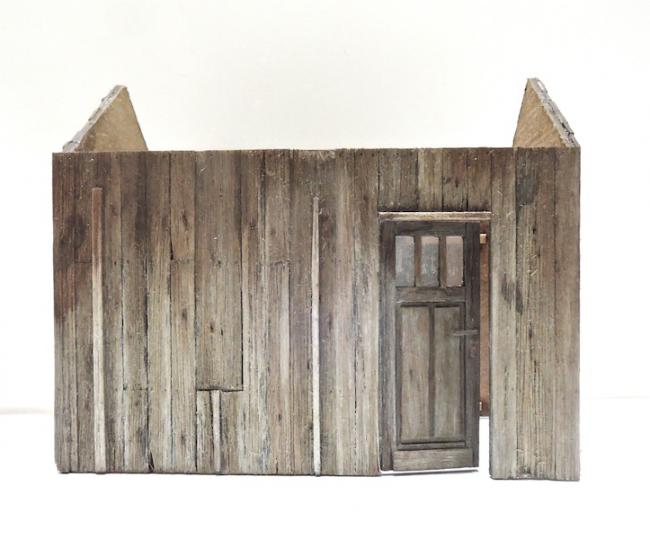
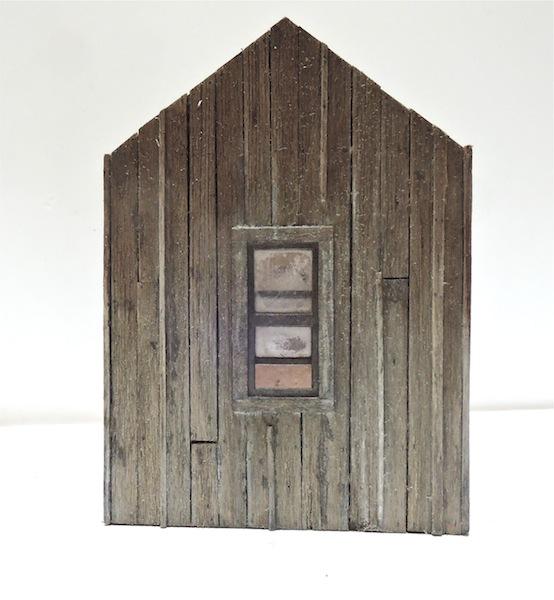
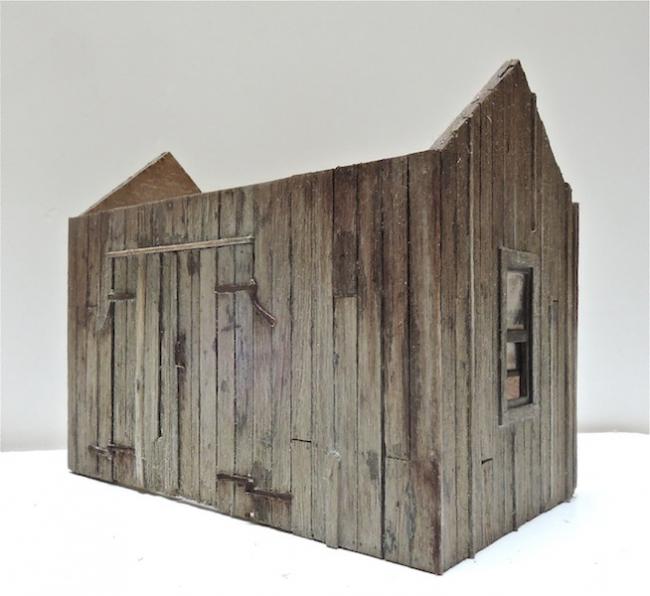
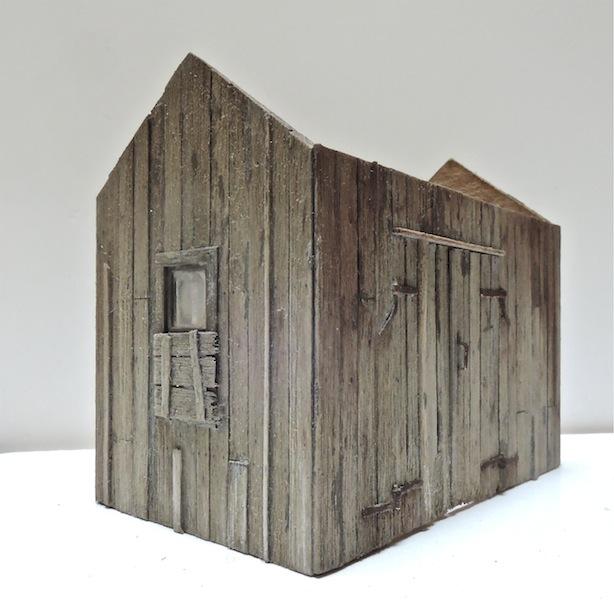
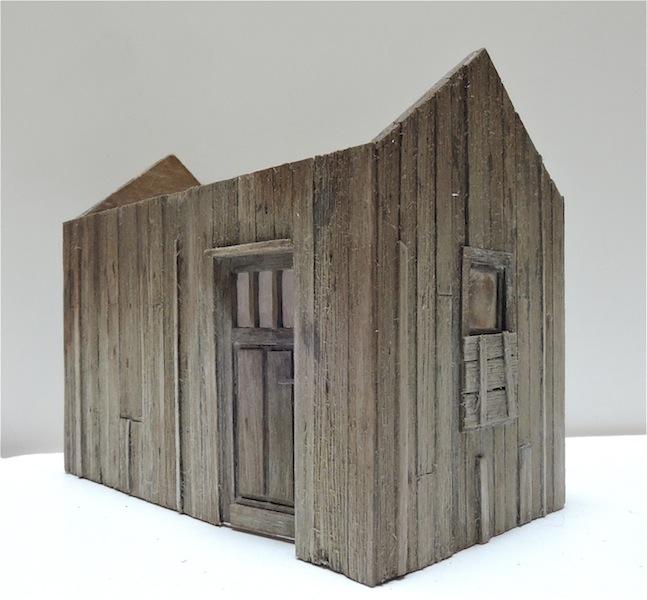
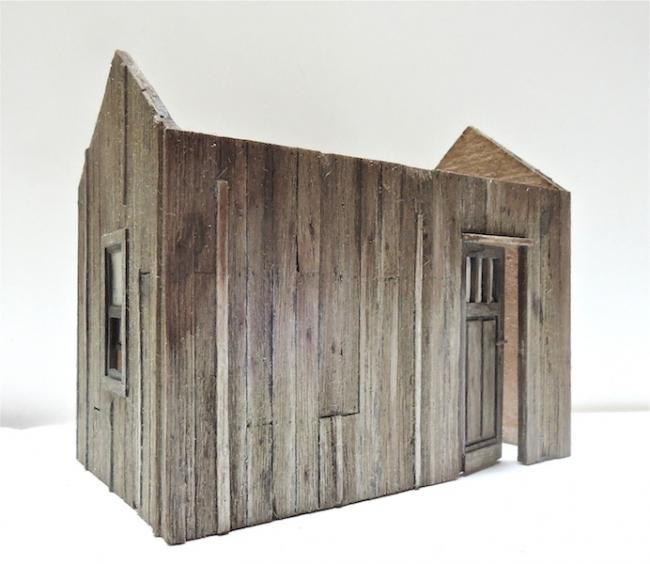
Although I have the sawmill project with me, amongst other O scale SW kits, I thought it would be a good idea to be modest and begin with the beginners kit. The Dueling Shacks. Just to get the feel of the SW way of construction and patination. I did add a personal touch to it. They don't all have to look the same.... I hope Brett doesn't mind.
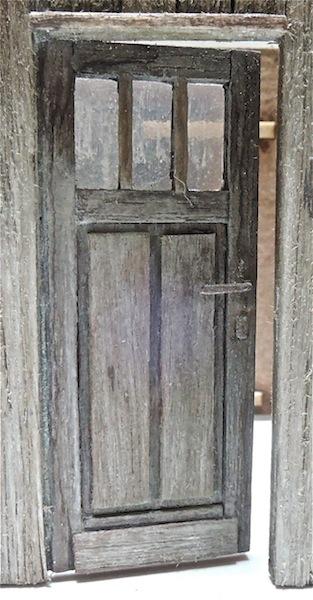
To begin with , the tarpaper one. For now, I finished the construction of the walls and a put on a first patination.
Question: even after passing the super fine steelwool, little tiny fuzzies reappear when applying alcohol over the chalk. Solution ? Now to be honest, it is only at the enlarged photos that they show. So perhaps I shouldn't worry to much.....
Soon more
Robert
Although I have the sawmill project with me, amongst other O scale SW kits, I thought it would be a good idea to be modest and begin with the beginners kit. The Dueling Shacks. Just to get the feel of the SW way of construction and patination. I did add a personal touch to it. They don't all have to look the same.... I hope Brett doesn't mind.
To begin with , the tarpaper one. For now, I finished the construction of the walls and a put on a first patination.
Question: even after passing the super fine steelwool, little tiny fuzzies reappear when applying alcohol over the chalk. Solution ? Now to be honest, it is only at the enlarged photos that they show. So perhaps I shouldn't worry to much.....
Soon more
Robert

Comments
The wood fuzzies are not distracting at all in your pics and I am sure they are invisible to the naked eye...
For the coloration, I started as per instructed in the manual, but used black aniline dye instead of the Higgins Brand ink. Simply because it's in my workshop and we don't have Higgins here. It is alcohol based.
Very diluted. It gives this grey base color. Then I just played with the chalk as per instructions. Then steel wool, some more chalk and the brass wire brush and 1200 grit sandpaper to extra brush/ sand the lower part. ( the 'bleached' part). This goes to show that a slightly different application of the instructed 'modus operandi' can give a complete different result. I am sure that every modeler out there has his own little ways of doing things.
Jerry
Looking might good. Watching for more posts and progress. Your photos are great. Keep them coming.
Later, Dave S. Tucson, AZ.
For the tarpaper I used one layer of a paper handkerchief which I painted grey with enamel paint. At the same time I put it on the planks, so it was in fact glued with the paint.
This gave me a strong base for the intense patination. For this only chalk and alcohol. The last was only for patination purposes
More patination, to make the transition from the shack to the ground, when it will be build into the layout.
Next will be the corrugated one....
Robert
I really like the overall appearance of your shed.
However, structurally the only support for the lowest roof boards outboard of the wall face appears to be the barge board (fly rafter) at each end and the thin battens on top of the tar paper. I think the roof would look more convincing if you added a rafter tail under each of the three roof battens on each side (assuming you haven't already planed to do so!).
And with these, my first kit is actually done.!!!
Robert
The bar has clearly been raised to a whole new level by your work, Robert.
(Were those little splashes of leaves added for me??)
As you may have noticed, there are no signs. That is because I ruined the sheet by putting a varnish on it.
Brett will send me another one to replace it.
Now I can continue with the Woodcutters Shack.
( are these signs of an upcoming addiction to SW kits...??
I prefer to use one layer of tissue because it is thinner, ( you can see the contours of the boards underneath ) more flexible and the structure looks more like tarpaper than normal paper. It's only a little bit more fragile specially when wet.
I paint them first with very diluted ( if not diluted, they become to rigid) Tamya ( this is really mat ) , then when dry, glue them with diluted white glue.
To finish, chalks and random dots of paint.
Thanks for the additional information about how you did the tar paper roof so that the roof boards underneath would show.
I really like the detail of the vine growing up the side of the shed and along the roofline.
All these additional details add to the overall realism of the build.
Later, Dave S. Tucson, AZ
.
Some of the best Railroad modelers in the world post on this site. You are up there with any of them. You have an eye for color I can only aspire to.
Mitch