Howdy, Stranger!
It looks like you're new here. If you want to get involved, click one of these buttons!
Categories
- 997 All Categories
- 3 Picture Posting and Resizing
- 60 New Member Introductions
- 118 Off-Topic Forum
- 2 Photography
- 2 Resources
- 18 New Product Information
- 171 The SierraWest Forum
- 12 Brett's Blog
- 120 General News & Ramblings
- 3 Re-Release Information
- 6 Q & A about SierraWest
- 9 What Would You Like to See?
- 412 Builds
- 146 HO Scale Builds
- 183 O Scale Builds
- 62 Finished SW Build Pics
- 15 Miscellaneous Builds
- 194 Techniques
- 19 Working with Wood
- 23 Painting Castings
- 4 Masonry
- 23 Scenery
- 37 Tools and Supplies
- 22 Layout Planning & Building
- 40 Miscellaneous
- 21 Prototype Information
- 20 Reference and Research
My first Sierra West build - The Ship yard
Hi everyone,
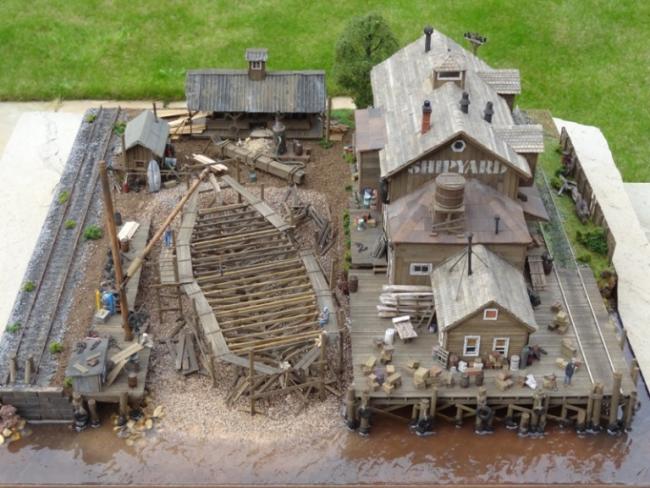
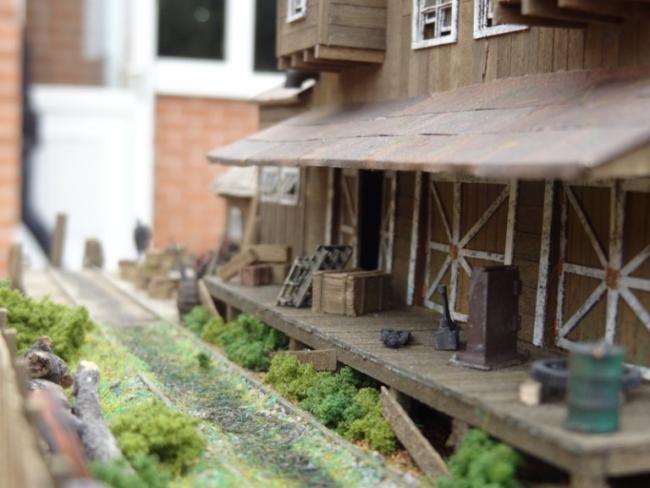
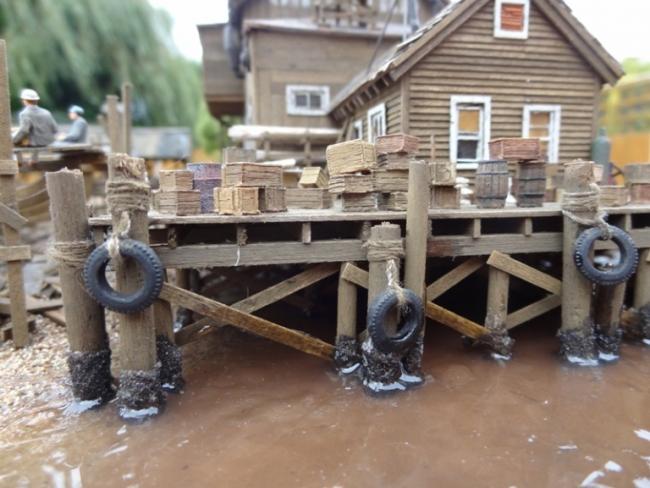
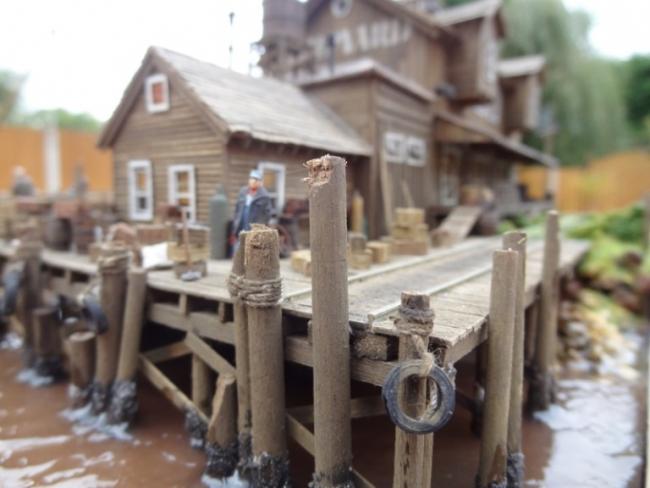
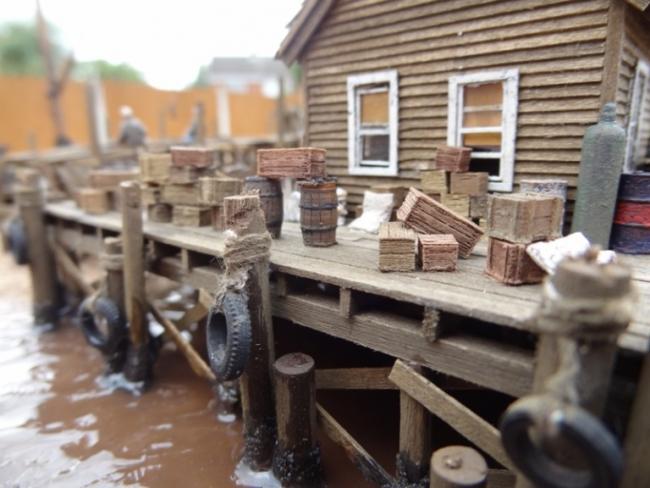
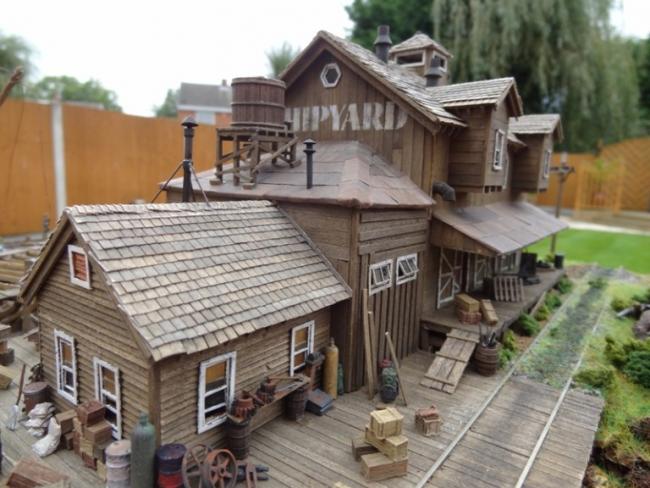
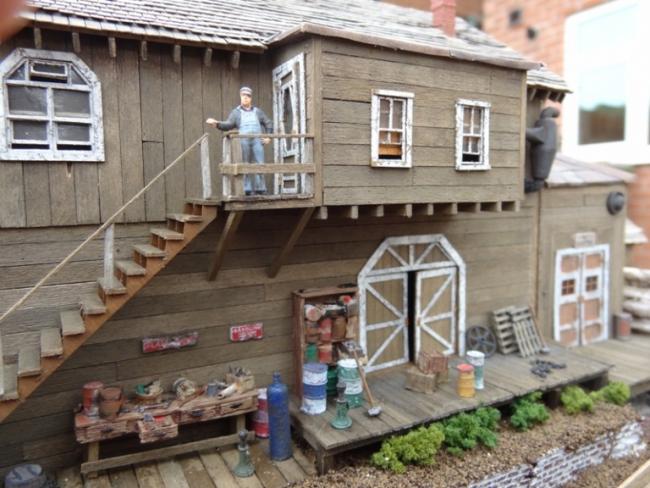
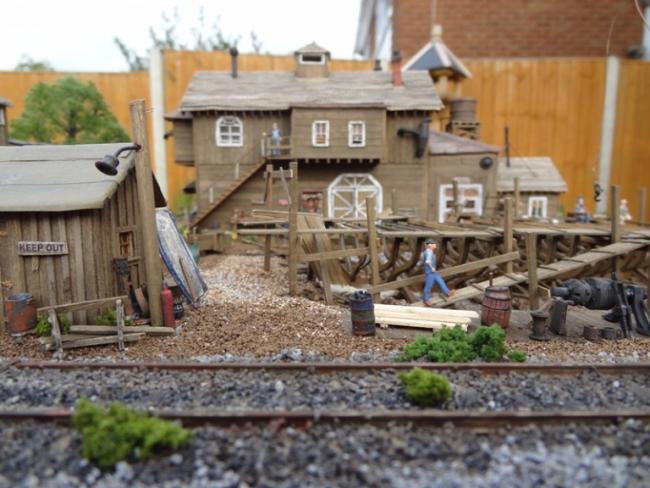
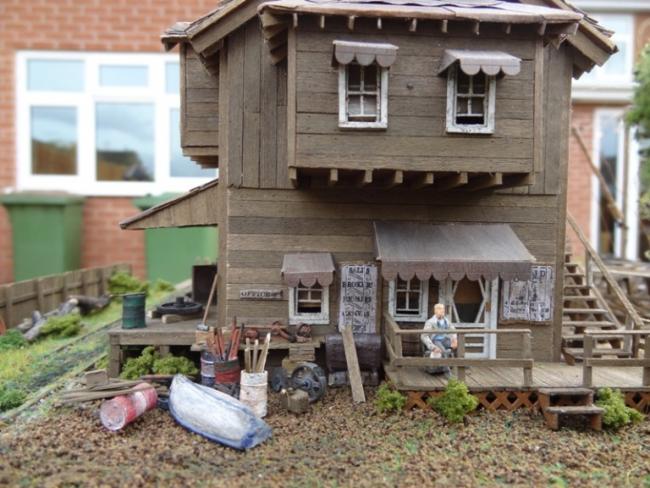
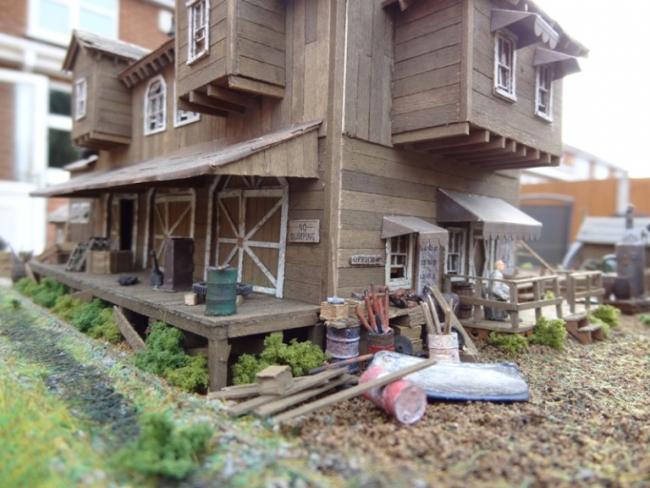
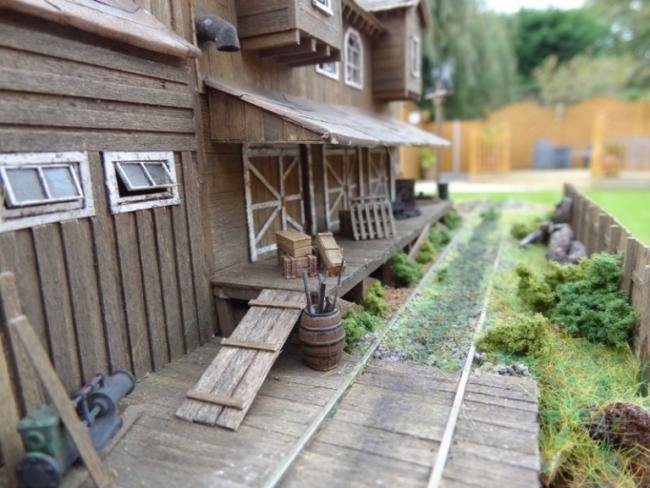
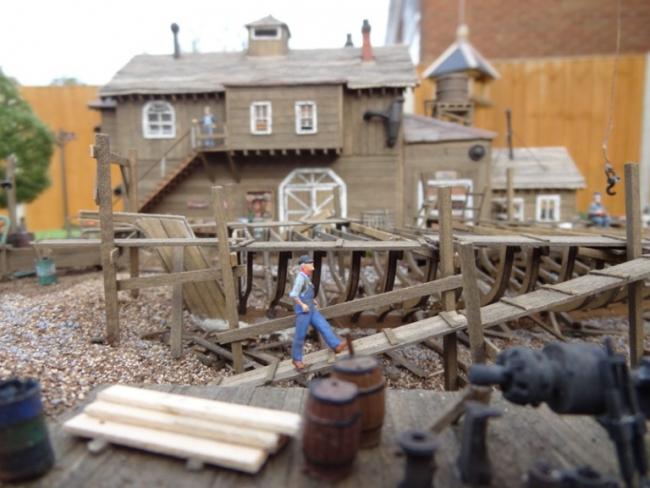
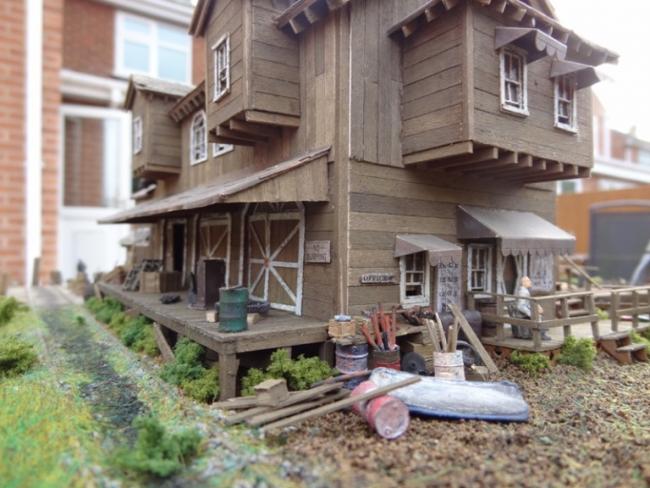
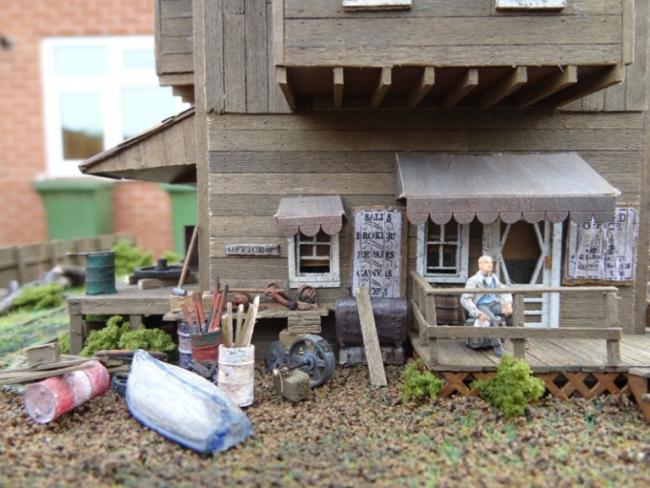
Just completed my first ever FSC kit, the ship yard! After hours searching the internet, I came across this site, and i'm so glad I did. My wife surprised me last Christmas, after, me not being able to decide whether to order it or not, as we live in Leicester, England, so glad she did as I thoroughly enjoyed building this model. Being a complete beginner, Brett's instruction manual and the quality of the kit were fantastic, and I appreciated such prompt replies, when I e-mailed him a couple times, plus all the information on the forum was a massive help too. So thank you everyone.
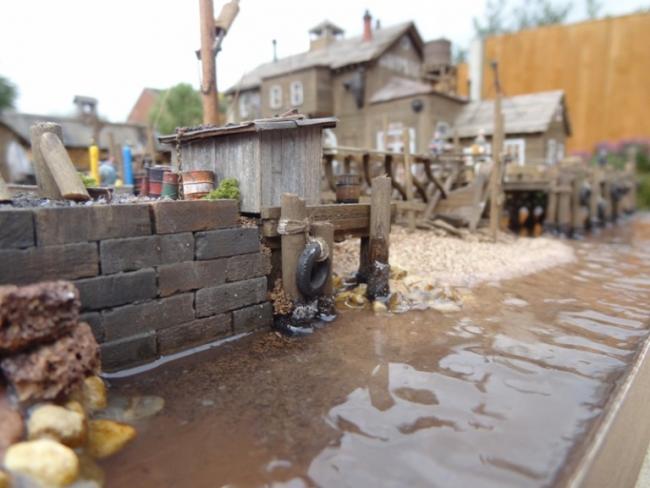
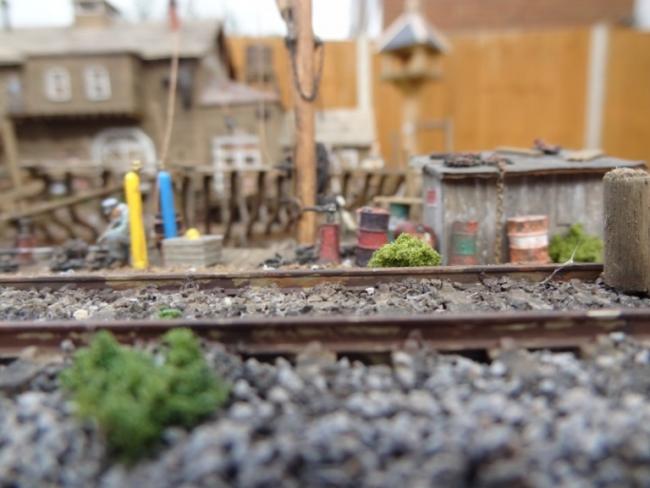
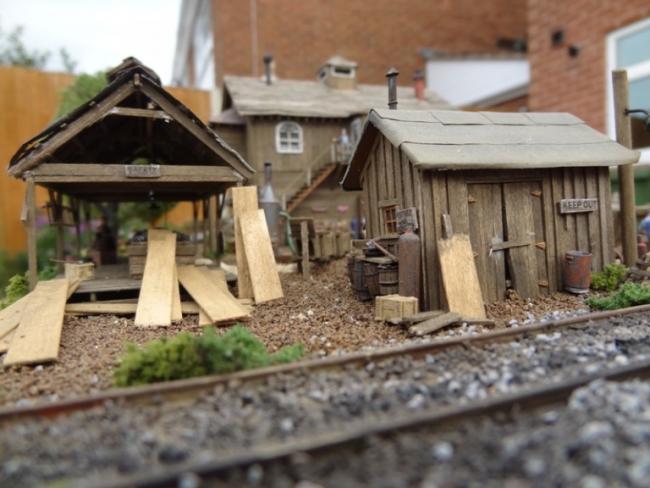
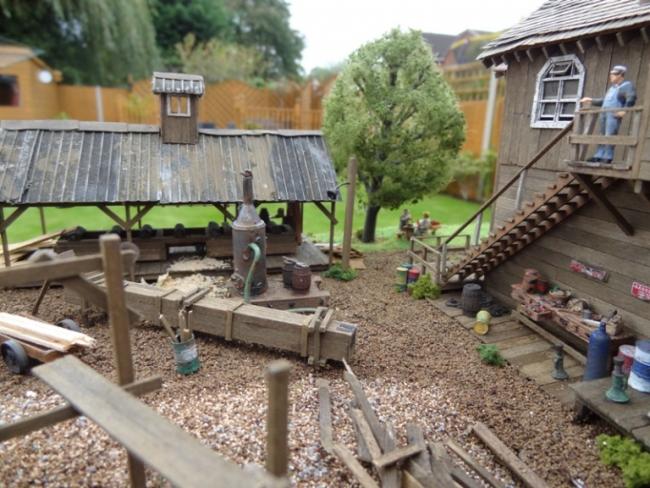
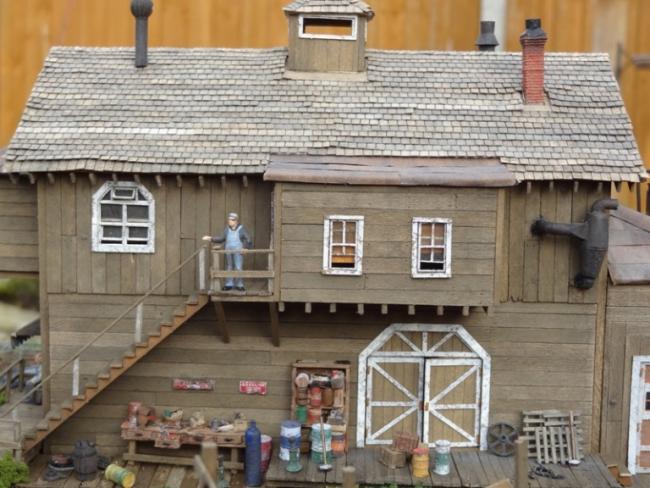
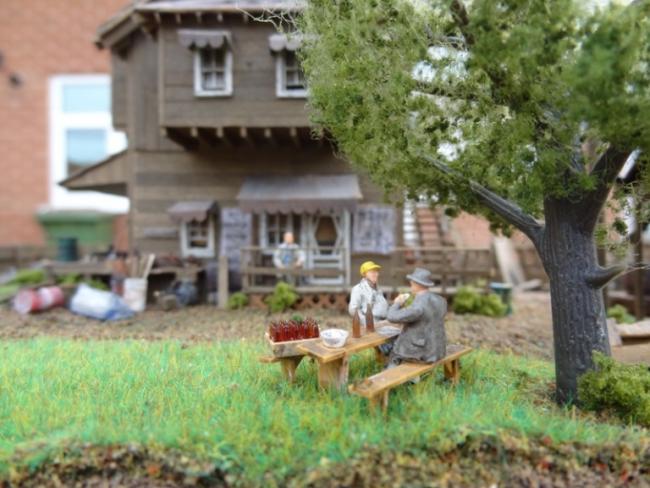
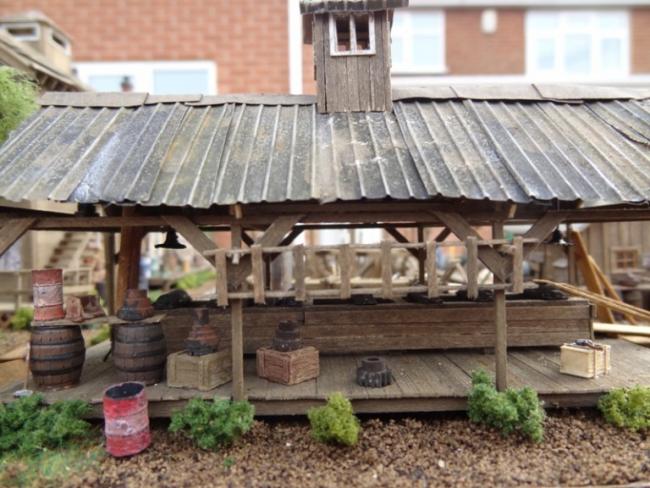
I've added some photo's of the completed model, and, must say, i'm quite nervous about the responses I might get??! Any criticism would be greatly appreciated, (I might regret saying that)!
I don't think my diorama would win any awards, but, the hours of satisfaction it gave me building it, was worth every penny. Saving up to get the next one now (the railroad camp).
Kind regards
Ash

Comments
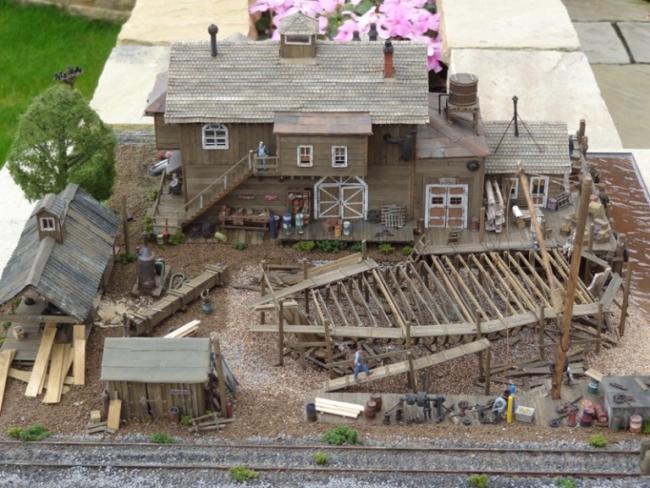
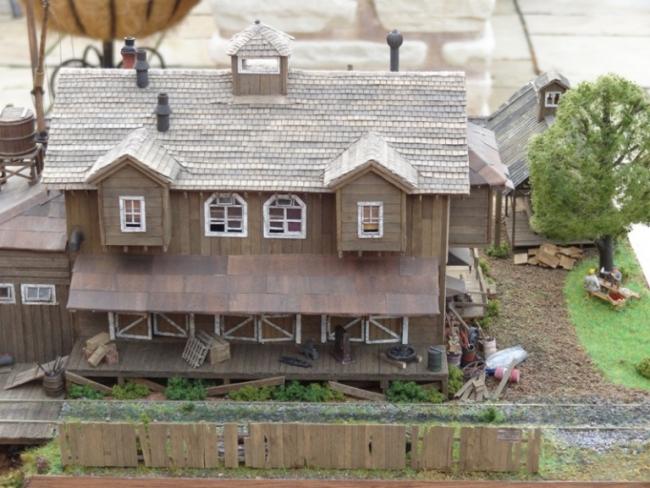
In looking over your diorama your scene composition is great, everything flows well and makes sense. Others here on the forum are much more qualified to offer advise than I and you will do well to take it all in as I do. Your structure work looks great, coloring of the structure components is terrific with everything blending and complimenting well. Roof is an eye catcher but not overdone.
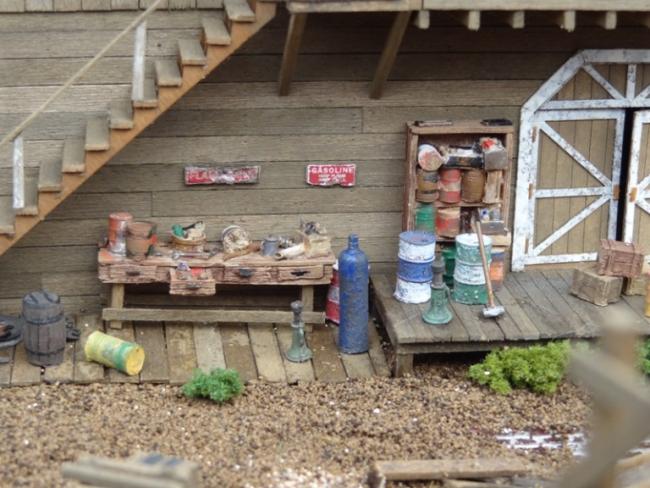
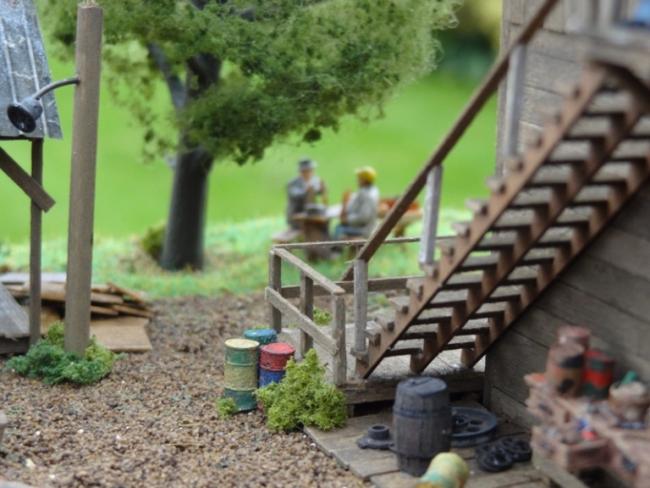
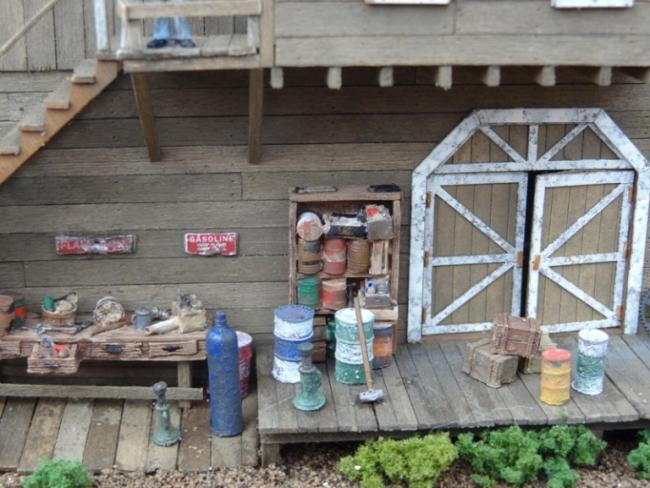
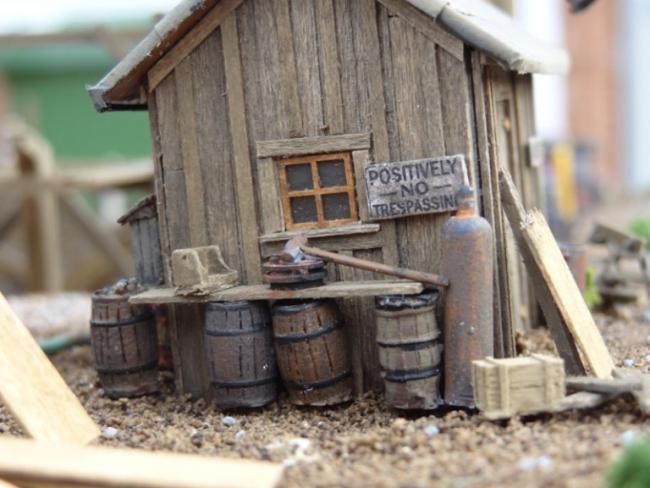
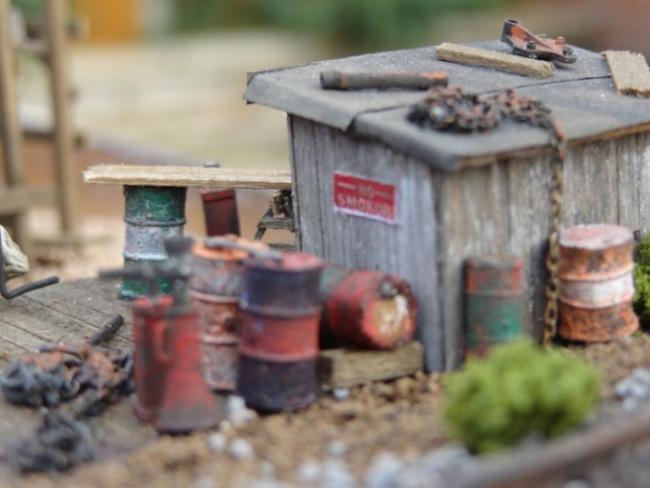
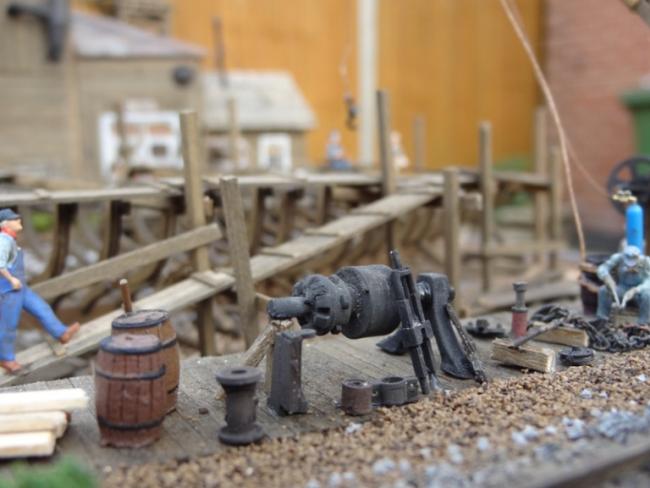
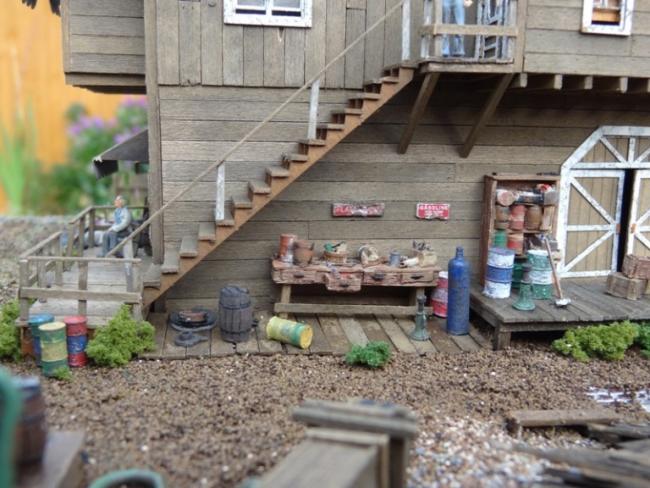
The two major things I would tend to give attention to is casting work and the base dirt scenery layer. I trust you ordered a SWSM/Reaper paint set from Brett...if not this would be a fine investment. I would not recommend painting catings with "craft" paint, of course not that you did. Some of the castings appear to have a bit too much "wet" chalk applied creating a blotchy appearance. Try painting a "metal" barrel whatever color you like then when dry, take a medium stiff bristle brush and with a stabbing action cover the barrel with DRY say... 408.3 chalk then blow off the excess. The 408.3 will dull down the color and blend and age the piece. You must start out twith a fairly smooth coat of carefully applied quality (SWSM/Reaper Paints) paint. You can also scratch up the painted barrel before apply the chalk to give a nice look. Craftsman Kit University here on the web-site is a wealth of information and techniques from top shelf modelers here on the forum.
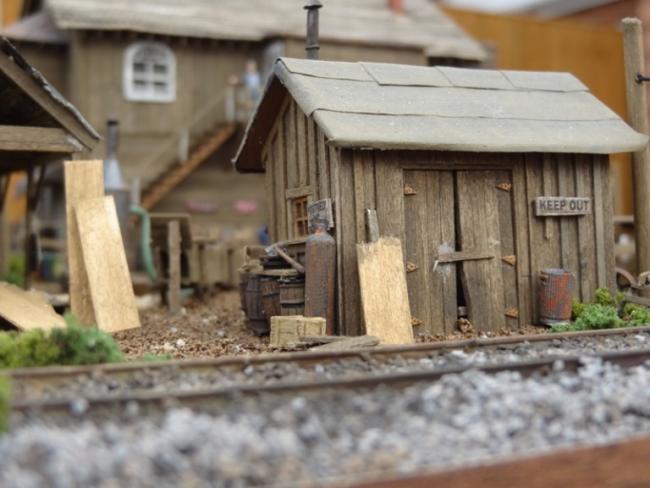
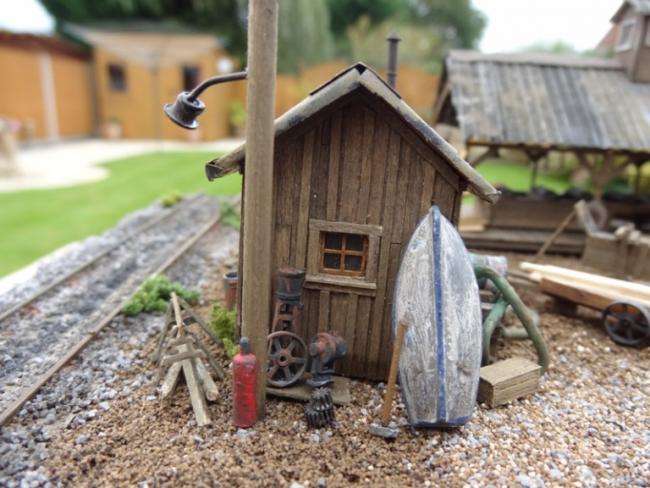
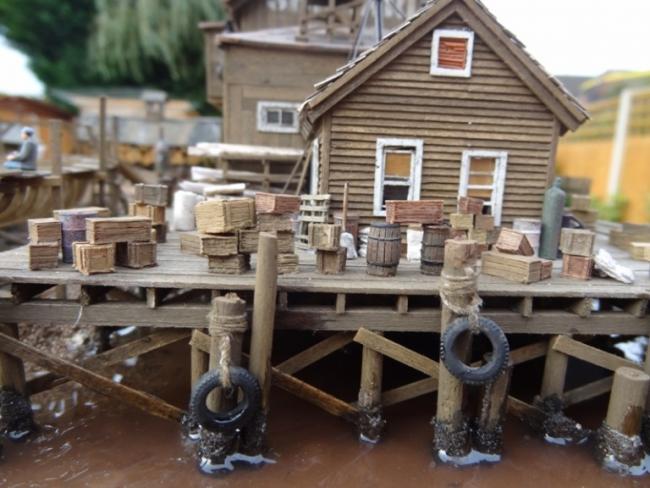
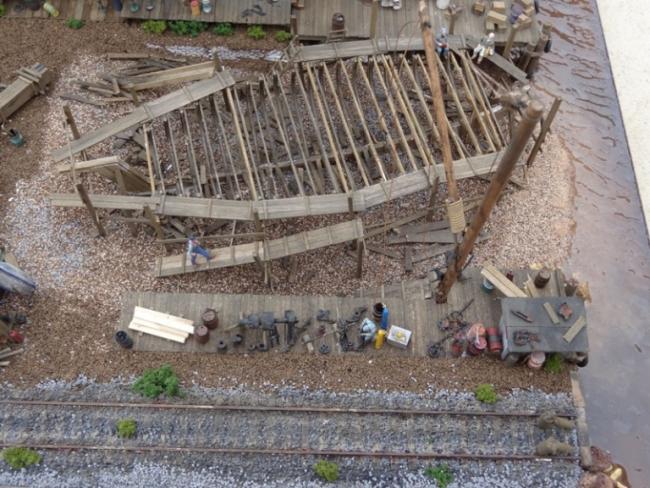
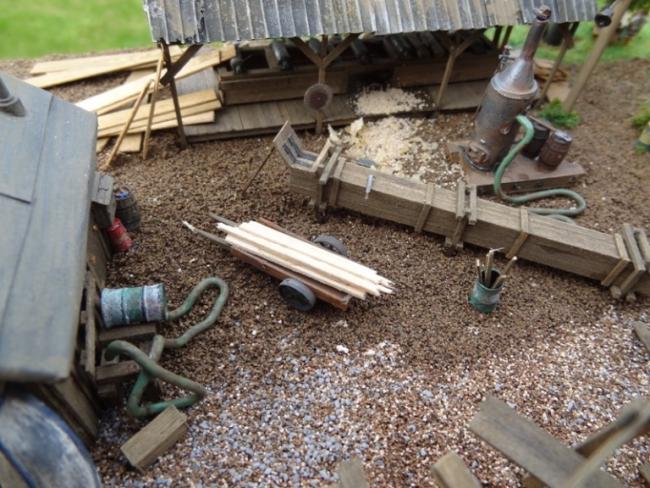
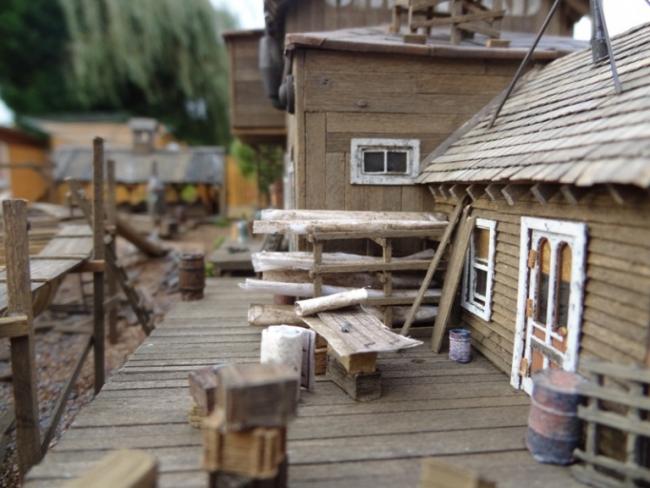
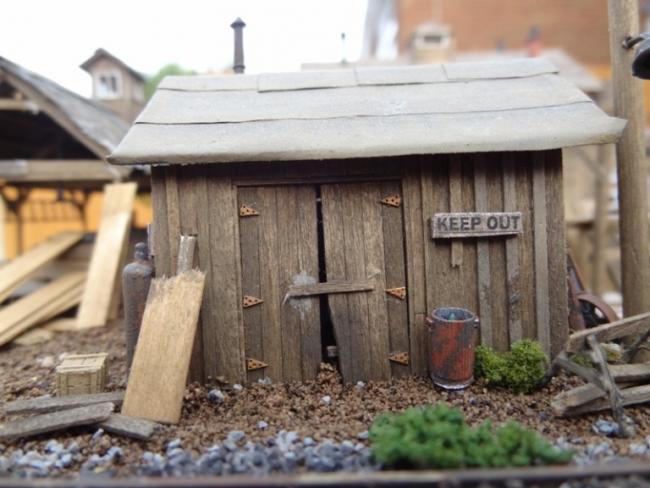
Your base "dirt" layer appers a bit to thick and "fluffy" in most areas and the second picture from the last right above here showing the small shed illustrates this point. Using real dirt sifted fine or grout in the appropriate color may give you better results. Also make sure your casdtings are sunk down into the dirt layer and not sitting on top. Brett stresses this point in the manual I'm sure.
Overall very nicely done Ash, and so glad you took the time to post your build here and look forward to hearing from you now that the Ice is broken. Your next build, Railroad Camp, is a wonderfully designed kit and look forward to following along on that one! Great meeting you...Ken
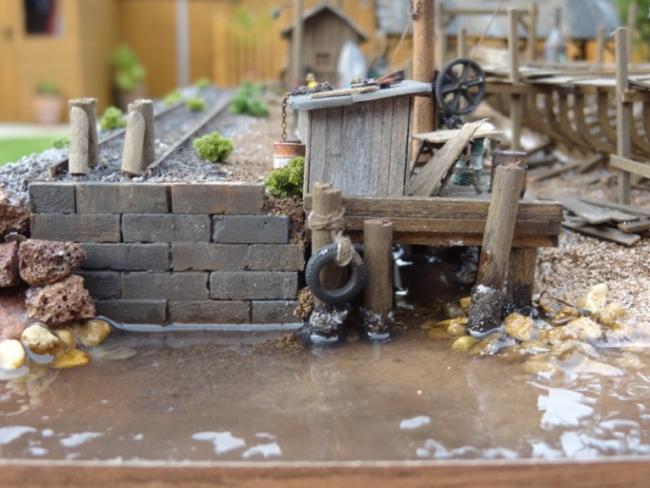
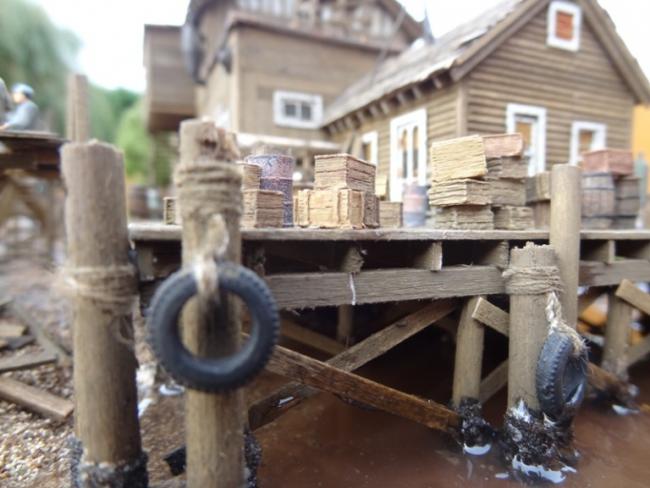
Welcome aboard and congrats on completing your first SWSM kit. As a beginner, you've got a model you can be proud of. The Shipyard is not difficult but certainly offers challenging elements--even to experienced modelers. The structures appears to be square and well built, wood color is on point, and the water is very well done.
If you are pleased with the model as presented to us here, then consider it done and work no further. I tell this to people because the temptation is to go back and re-do various components over and over to satisfy the eye of people looking over your shoulder. That being said, here are some things to think about for your next build:
Ken is spot on with his observations.
I would pay extra close attention to small glue blobs and splotches. Be neat and use as little glue as possible and clean up any oozes right away. In the final product, any errant glue drips show up as glossy spots and give the structure an unnatural look. In other words, they're a "tell" to the viewer that what he's looking at is not real.
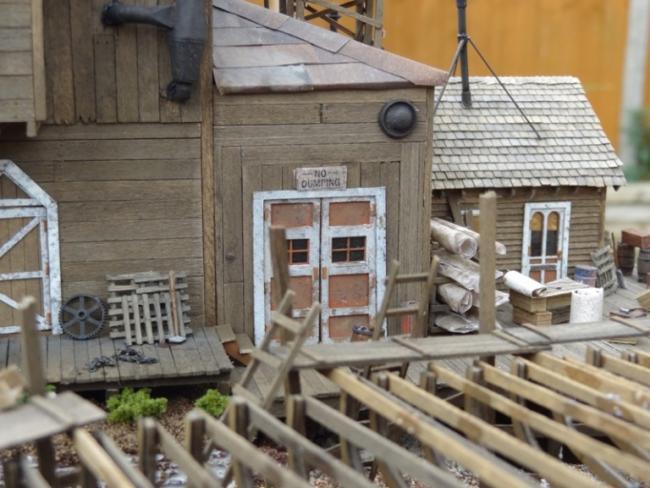
Pay close attention to keeping rows of shingles as perfectly spaced as possible. Each row needs to be the same distance above and below from its neighbor and the seams need to be staggered. As a beginner, it's easiest to start with a "perfectly" constructed roof and then go back and add character to shingles here and there.
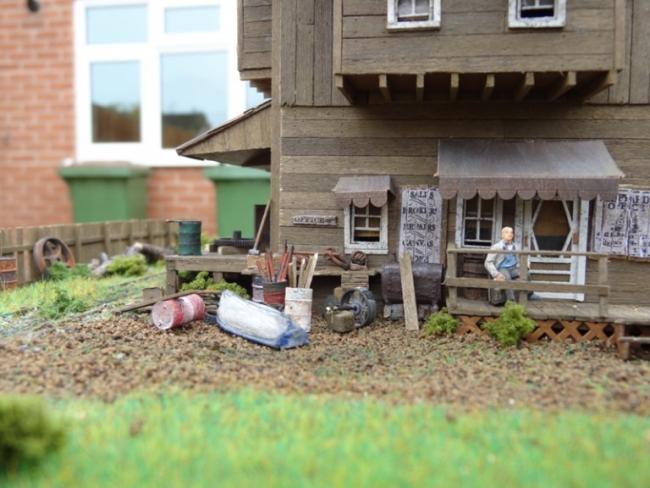
About the ground cover, your dirt areas need some variety. Ken said it looks "fluffy." In other words, it looks like it sort of "snowed" soil onto the location of the Shipyard. It needs to be compacted. The texture needs to be lees uniform--fine, dusty, powdered dirt plus some loose gravel, small stones and occasional rocks In places. Missing are areas showing walkways or foot traffic. All these things come with a little planning, practice and simply being mindful of them.
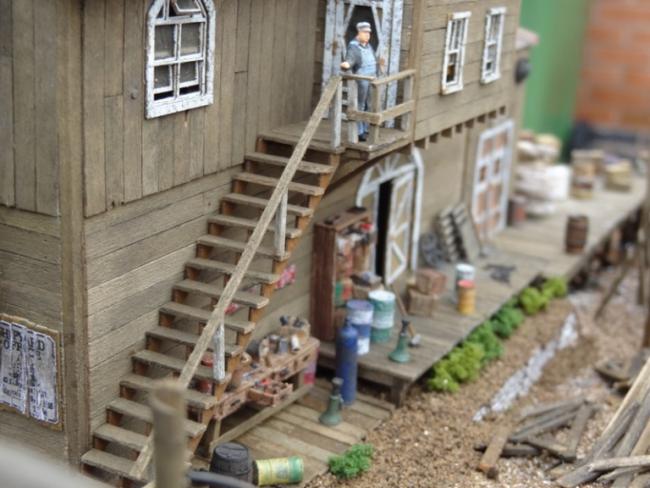
Keep size and scale in mind as you build. I constantly ask myself "is that too big?" when adding elements to the scene. To help size up an item, I keep a scale figure on hand to compare how the item would look if a "person" was standing next to it. To that end, the green hoses coming off the boiler and near the drum appear to be quite large.
One final observation (which Ken also pointed out) is to make sure ALL items are "planted" into the ground. In nature, there's rarely a gap between a large item and the ground:
Again, most of these things fall into place with more experience and I hope you don't take offense to any of our observations and suggestions. Our goal is to help you improve and have fun in the process.
Set this one aside and dive into the next!
Bill
Sit back and admire your work as I'm sure you spent many, many enjoyable hours building it, the time spent shows well in the result.
We are all striving to improve, and as mentioned there are a few areas that will get even better with a little more experience and practice, your RRC will build on what you have learnt and accomplished here.
Welcome to the forum and thank you for sharing your work with us, we look forward to seeing much more from you.
There is much great modeling, ideas and support here so please jump in and enjoy the many modelling threads with thoughts, ideas, questions and of course pictures.
Karl.A
I have to say that I love your rippled, murkey water, looks fantastic in the pics.
Like mentioned earlier, as you progress as a modeler you will find that some of the smallest details will take your models to the next level. Bill pointed out the barrels and shingles. Note other small areas like touching up the white edges around wall signs, touching up the cut edges of wood like the wall of the main structure facing the loading dock, the fresh gouge taken out of one of the piers, and wrapping the tarpaper roof.
Overall a model to be proud of. Also one to look at closely and objectively find areas to improve for the next build, which I am looking forward to seeing.
Ash
Probably painting of detail parts is one of the most important area's i focus on.
Paint to scale ( very light washes )...I have seen parts "caked" on with paint and looks crap..
Ash...'ave a pint on me.........
cheers from down under.....
PS...Pleeeeease stay away from using holes in miniature models...........