Howdy, Stranger!
It looks like you're new here. If you want to get involved, click one of these buttons!
Categories
- 991 All Categories
- 3 Picture Posting and Resizing
- 60 New Member Introductions
- 118 Off-Topic Forum
- 2 Photography
- 2 Resources
- 18 New Product Information
- 170 The SierraWest Forum
- 12 Brett's Blog
- 120 General News & Ramblings
- 3 Re-Release Information
- 6 Q & A about SierraWest
- 9 What Would You Like to See?
- 408 Builds
- 146 HO Scale Builds
- 183 O Scale Builds
- 58 Finished SW Build Pics
- 15 Miscellaneous Builds
- 194 Techniques
- 19 Working with Wood
- 23 Painting Castings
- 4 Masonry
- 23 Scenery
- 37 Tools and Supplies
- 22 Layout Planning & Building
- 40 Miscellaneous
- 20 Prototype Information
- 19 Reference and Research
French Farm & Barn construction proces.
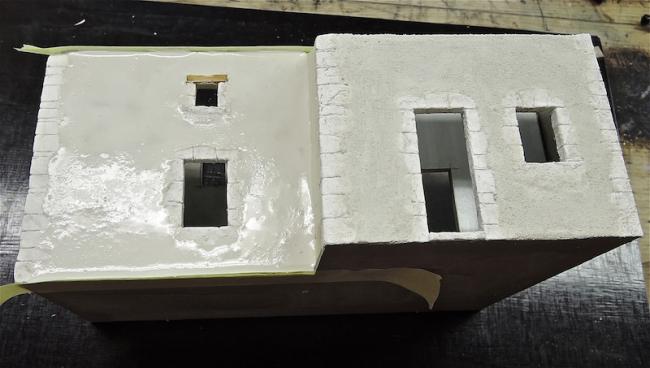
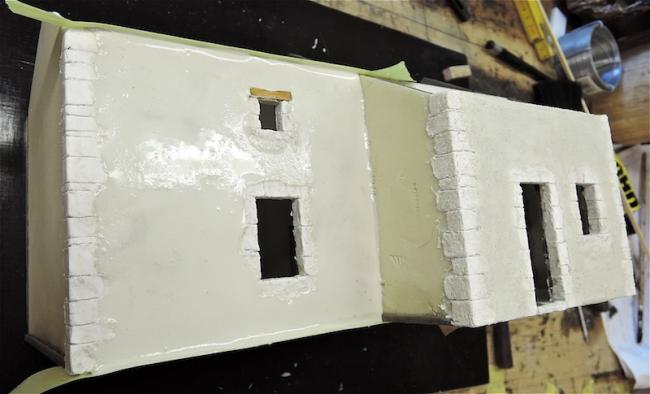
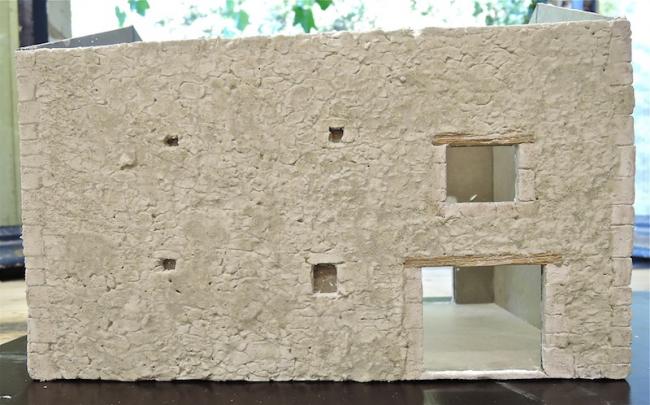
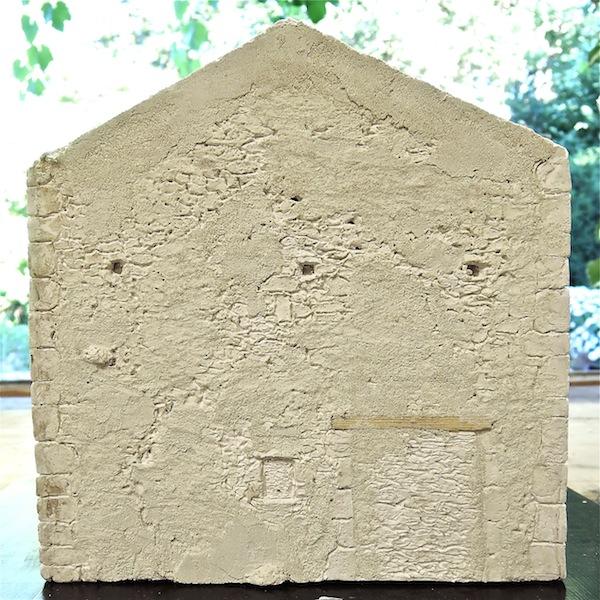
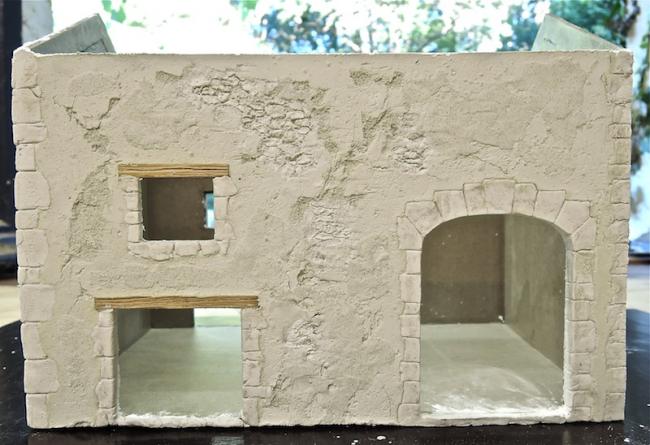
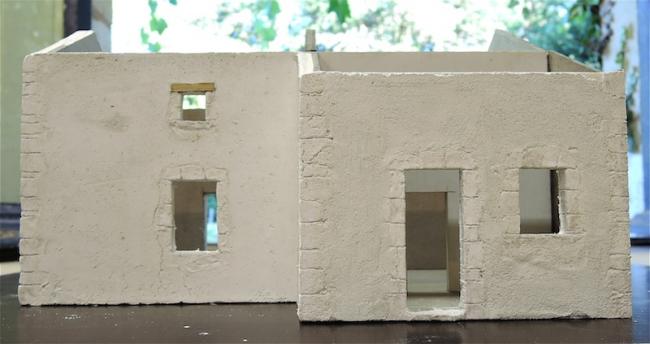
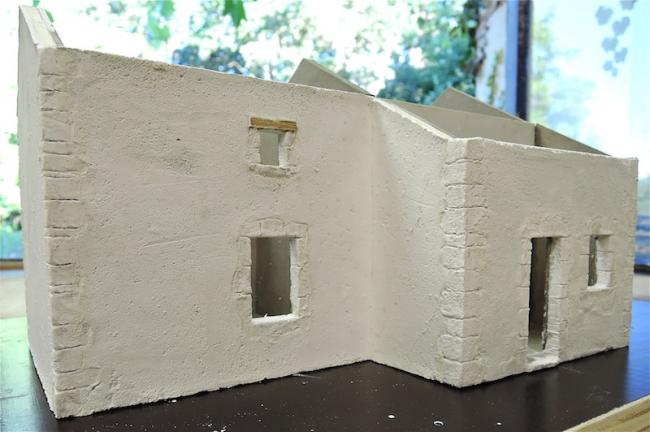
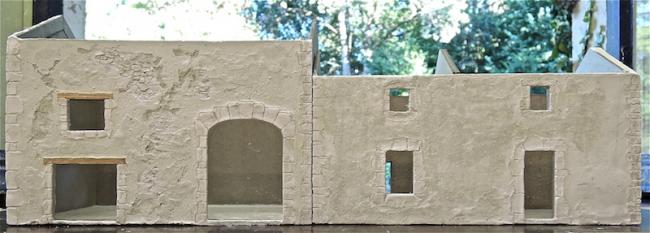
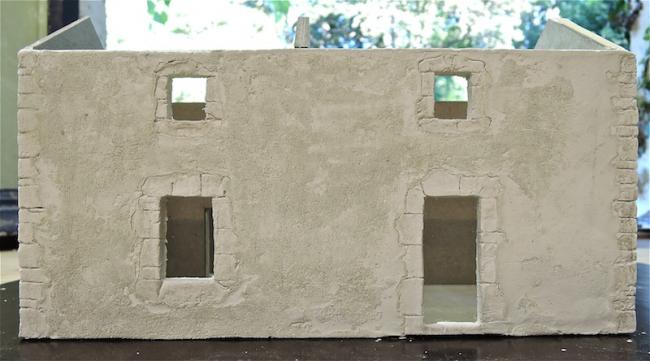
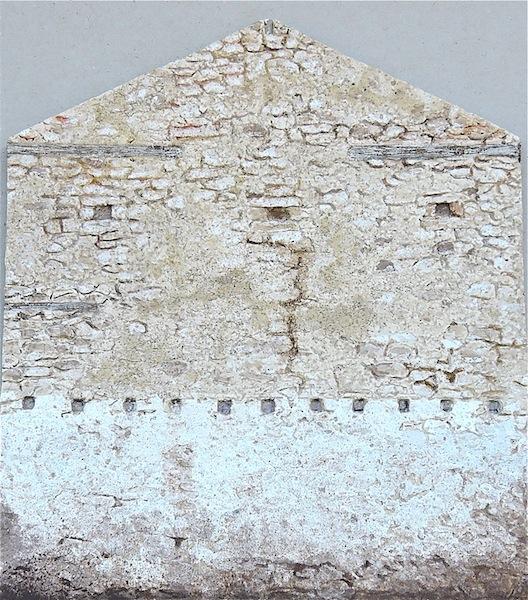
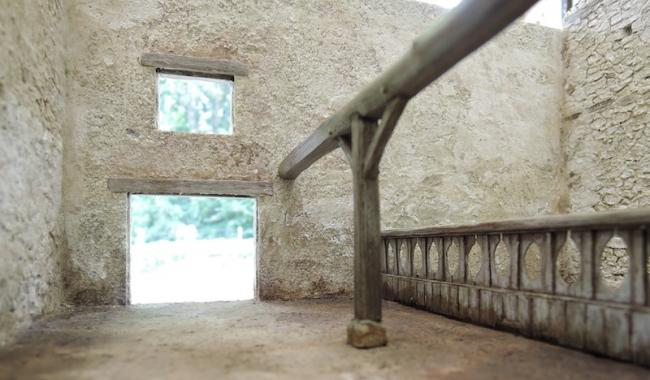
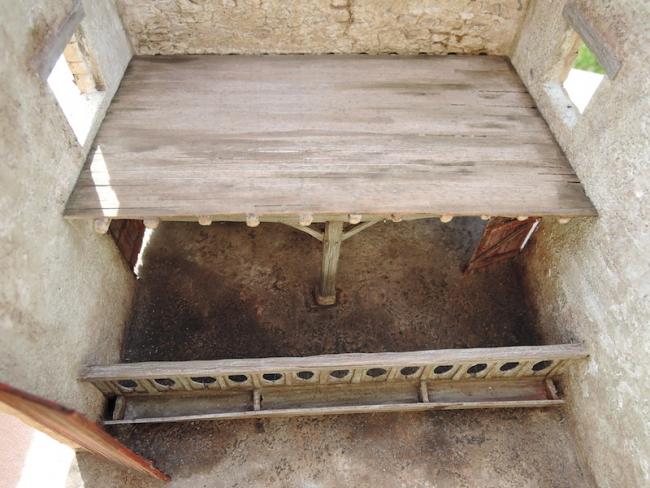
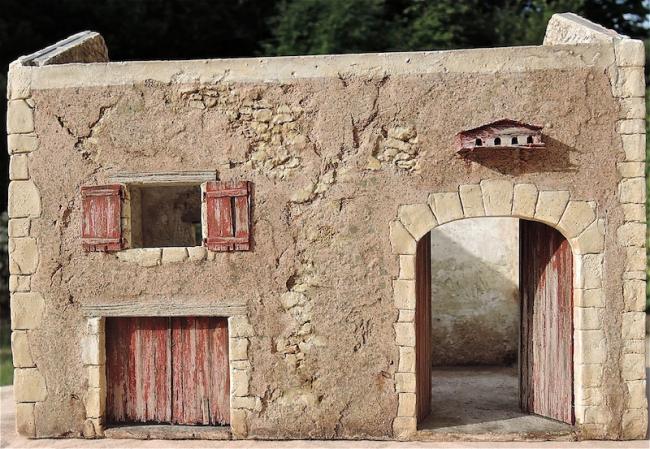
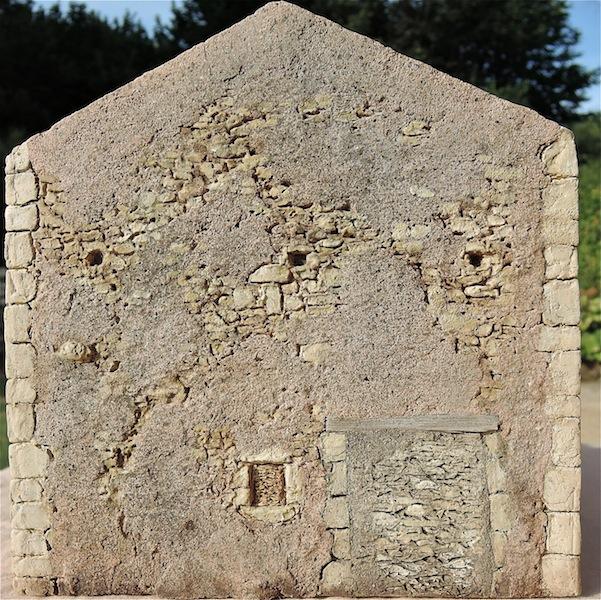
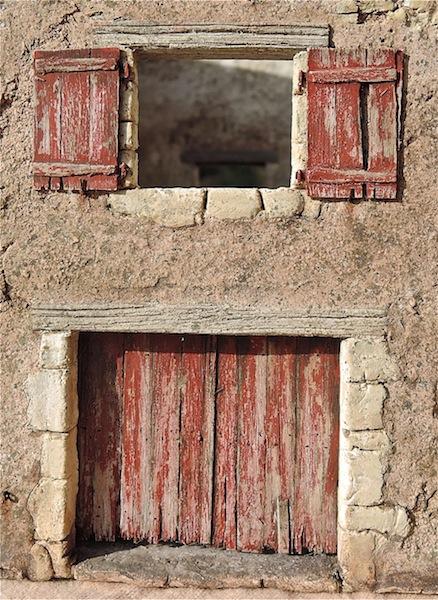
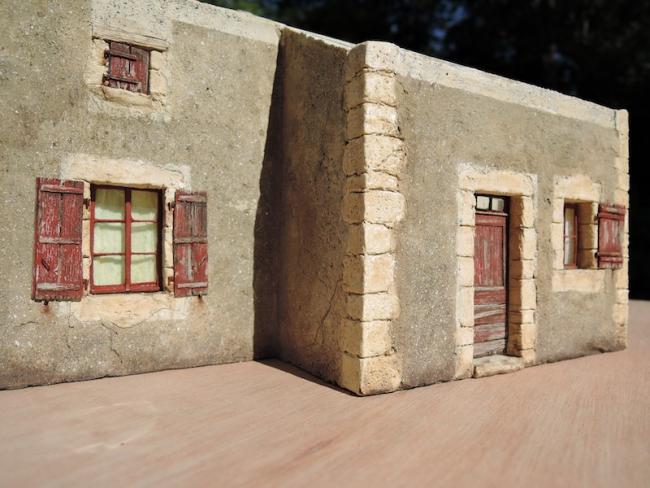
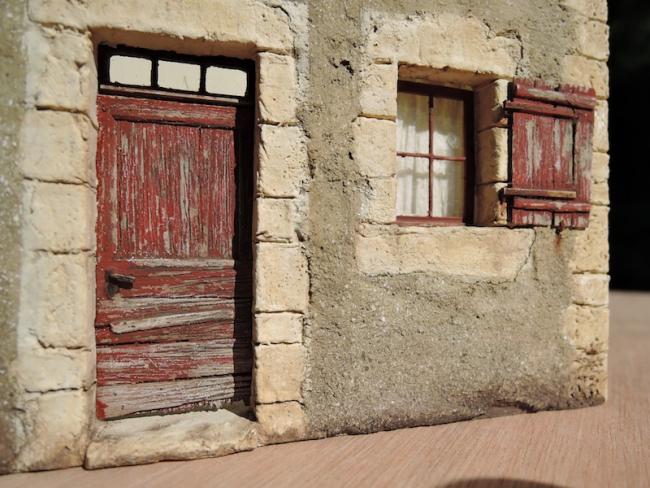
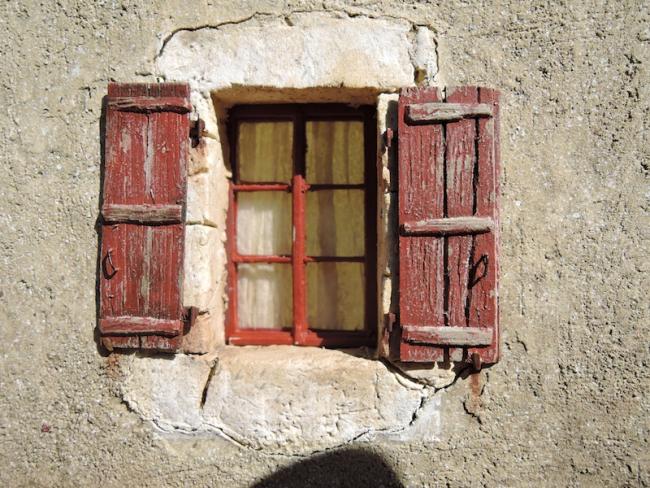
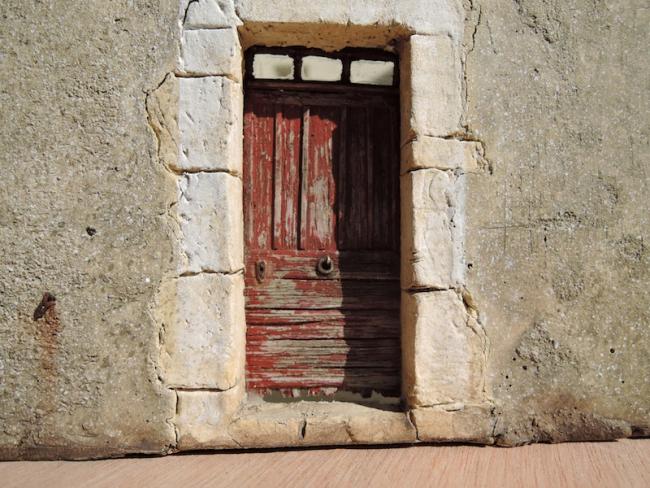
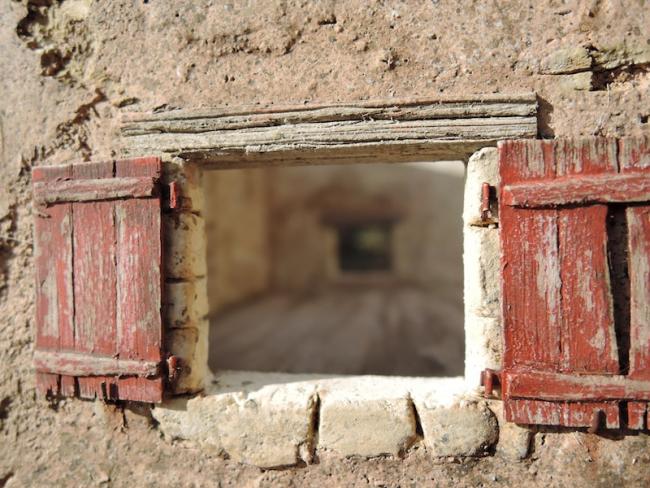
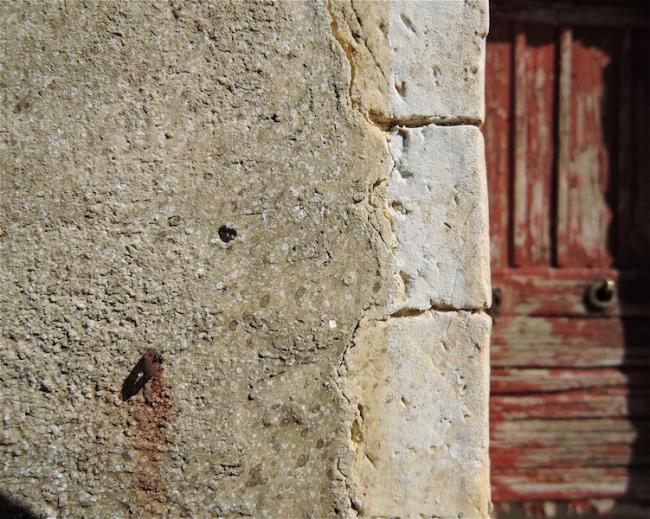
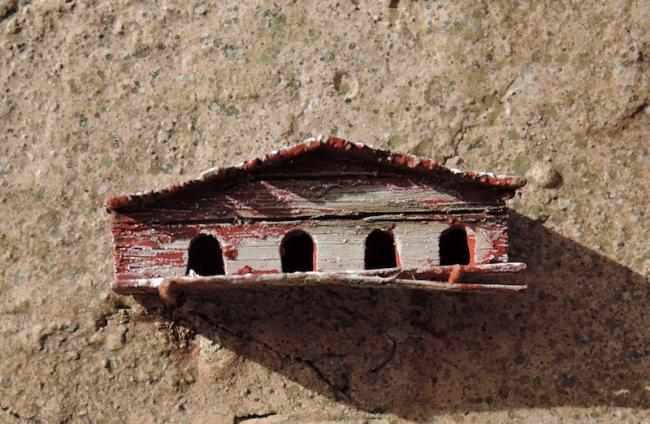
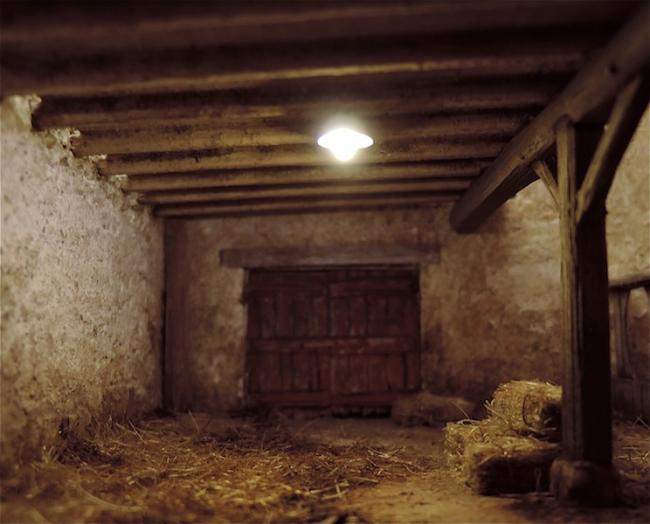
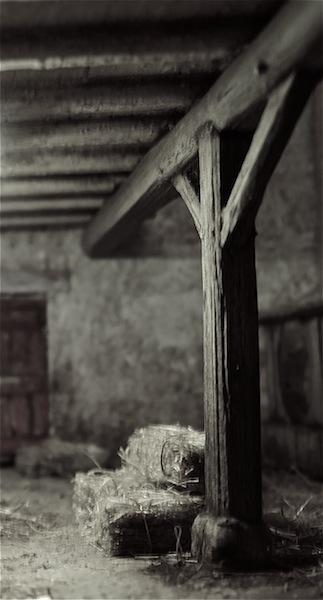
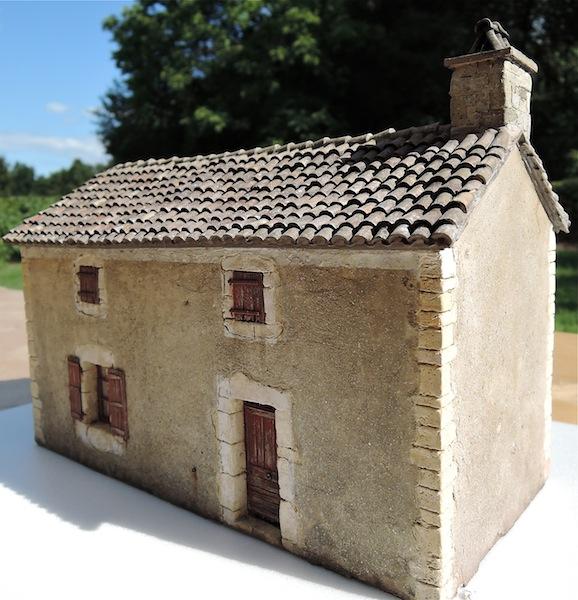
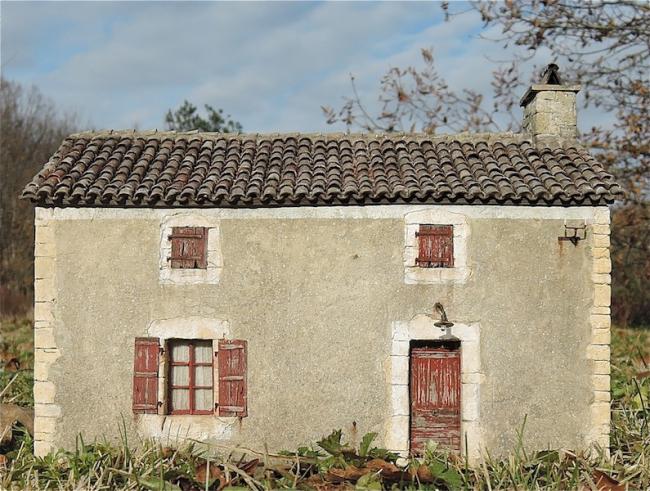
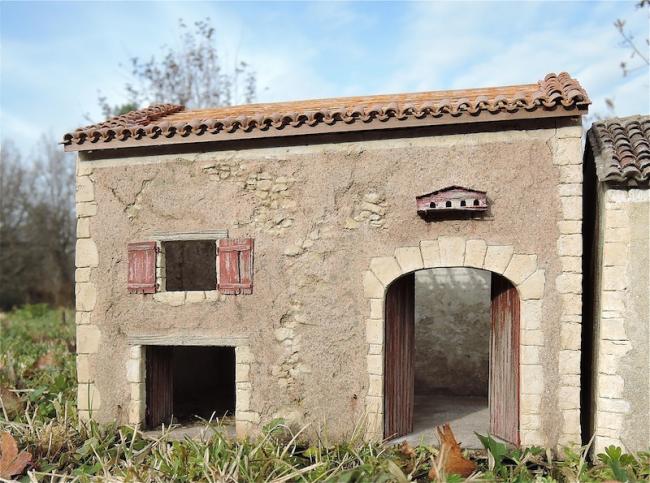
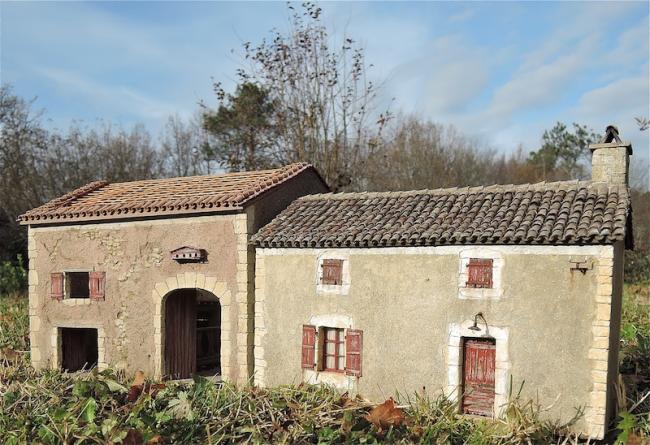
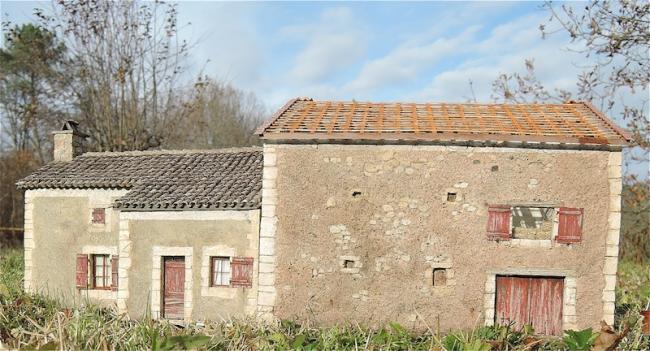
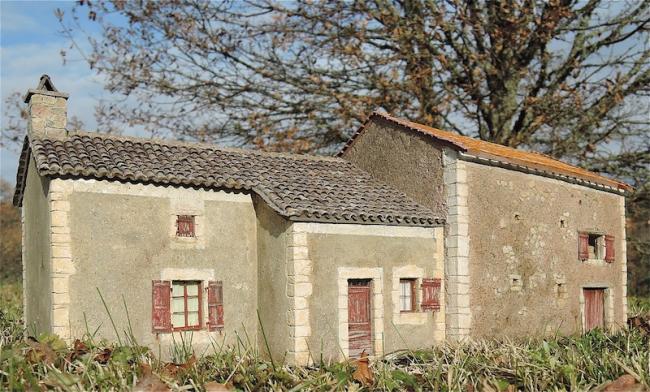
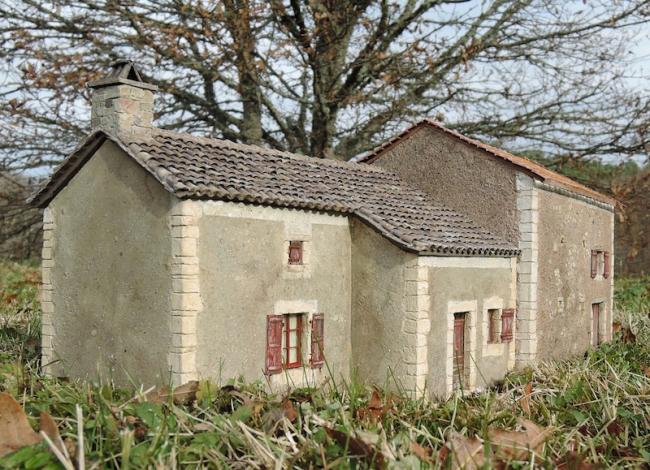
For my layout I've scratchbuild this farmhouse and it's barn. Easy because it's the edifice where I live and work in....
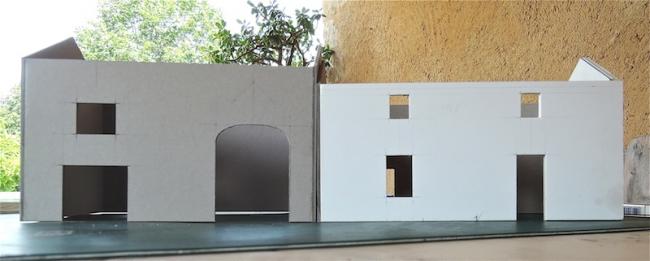
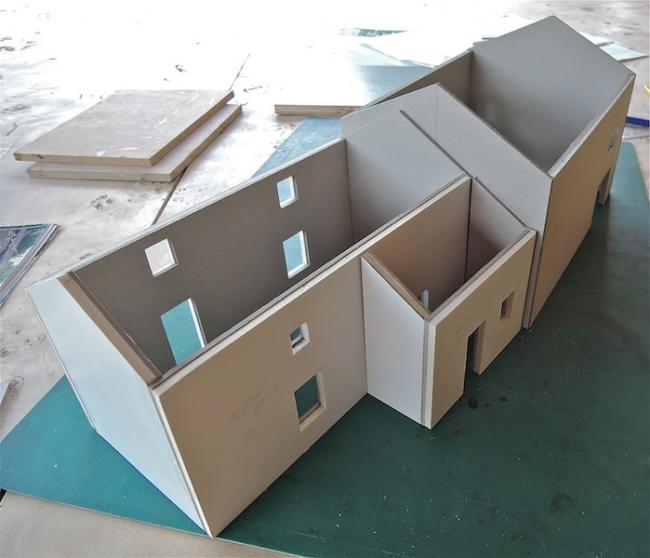
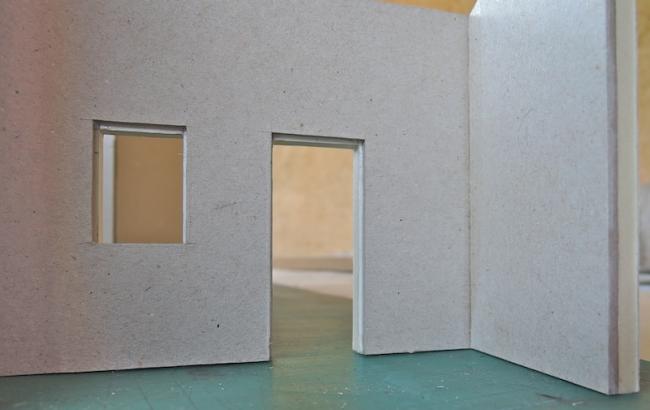
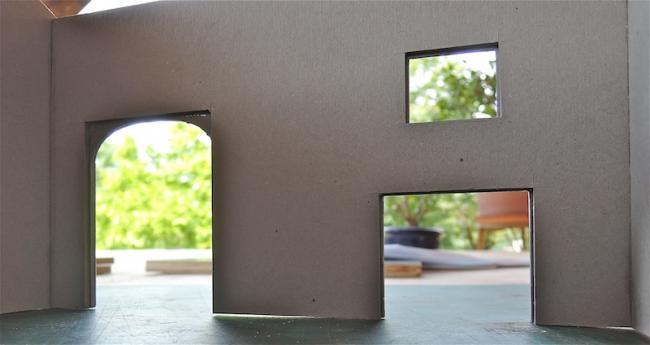
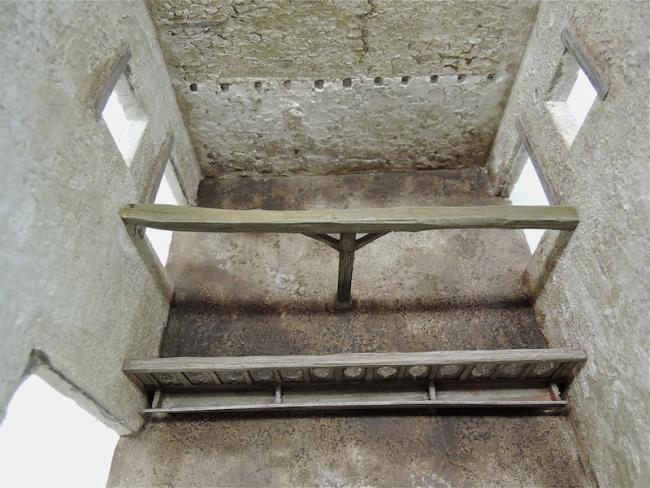
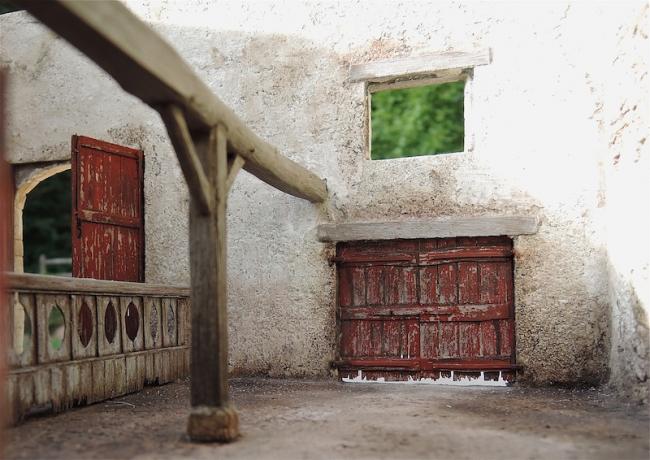
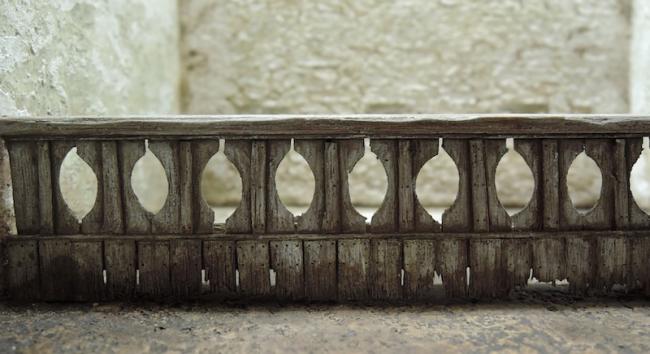
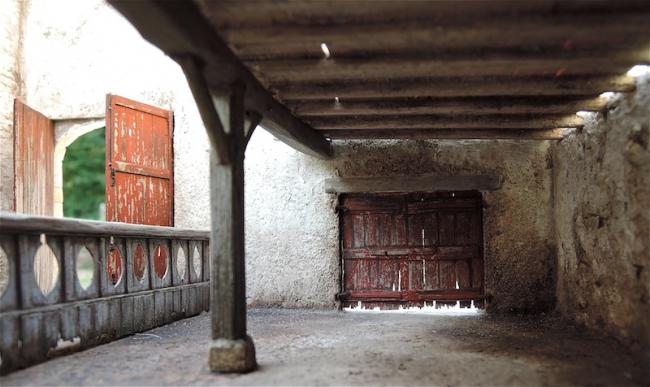
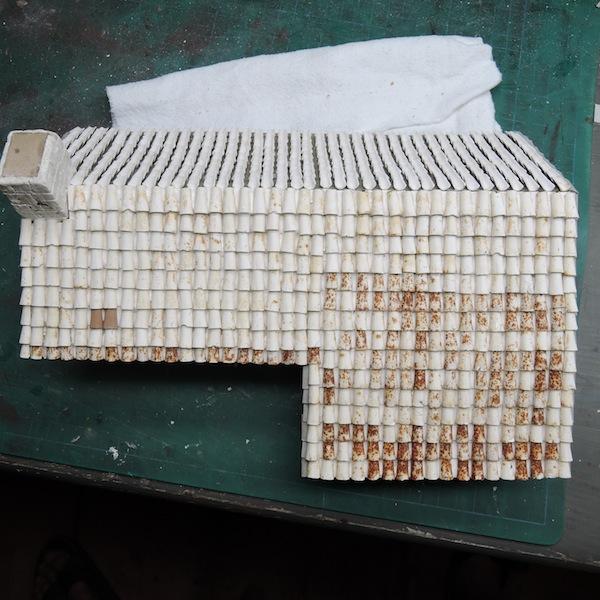
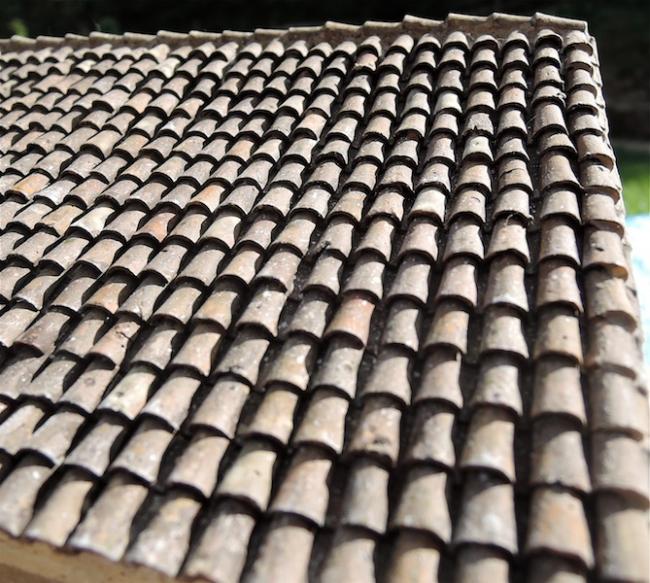
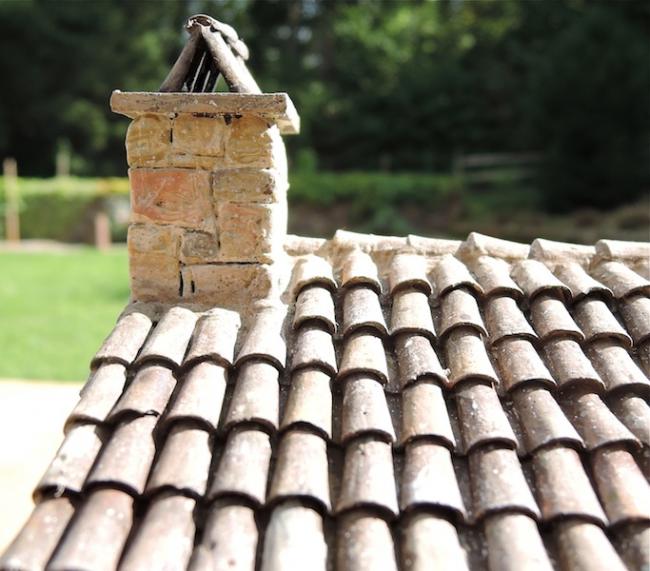
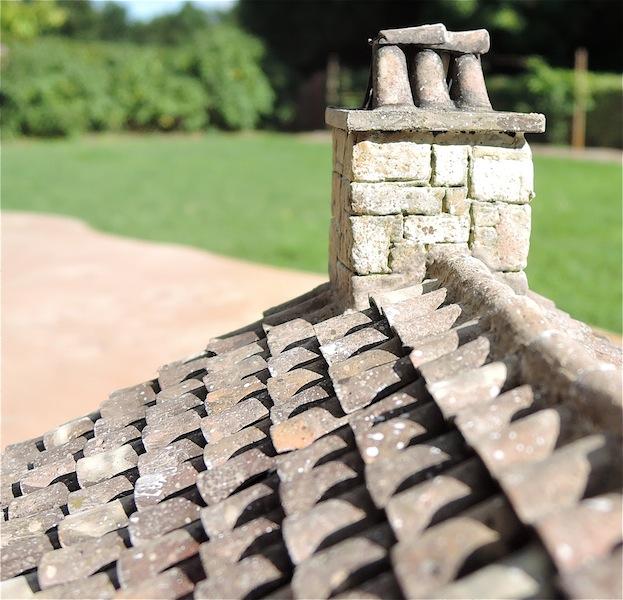
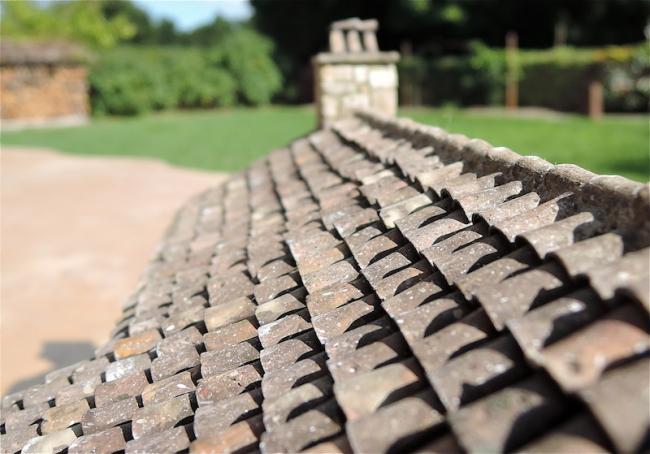
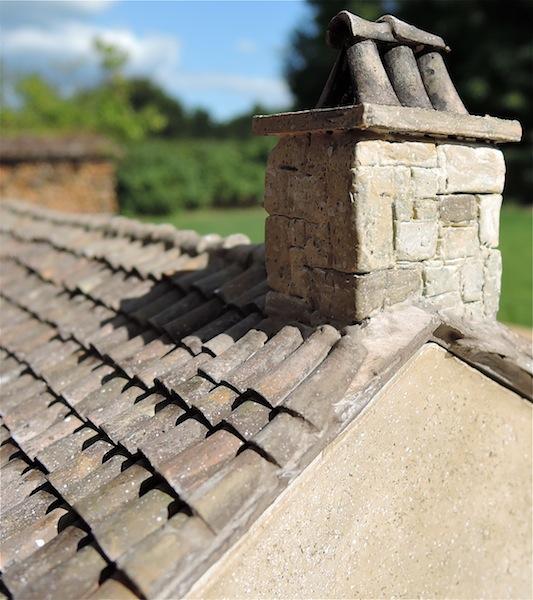
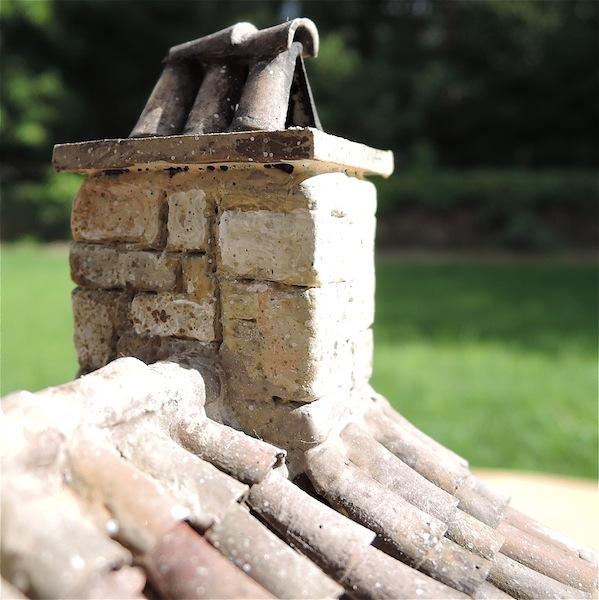
So here are some pictures of the building proces. Cardboard, clay, plaster, wood, sand and wood are the main components.
I'll let the pictures speak for themselves.
And the roof
buildin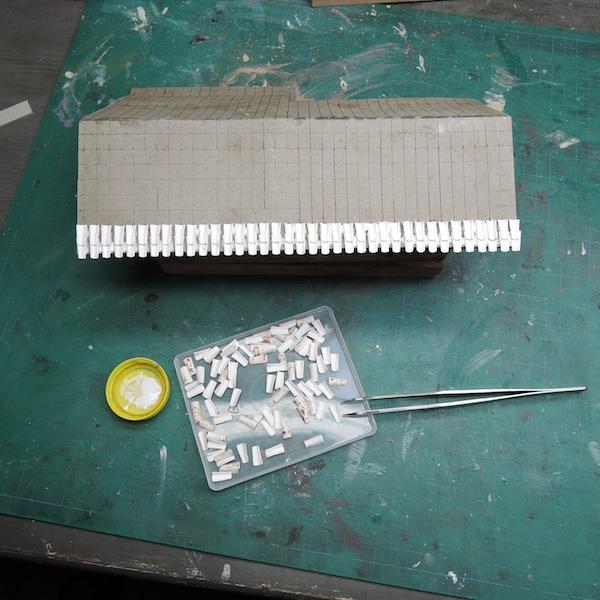
g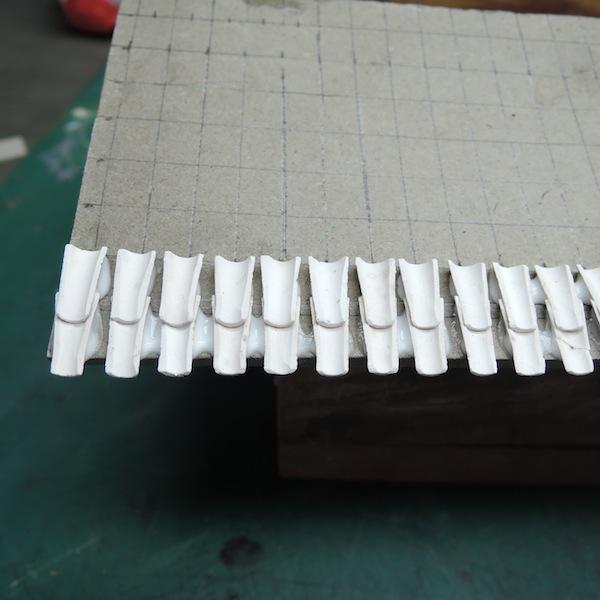
proces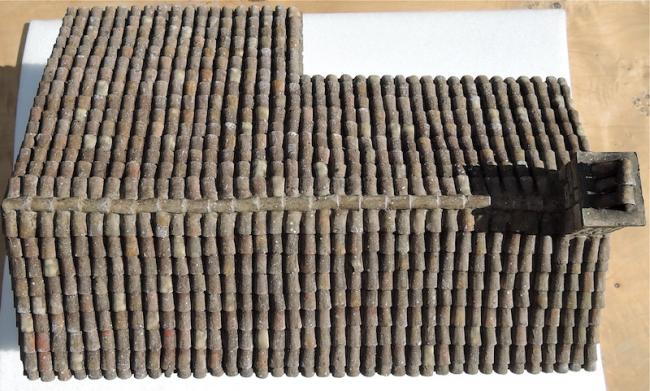
Thanks for watching
Robert
So here are some pictures of the building proces. Cardboard, clay, plaster, wood, sand and wood are the main components.
I'll let the pictures speak for themselves.
And the roof
buildin
g
proces
Thanks for watching
Robert

Comments
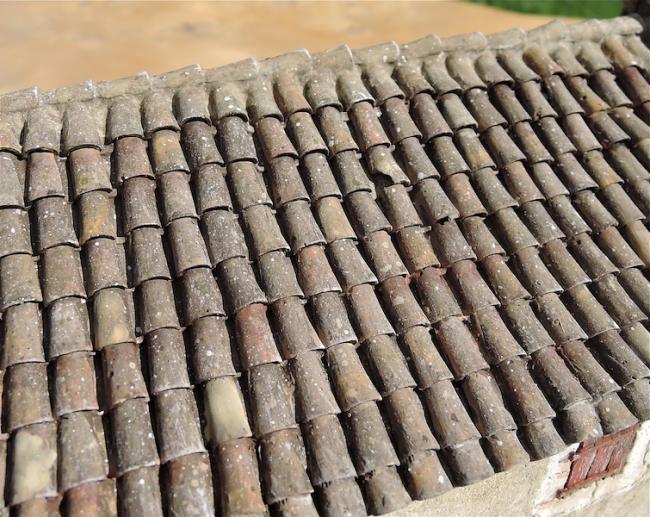
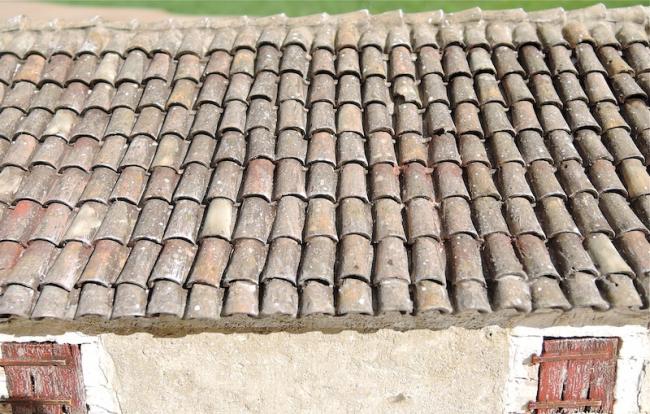
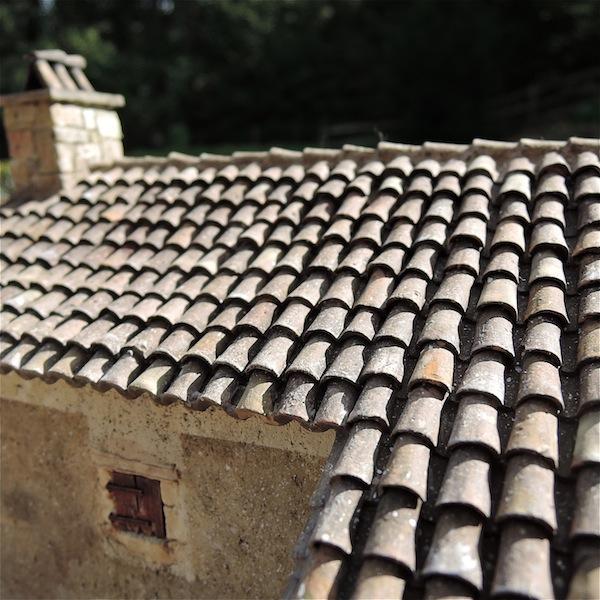
Can you please describe in some detail how you created the clay roof tiles? They are exquisite!
Thanks, Dave S. Tucson, AZ
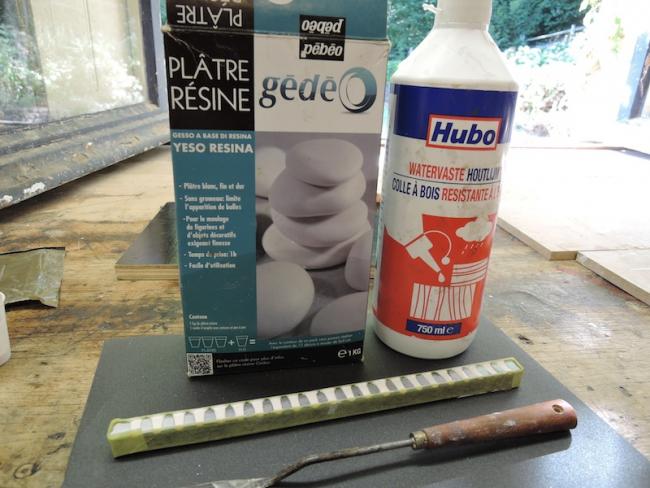
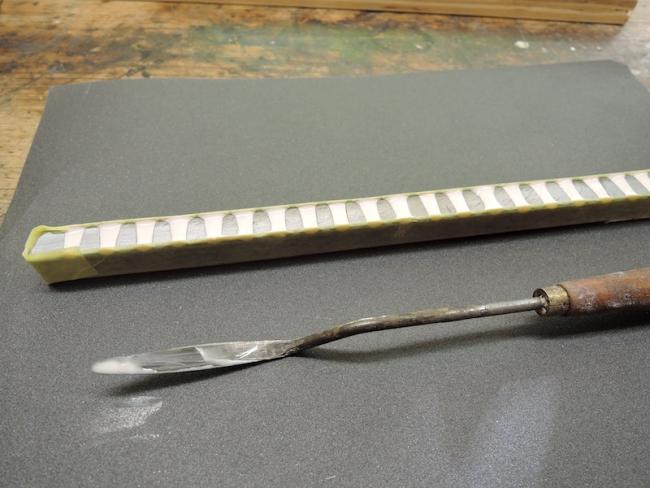
Then it was just a matter of first, putting masking tape ( the yellow) the two sides of the iron. Then I sprayed a little WD40 on it to remove afterwards easier the castings.
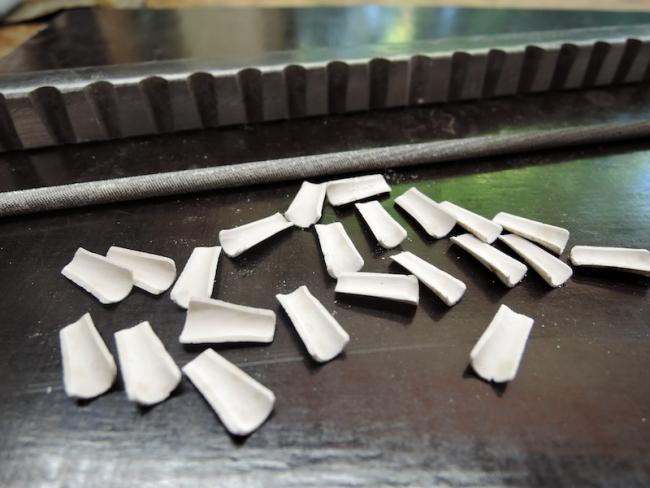
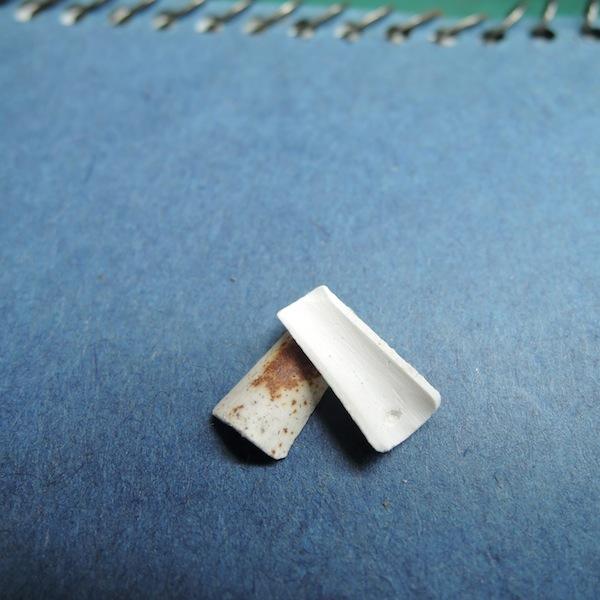
Then I pourred dental plaster ( or resin plaster as you like) , which is harder the the ordenary plaster, into the mould. I let it harden overnight and the I filed, while the plaster was still in the mould, the hollow part of the tile.
The advantage of leaving it in the mould is that the latter would support the fragile tile from breaking . If you should do this whilst holding a tile with your fingers , it would.
No way of clamping such a shape. I used a file to sharpen chain saws because it had the perfect fit. Then you can easily, but still carefully, push the shaped tile out of the mould.
This is a very time consuming process, but the result is there. I had to do about a thousand tiles, so it became a daily ritual. In the morning a batch, and in the evening a second that could harden overnight.
I also put a little white woodglue in the mix, instead af all water. Makes it tougher.
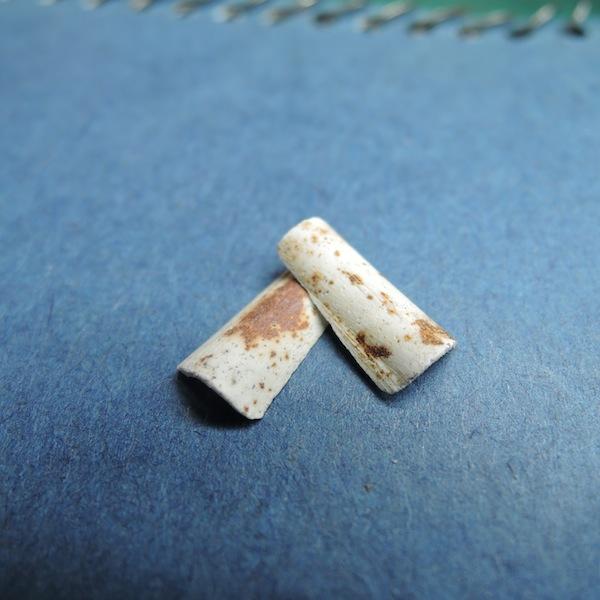
Then after all the laying of the tiles , in two layers. One upside down and the second over the latter, they are placed like that, the colouring could start. Tamya paints, AK interactive pigments, alcohol. A bit like Brett does his stripwood.
The patination is also a long term process since I painted the tiles one by one to get a realistic variation in the whole. Same as the stripwood.
And as with all the builds you do, look at the reality. All of my home roofs are tiled with these Roman Tiles or 'tuilles canal' in french as the are called.
So, as you can see, the theory behind all this is quite simple. It just takes time .
But as modellers, we're used to that , aren't we.......
Robert
Bonjour Monsieur,
Thanks you for explaining your process of making roof tiles. From your explanation it is very clear how to achieve the results you got. Time and patience seem to be basic parts of the recipe.
At the present time I am making stone blocks to scratch build walls for a small structure. After that I will start to make roof tiles.
Merci Monsieur,
Dave Sarther. Tucson, AZ
After looking back at the build of your house and barn a few times as well as your other introductory postings I am beginning to think you have an established background in military modeling. You are quite the accomplished modeler and I can see that I have lots to learn from you and many, many other modelers in this forum about building structures. Looking forward to more of your posts and a possible tutorial of how you do your stucco walls and "coin blocks" (corner stone blocks in a masonry wall).
Later, Dave Sarther Tucson, Arizona
I discovered Sierra West and ordered the Sawmill from Brett. But meanwhile, I wanted to share my previous builds with the forum. I'll post some more later on on what you've asked.