visit sierrawestscalemodels.com

Shelby's Marine Service

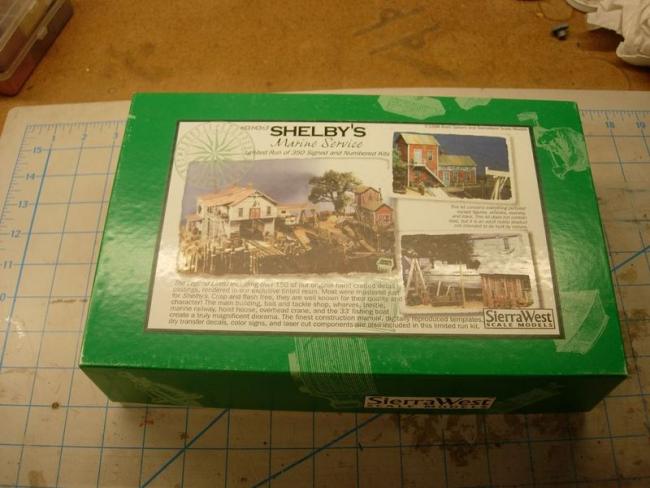
I have been building my first layout this past year and have not been building any kits of any kind. I need a break and am going to build Shelby's. DSCN3133
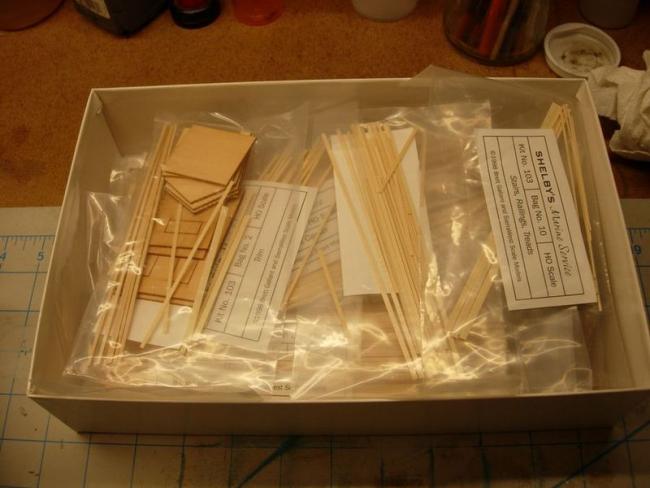
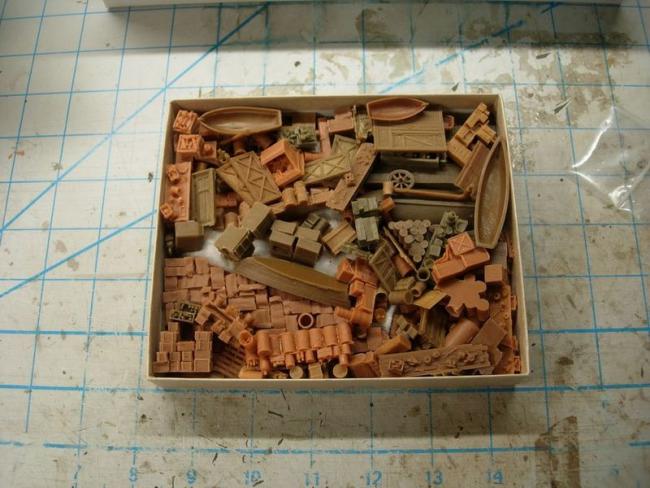
Here is a picture of all the great castings that came with the kit.DSCN3134
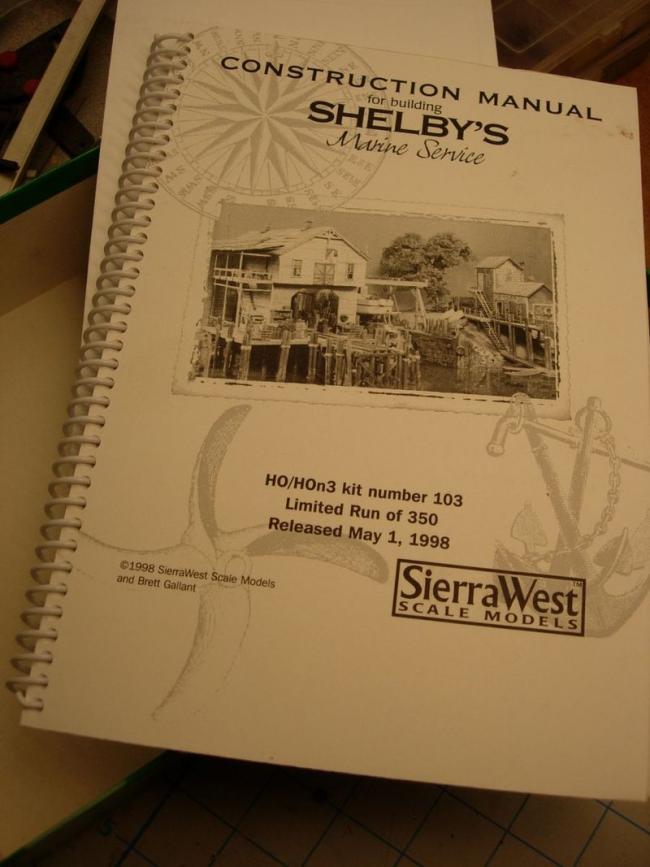
I have been spending my time studying the instruction manual. I will have to determine whether I use the techniques in the manual or more up to date ones.
DSCN3138
And the overall contents of the kit.
DSCN3137
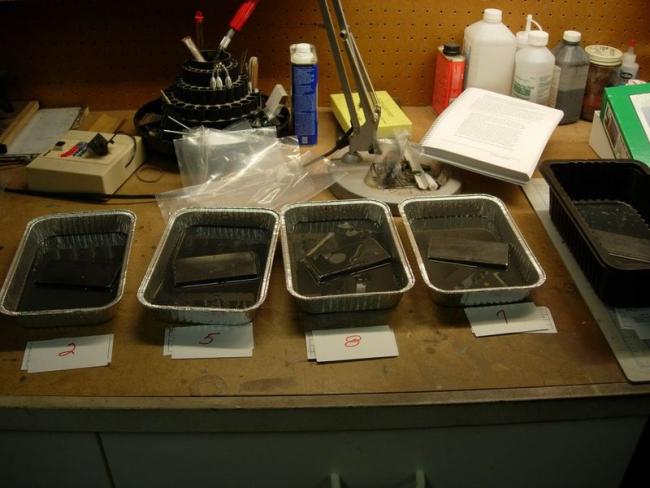
I decided to mix up Brett's recipe for soaking the strip wood since thee is so much of it rather that using the pastels.
DSCN3139
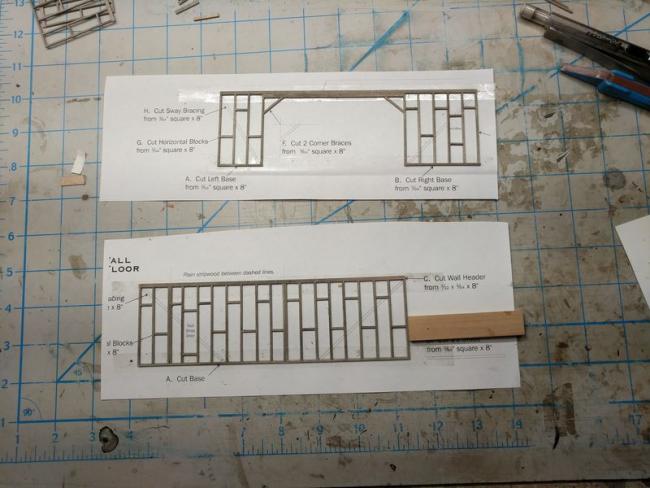
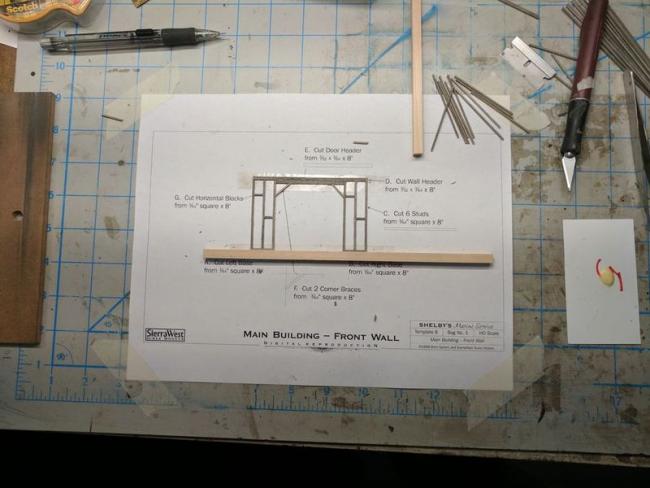
The framing for the walls.
00002IMG_00002_BURST20170219151450_COVER
IMG_20170217_153259
«13456789

Comments

  • Here are some pictures of my layout which I have been working on this past year.00001IMG_00001_BURST20170217152418
    IMG_20170217_152756
    IMG_20170217_153037
    DSCN3108
  • Nice start on the kit and the layout. I looked for a thread under layout construction for yours and didn't see one. I'd be interested in seeing more about the layout at some point.
  • I am a big fan of your work and can't wait to see you add your touch to Shelby's. Thank you for posting your build for all of us!
  • edited February 2017
    Excellent Stephen, I love this kit and it was one of the kits I was toying with building before I settled on BlueSky. That layout looks incredible and well populated with SWSM dios!
  • I have building some of the logging series of Brett's kits and did a scratch build on a sawmill Ken. I wanted to do something completely different and I thought this would be a real fun project to build. Your wood clinic will be a big help on this kit. So we shall see what kind of student I am.
  • Looking at your work, it doesn't appear you need much help! Very anxious to see you work through Shelby's. Right, I thought I detected a saw mill tucked in there!
  • Nice looking layout so far. Keep us posted.

    Jerry
  • Looks great so far. I am marvelling at how neat and clean your room is. You can really focus on the models.
  • You have a good eye Ken. In the back is a sawmill I scratch built based on plans I had for the Sturgeon Sawmill in Northern California.

    Thanks Jerry for your comment.
  • Wonderful work so far. Ill pull up a chair and watch this unfold.

    Pitty the other fellows beat me to the front row though.
  • Steve, I know how you feel. I miss building kits, but I really need to make some progress on my layout. Too much business travel. I will be following along. Phil
  • Hi Phil,

    Last weekend I picked up 50 Tortoise switch machines. I also got some of the Barret Hill touch toggles to see what they are all about. They look very easy to install, make the wiring also easy and will make a cool looking control panel.

    The last few days, I have been prepping strip wood for the siding on Shelby's. Very slow process.

    So I will probably be installing switch machines and working on Shelby's concurrently.

    Wes, glad to have you along.

  • Wow, 50 switch machines!!! You won't regret getting the Barret Hill touch toggles. They are really nice. As for the switch machines, I hope you bought the drilling template. It makes is a lot easier. Phil
  • Here are some pictures of the main building right wall. After soaking the strip wood I used the damp brushing technique with a white acrylic paint to achieve the weathered effect. I distressed the individual pieces of strip wood per Ken's grunge clinic. After, I applied A/I.

    Burst_Cover_GIF_Action_20170228165420
    IMG_20170228_165854 (1)
    IMG_20170228_165906
  • Loving your peeling paint effect. Nailed it!
  • Paint effect looks awesome but what I really like even more is how you weathered the edge of the boards...especially the ones on the 45 degree angle.
  • Great start to one of my favourite kits. Excited to follow along
  • Thanks for the comments. I appreciate the feed back. It helps moving forward with the rest of the walls.
  • Stephen, looking really good and not only is the peel effect well done but you've got boards with great individual character through your detailing. Nail holes look just right not too 'loud" but noticeable. Like Joel, I'm really excited to be following this build of such an iconic SWSM Kit.
  • Thanks Ken. That means a lot coming from you.
  • You bet Stephen, well deserved and always nice to get off to a good start on a build like this. I just read through a couple of older build threads on Shelby's and your wood detail is as good or better than any I looked at.
  • Hey Ken
    What the one that I built on page two?
    Carl
  • Was looking at actual build threads of the construction process with detail shots of the siding treatment. Your pictures I think were a couple of your finished Shelby's diorama if I remember correctly...I don't think they showed any real close ups. Your work historically is something we much younger modelers aspire to and judge our work against. Wasn't slighting your Shelby's just wasn't looking at it from a build thread standpoint.
  • Hi Ken,

    When this kit came out the instructions for the peeling paint effect was done by blotting the towel with paint on it on the strip wood. I think that the damp painting technique looks much better.

    When I built the loco service facilities, the peeling paint effect was done completely different and gave very good results. The effect though is different from the peeling paint from the damp brushing technique and it also is very time consuming.
  • sdrees said:

    Hi Ken,

    When this kit came out the instructions for the peeling paint effect was done by blotting the towel with paint on it on the strip wood. I think that the damp painting technique looks much better.

    When I built the loco service facilities, the peeling paint effect was done completely different and gave very good results. The effect though is different from the peeling paint from the damp brushing technique and it also is very time consuming.

  • The second story walls are chip board and they are braced with 1/4" strip wood.DSCN3154

    The second story chip board walls and the first story walls are glued together and the trim has been placed except for the front wall.


    IMG_20170305_152130


    IMG_20170305_152144 (1)


    IMG_20170305_152210


    IMG_20170305_152158 (1)
  • The siding looks great Steve.
  • Thanks Steve, I still have some more work to do on the walls.
  • Hi Steve!
    The walls look great. I am looking forward to seeing this come together. your layout is awesome. Can I ask was there any tricks to doing a helix? How much space does this occupy? I may need to do this to change heights on the layout I am working on. I have been building structures for some time and getting close to laying them out so I can start on some track work.

    Jim
  • I'm with Jim, walls do look really good. Between that terrific layout and the structures you've done a ton of work there. Look forward to some walls coming together.
Sign In or Register to comment.