Howdy, Stranger!
It looks like you're new here. If you want to get involved, click one of these buttons!
Categories
- 997 All Categories
- 3 Picture Posting and Resizing
- 60 New Member Introductions
- 118 Off-Topic Forum
- 2 Photography
- 2 Resources
- 18 New Product Information
- 171 The SierraWest Forum
- 12 Brett's Blog
- 120 General News & Ramblings
- 3 Re-Release Information
- 6 Q & A about SierraWest
- 9 What Would You Like to See?
- 412 Builds
- 146 HO Scale Builds
- 183 O Scale Builds
- 62 Finished SW Build Pics
- 15 Miscellaneous Builds
- 194 Techniques
- 19 Working with Wood
- 23 Painting Castings
- 4 Masonry
- 23 Scenery
- 37 Tools and Supplies
- 22 Layout Planning & Building
- 40 Miscellaneous
- 21 Prototype Information
- 20 Reference and Research
My ON30 layout.
Reluctantly, I am going to show and discuss a little of my layout. As I have mentioned before, I am not a good modeler but I do enjoy it immensely. Once I finally convinced my wife I needed something to do in the winter to keep active other than going to the Y all day and the fact that the Grandchildren were growing so fast they wouldn't be able to enjoy it for long.
I started planning nd came up with a shelf layout with about 40 lineal feet, 30 inches long. It is in the shape of an inverted, squared cornered, U. It is located in what is called a bonus room up stairs. It gets very hot in the summer and the only window is now inaccessible.
When I first contacted Brett he really convinced me to go ON30 as the details were so much easier to see, work on, and enjoy. I am forever grateful for that advice.
I have a great deal of scenery details to add as time goes on so this thread will go dormant for some time every so often. I hope to be able to find a spot for O'Neill's on the layout but it is pretty full so we shall see. You will also note many white stumps where I plan on weathering them with chalk. A&I doesn't do much for them. I used Rhododendron for stumps and logs as I liked the bark they simulated.
Above all, please give any suggestions that you can for improvement. If the photos are not clear enough say so and I'll try to improve on them and repost. Thanks guys,
Geezerbill
Rigging Shed
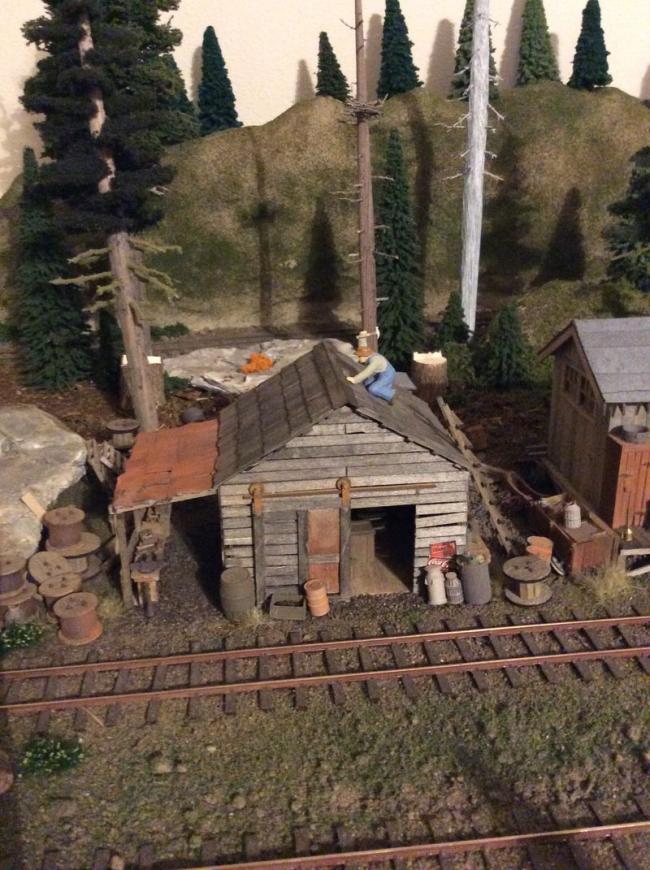
Tool Shed
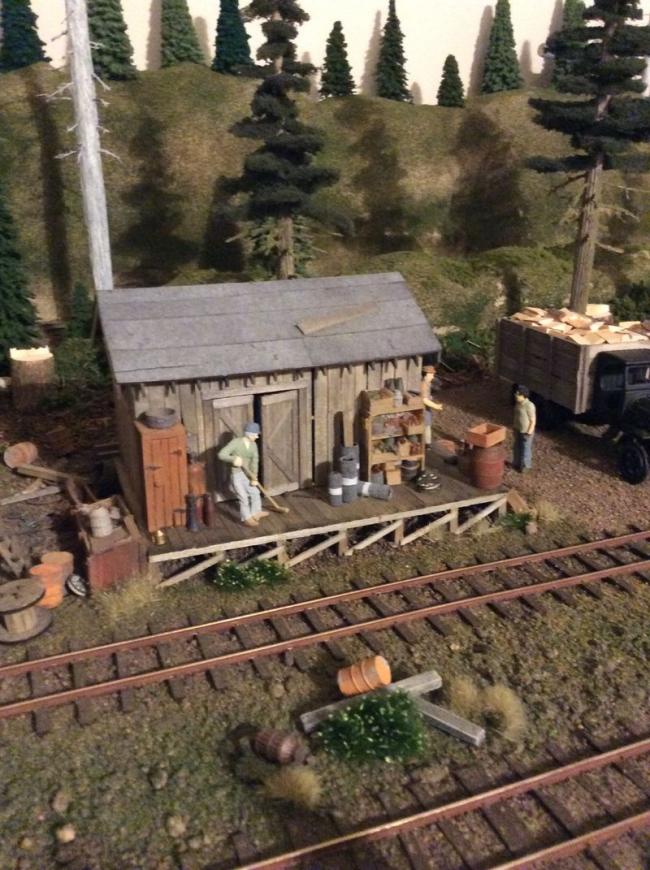
Wood Cutters at work.
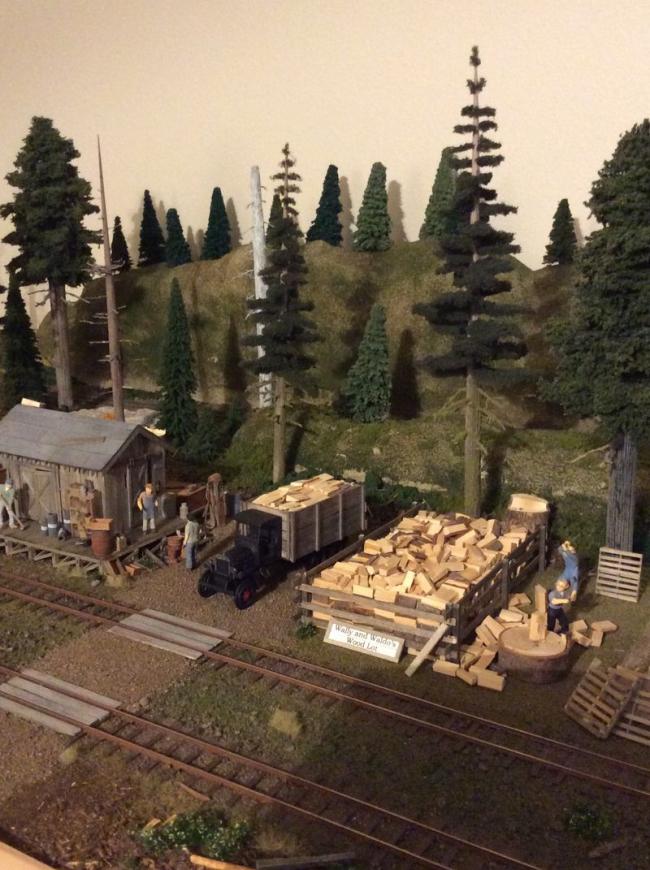
Wood Cutters shack.
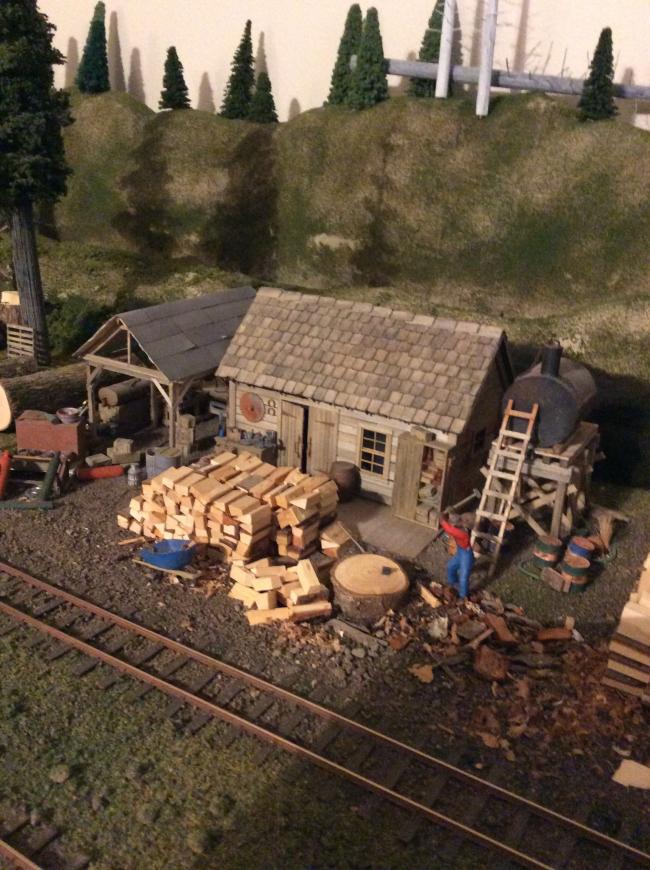
Looking down the track.
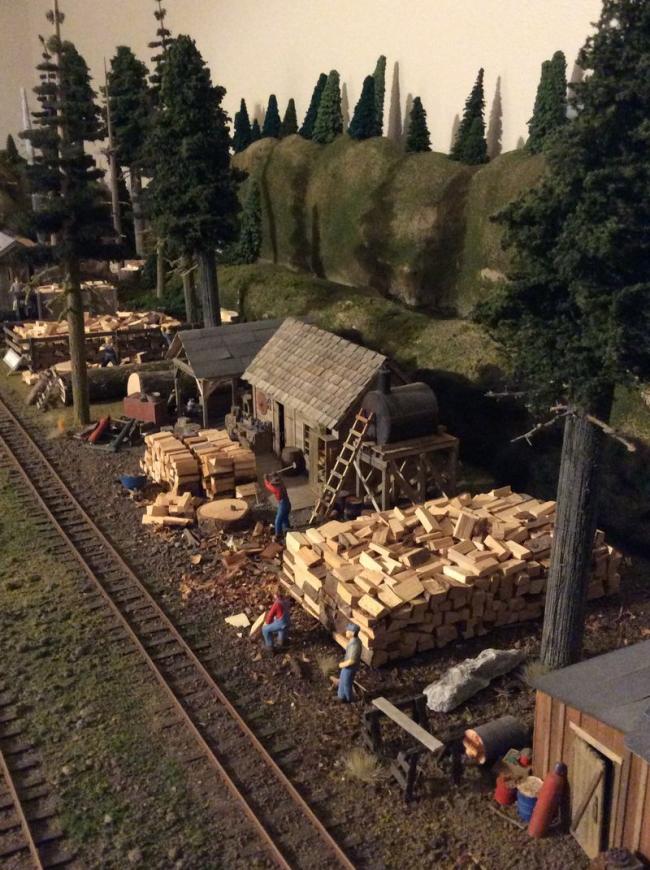
That's it for now more later and should anyone want more detail/close ups just say so.
Bill
I started planning nd came up with a shelf layout with about 40 lineal feet, 30 inches long. It is in the shape of an inverted, squared cornered, U. It is located in what is called a bonus room up stairs. It gets very hot in the summer and the only window is now inaccessible.
When I first contacted Brett he really convinced me to go ON30 as the details were so much easier to see, work on, and enjoy. I am forever grateful for that advice.
I have a great deal of scenery details to add as time goes on so this thread will go dormant for some time every so often. I hope to be able to find a spot for O'Neill's on the layout but it is pretty full so we shall see. You will also note many white stumps where I plan on weathering them with chalk. A&I doesn't do much for them. I used Rhododendron for stumps and logs as I liked the bark they simulated.
Above all, please give any suggestions that you can for improvement. If the photos are not clear enough say so and I'll try to improve on them and repost. Thanks guys,
Geezerbill
Rigging Shed

Tool Shed

Wood Cutters at work.

Wood Cutters shack.

Looking down the track.

That's it for now more later and should anyone want more detail/close ups just say so.
Bill

Comments
Ken, thanks for your observation of the to shinny wood. I should have picked up on that. I painter three coats of A&I on them and it has helped to tone them down. thanks for that heads up. I appreciate both comments.
Geezerbill
Geezerbill
Carl
Phil, thank you! I have one Climax and a Porter. The Porter stalls through the turnouts as I have heard it usually will. I have a hex Frog juicer but have never installed it as I am not the greatest at wiring
Thanks Carl. I am stopped until my scenery supplies arrive the end of the week. Then I'll continue along the layout again. Have several more kits to show including the up scaled passenger station, tractor repair sheds (2), mill engine and boiler, and loggers bunkhouse.
As always please be critical, I desire and need all comments that I can implement to make a better layout.
I forgot to mention in my first post that the track plan is basically an extended dog bone with both ends of the layout having a 36" square module to accommodate a 22" dia. track radius. The track next to the wall starts, almost immediately upon exiting the end track loop, up a 2% grade over eight feet in length, where it then turns the first corner of the room and travels straight across that length of room, crossing a trestle, then turns another corner of the room and starts down the incline to the far end of the other end of the dog bone and loops around. This is somewhat of a messy description. I hope you can visualize it. The complete layout is built on modules so when it has to be removed it can be easily done. At each module joint the tracks are jointed to facilitate easy disassembly and re assembly. As mentioned before the base is two inch foam laid on top of 6/32" plywood which is on top of the basic bench work. The legs of the benchwork frame are also removable as they are shaped like an H and slide into tight pockets. This makes for easier transportation. The complete layout has a light brown cutain hanging to just above the floor. I understand now that black is perfered for the curtain but I would never ask my wife to sew that again:)
I have two passing sidings and a couple other dead end sidings. I used Woodland Scenics Flexible Risers for the inclines. I used ME flex, code 83 track unweathered and ME turnouts. The turnout are all manually operated.
Until next time...thanks for looking in!
Geezerbill