Howdy, Stranger!
It looks like you're new here. If you want to get involved, click one of these buttons!
Categories
- 954 All Categories
- 3 Picture Posting and Resizing
- 60 New Member Introductions
- 100 Off-Topic Forum
- 2 Photography
- 2 Resources
- 18 New Product Information
- 164 The SierraWest Forum
- 11 Brett's Blog
- 120 General News & Ramblings
- 3 Re-Release Information
- 1 Q & A about SierraWest
- 9 What Would You Like to See?
- 405 Builds
- 145 HO Scale Builds
- 185 O Scale Builds
- 58 Finished SW Build Pics
- 11 Miscellaneous Builds
- 185 Techniques
- 19 Working with Wood
- 23 Painting Castings
- 4 Masonry
- 16 Scenery
- 37 Tools and Supplies
- 22 Layout Planning & Building
- 38 Miscellaneous
- 19 Prototype Information
- 18 Reference and Research
O scale Tool Shed Build
I'm finally getting to this great tool shed, and thought I would document the steps, procedures, thoughts I have taken in this build. I have 2 more, much larger kits in my cabinet ( Tractor Repair and O'Neills) so it's time to try to catch up. I wanted this shed to represent a weathered whitewashed or painted building, and decided to use white oil paint for the basic coloration.
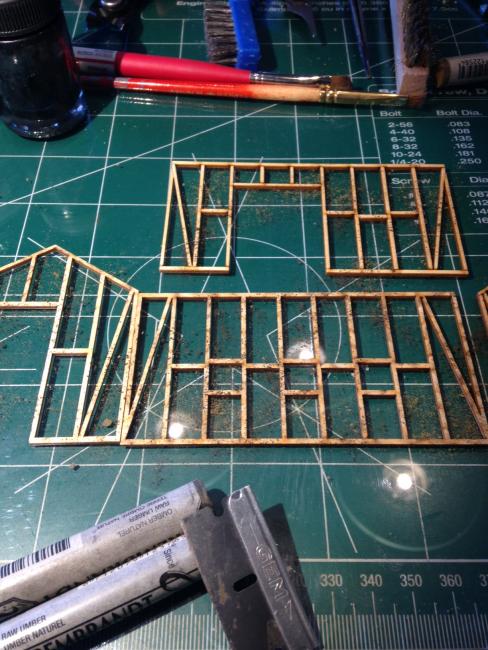
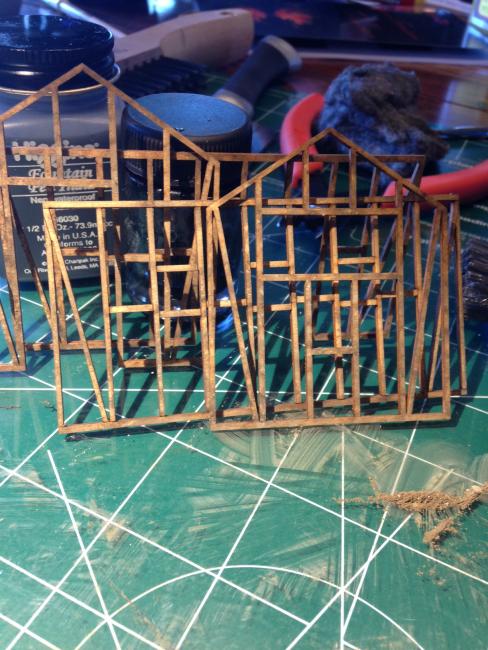
I started with chalks and alcohol coloration on the framework
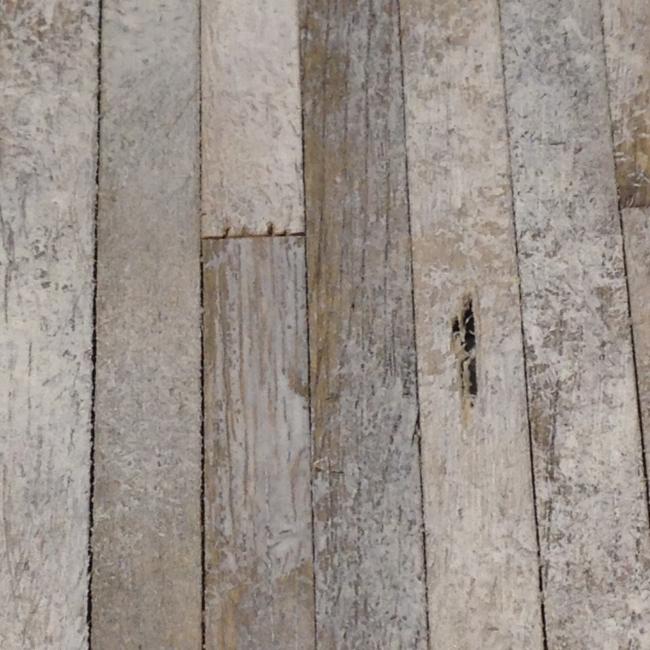
Next I used the same chalk and alcohol technique to color all of the siding, giving it a weathered base. After all the siding pieces were colored I used a tube of cheap white oil paint and a medium stiff wide brush and "pounced" color onto the boards, 5 or 6 at a time. Pouncing is simply stabbing at the wood with absolutely no intention of completely covering it with color. Where I ended up with too much color I used a brush loaded with alcohol and rubbed color out. I tried this almost by accident and I think it works well.
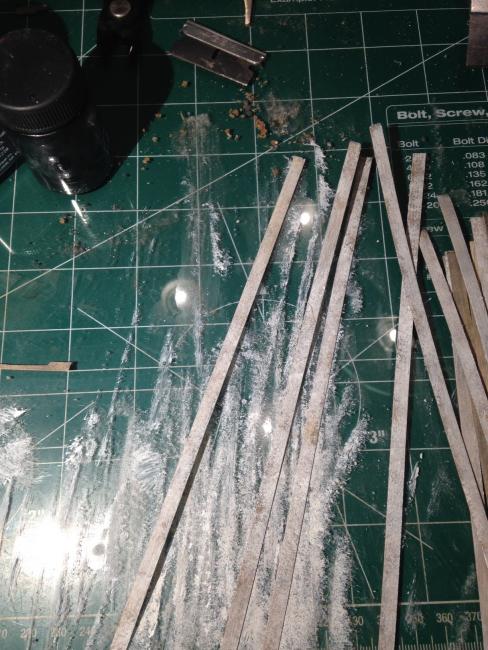
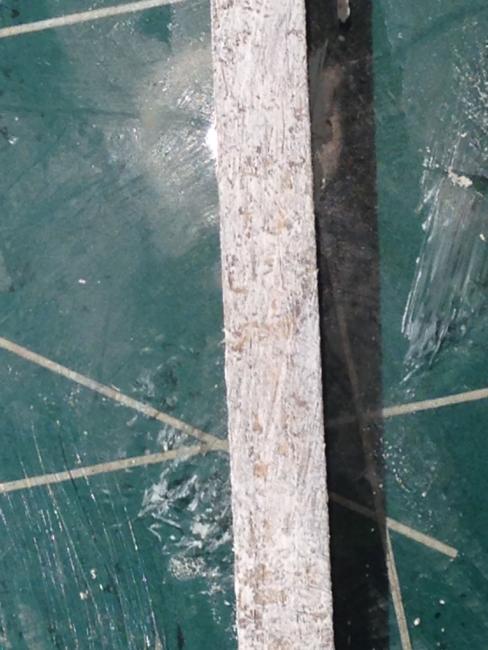
Here's a closeup of 1 piece
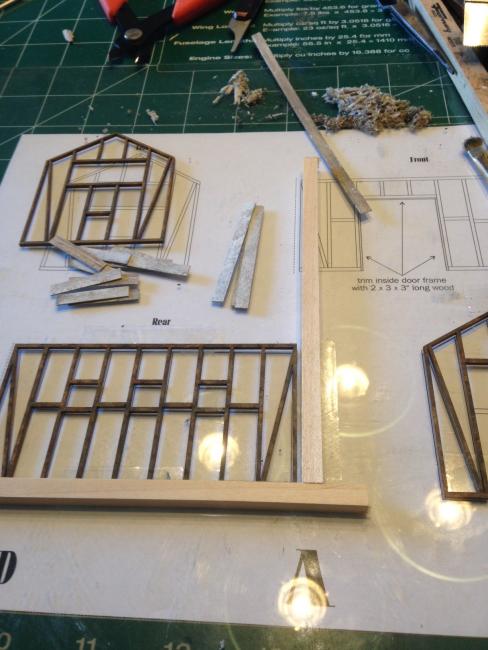
Next I assembled the walls. I flipped the front and sides to fit the position the shed will occupy on my layout. I simply turned over the framework and used the templates "wrong". This picture shows the back wall and right wall assemblies taped to glass. I slide the template under the glass, use double faced tape to tape down the frames and guides.
Here's a progress pic, closeup
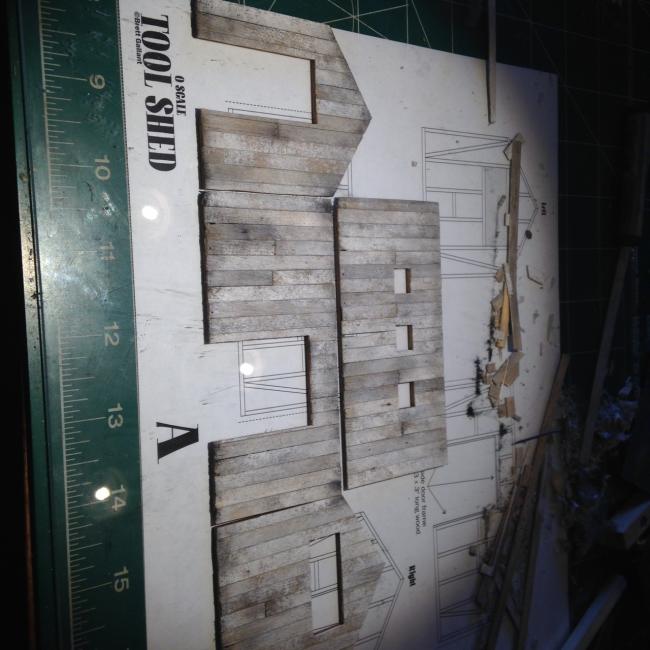
And the completed walls. I sifted a bit too muck black chalk onto a few spots to bring out nail holes, etc., but am confident I can tone that down.
I started with chalks and alcohol coloration on the framework
Next I used the same chalk and alcohol technique to color all of the siding, giving it a weathered base. After all the siding pieces were colored I used a tube of cheap white oil paint and a medium stiff wide brush and "pounced" color onto the boards, 5 or 6 at a time. Pouncing is simply stabbing at the wood with absolutely no intention of completely covering it with color. Where I ended up with too much color I used a brush loaded with alcohol and rubbed color out. I tried this almost by accident and I think it works well.
Here's a closeup of 1 piece
Next I assembled the walls. I flipped the front and sides to fit the position the shed will occupy on my layout. I simply turned over the framework and used the templates "wrong". This picture shows the back wall and right wall assemblies taped to glass. I slide the template under the glass, use double faced tape to tape down the frames and guides.
Here's a progress pic, closeup
And the completed walls. I sifted a bit too muck black chalk onto a few spots to bring out nail holes, etc., but am confident I can tone that down.


Comments
Framed Door
door/wall
Hung Door
That last picture of your work is much better than okay. The weathered paint, the rust on the slider and the rust starting to bloom out of the door handle are very nice. I notice the nail holes to which are very appropriate in an O scale build.
Mitch
Mitch, my wife found an old rusty nail when we were in Silverton last summer and I'm trying to use those colors for rust. I'll take a pic of it and post it. Thanks for the positive feedback.
Your floor has a nice range of colors and shows obvious signs of use.
Coming along nicely, Carl!
I will call it stuff is on the lite side very nice.
Another Carl
Geezerbill