Howdy, Stranger!
It looks like you're new here. If you want to get involved, click one of these buttons!
Categories
- 993 All Categories
- 3 Picture Posting and Resizing
- 60 New Member Introductions
- 118 Off-Topic Forum
- 2 Photography
- 2 Resources
- 18 New Product Information
- 170 The SierraWest Forum
- 12 Brett's Blog
- 120 General News & Ramblings
- 3 Re-Release Information
- 6 Q & A about SierraWest
- 9 What Would You Like to See?
- 410 Builds
- 146 HO Scale Builds
- 185 O Scale Builds
- 58 Finished SW Build Pics
- 15 Miscellaneous Builds
- 194 Techniques
- 19 Working with Wood
- 23 Painting Castings
- 4 Masonry
- 23 Scenery
- 37 Tools and Supplies
- 22 Layout Planning & Building
- 40 Miscellaneous
- 20 Prototype Information
- 19 Reference and Research
O'Neills - My first Sierra West Build
After attending Brett's clinics at last year's NMRA Convention in Grapevine, TX and having had the opportunity to speak to him in person, I am taking "the plunge". Brett's reassuring explanations of the techniques he and many others rely on for building the kits he produces convinced me that I too, can do it. Maybe (Well, most likely) not at the artistic level some on this forum truly exhibit, but something that I will be proud of.
I am planning to share my progress along the way, not quite to the detail level of a build thread, but rather to a) coax my motivation to continue so that I can post an update, and b) (more importantly) to ask for feedback and advice from the forum community.
This will NOT be a build with daily updates, or one that will be complete in six months. I am gainfully employed in a job that takes usually more than 40 hours a week, plus the sailing season is just starting. Nevertheless, I look forward to disappearing into my cave and working on O'Neills regularly.
Here are a couple of pictures to start:
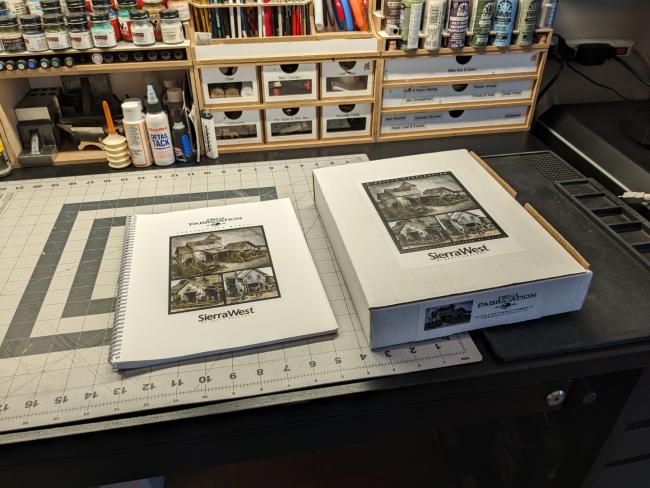
My "virgin" O'Neills kit on my workbench before the start.
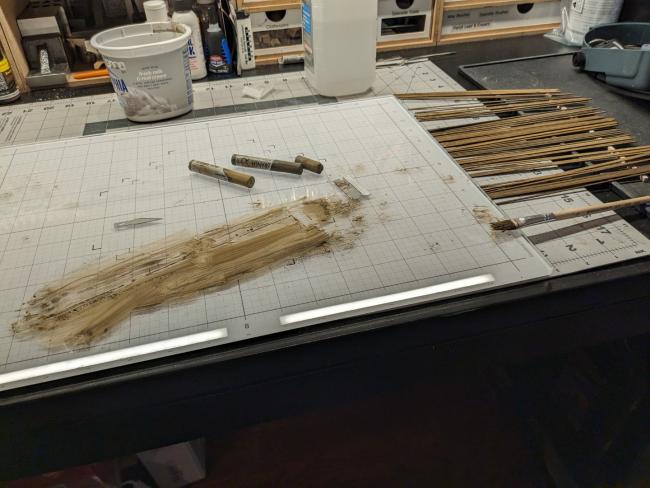
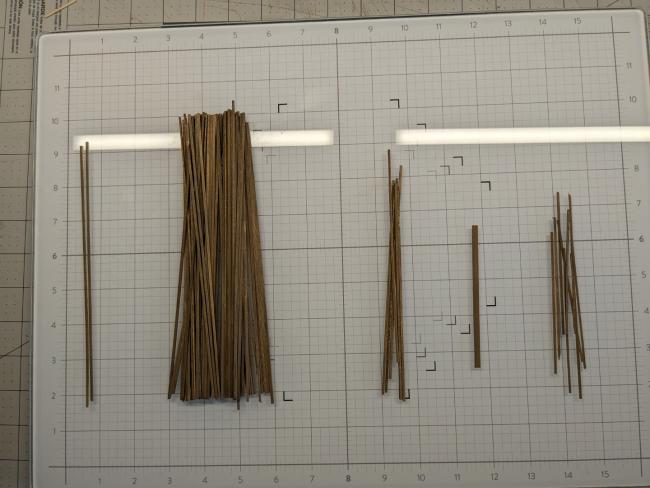
First batch stained using Brett's methods - my hunch is I used a bit too much chalk and too little alcohol (input welcome).
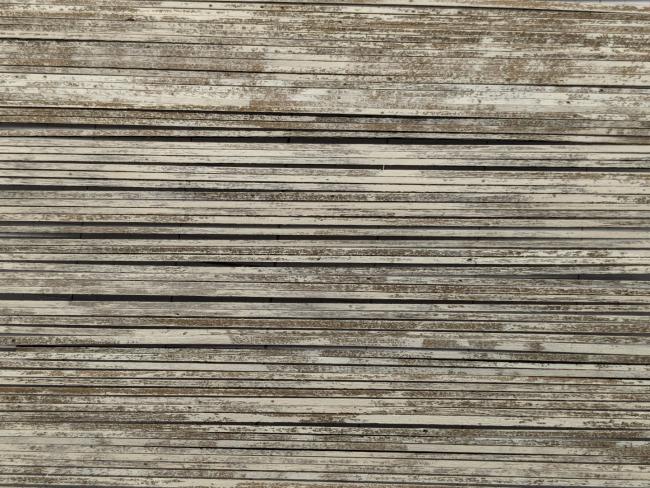
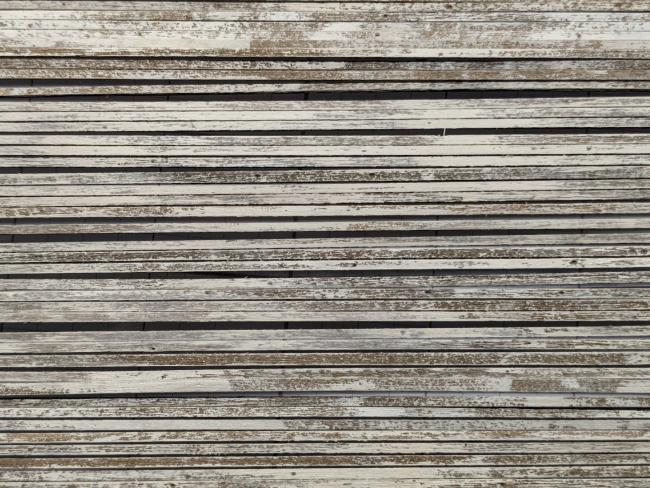
The damp-brushed walls of the main building laid out on the glass work surface. On some of the earlier groups, I was a bit heavy handed (light means REALLY light), but overall I am fairly pleased. I think I was a bit too sparing on the knot holes. My excuse is I did not want to overdo it.
One thing I really enjoyed was the warm brown wood tones achieved with the artist chalk/alcohol method, vs. the alcohol stains that I had used in the past. Whichever variation of those I use, they seem to turn the wood mostly into a coldish gray, with a slight tint of what the bottle says. I sure will try Brett's techniques too on other kits.
Any input is welcome.
I am planning to share my progress along the way, not quite to the detail level of a build thread, but rather to a) coax my motivation to continue so that I can post an update, and b) (more importantly) to ask for feedback and advice from the forum community.
This will NOT be a build with daily updates, or one that will be complete in six months. I am gainfully employed in a job that takes usually more than 40 hours a week, plus the sailing season is just starting. Nevertheless, I look forward to disappearing into my cave and working on O'Neills regularly.
Here are a couple of pictures to start:

My "virgin" O'Neills kit on my workbench before the start.


First batch stained using Brett's methods - my hunch is I used a bit too much chalk and too little alcohol (input welcome).


The damp-brushed walls of the main building laid out on the glass work surface. On some of the earlier groups, I was a bit heavy handed (light means REALLY light), but overall I am fairly pleased. I think I was a bit too sparing on the knot holes. My excuse is I did not want to overdo it.
One thing I really enjoyed was the warm brown wood tones achieved with the artist chalk/alcohol method, vs. the alcohol stains that I had used in the past. Whichever variation of those I use, they seem to turn the wood mostly into a coldish gray, with a slight tint of what the bottle says. I sure will try Brett's techniques too on other kits.
Any input is welcome.

Comments
And welcome to the forum I'm sure you will like it here.
Jerry
Nice colours and variation, those boards are going to look so good when you have them up on the wall.
Keep us updated, it's always fun to follow a build.
Other "Stuff" this weekend kept me from making too much progress, but I did get my first wall done. It's amazing how pictures just magnify everything. I thing I overdid it a bit with "chewing off" the boards on the left end of the wall.
Still without windows:
Fabricated windows - they went together real well, including the pre-cut mylar, which is awesome:
I am noticing that my cutting board should probably be renewed. I enjoy working on the glass surface for all staining and painting, but prefer the cutting mat for general modeling, including cutting, graining and assembly.
The four walls including Windows and Doors:
As shared earlier, I did notice some slight warping. It was enough to had me add some braces, in particular since the interior will not be visible. I used some 1/8" basswood that I had on hand, and the walls are now completely straight.
I started with the addition and got my wood stained.
I also found what I thought would be appropriate wallpaper, and attached it to the back and side walls with transfer tape (I love transfer tape for these applications) rather than glue.
All parts are ready for the addition to be assembled. I left the windows clear to make sure the interior will be visible. Will have to experience with the right amount of resistance for the amount of light that I want in there, my intention is to just fill the interior with a nice warm glow.
On to the loading dock overhang which was a fairly quick construction with the template. I took it easy with regard to clutter on the roof.
Loading dock wall and Addition wall, with a close-up of the addition wall just hinting an interior.
The four walls are assembled. I installed some additional bracing. There can never be enough bracing, in particular when there is no visible interior. The wire leads to the LED installed in the Addition.
I somewhat dreaded the tower walls, thinking it would be rather tedious to get the siding covered, but I got into a groove and accomplished it in a couple of settings. Loving the warm brown tones that the chalk shades produce which Brett proposes for this build. I did not think I wasted material, but I had just enough strip-wood to cover the tower walls, but will have to dig in my strip-wood supply for the side trim of the two walls that call for it. I must have used the wrong supply somewhere along the way ... I am keeping the walls under weight until assembly, there is quite some warping.
Untrimmed:
Trimmed:
Finally, I started on the Tower Doors and Windows.