Howdy, Stranger!
It looks like you're new here. If you want to get involved, click one of these buttons!
Categories
- 955 All Categories
- 3 Picture Posting and Resizing
- 60 New Member Introductions
- 101 Off-Topic Forum
- 2 Photography
- 2 Resources
- 18 New Product Information
- 164 The SierraWest Forum
- 11 Brett's Blog
- 120 General News & Ramblings
- 3 Re-Release Information
- 1 Q & A about SierraWest
- 9 What Would You Like to See?
- 405 Builds
- 145 HO Scale Builds
- 185 O Scale Builds
- 58 Finished SW Build Pics
- 11 Miscellaneous Builds
- 185 Techniques
- 19 Working with Wood
- 23 Painting Castings
- 4 Masonry
- 16 Scenery
- 37 Tools and Supplies
- 22 Layout Planning & Building
- 38 Miscellaneous
- 19 Prototype Information
- 18 Reference and Research
HO Blacksmith Shop Build
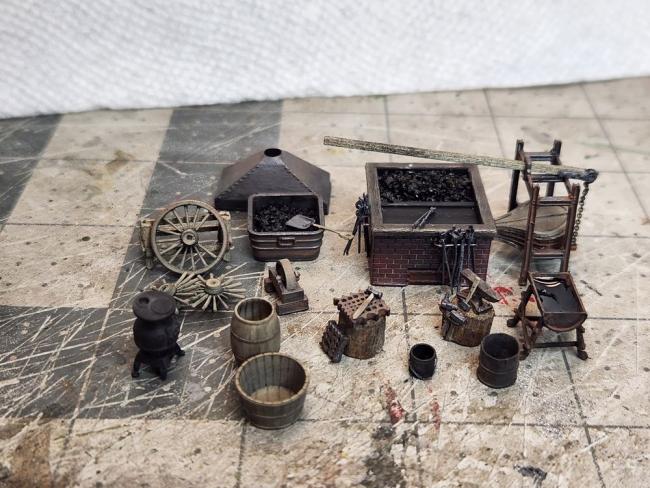
Ever since receiving the 3D Blacksmith details I have been pondering scratch building a Blacksmith Shop. I have Googled Blacksmith Shops and viewed many pictures to get ideas and inspiration. I think I'm ready to start the build. I started with the 3D Detail Parts for the shop and am very pleased how nice they are. I'm starting with these details and will progress through the build with other photos. Hope you enjoy what I am building and can gain some inspiration to start your own building threads.
Starting with an overall of the detail parts
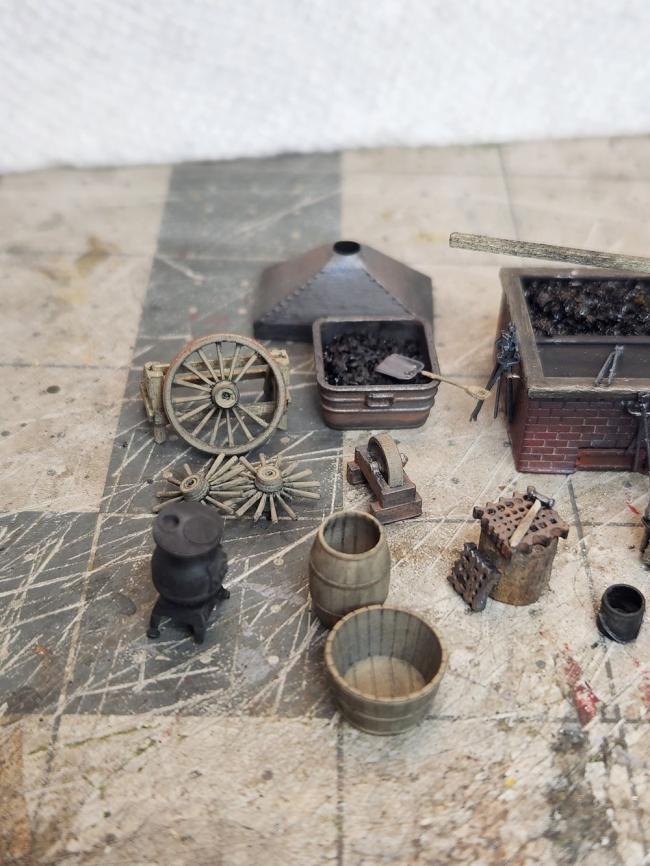
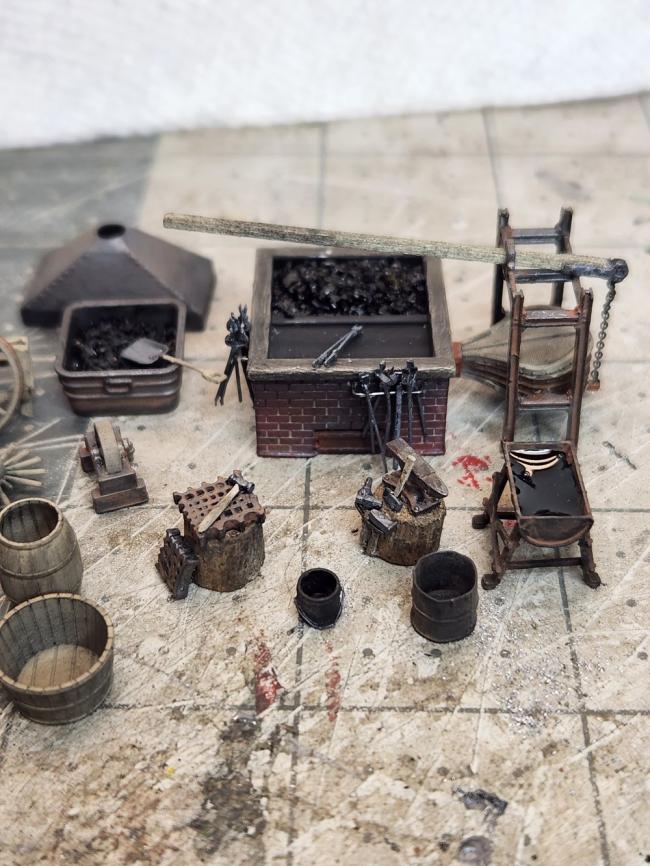
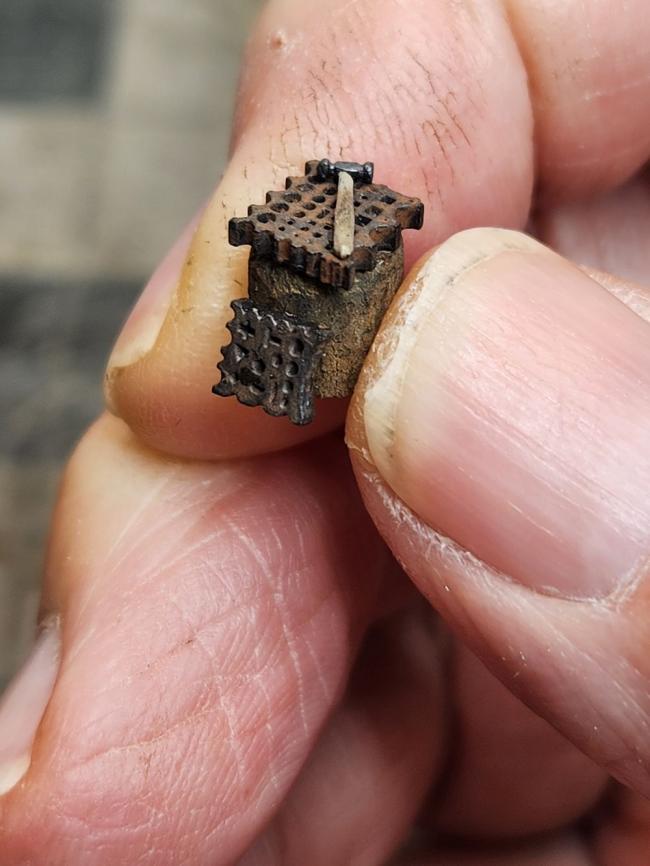
A close-up of the parts
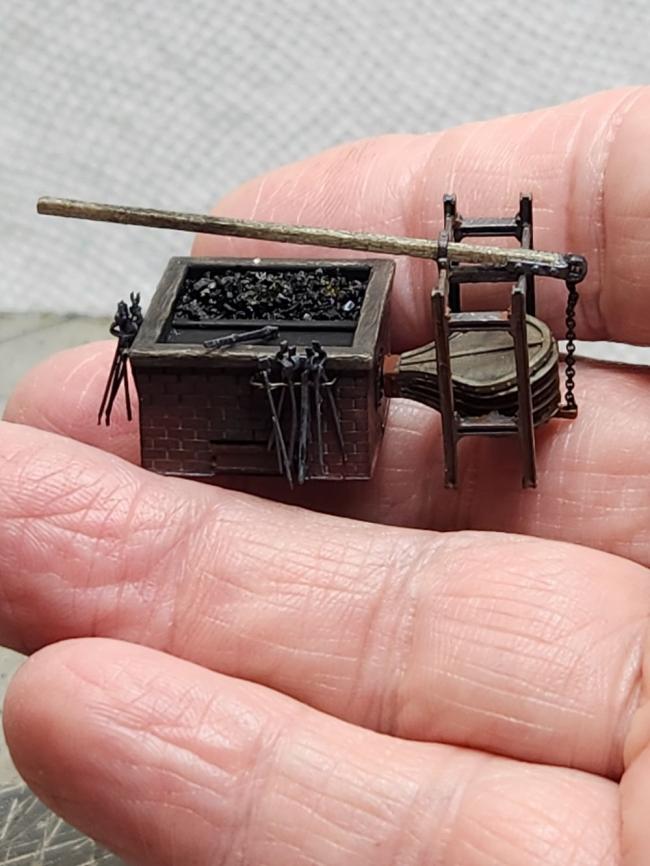
Putting into perspective the size of the parts
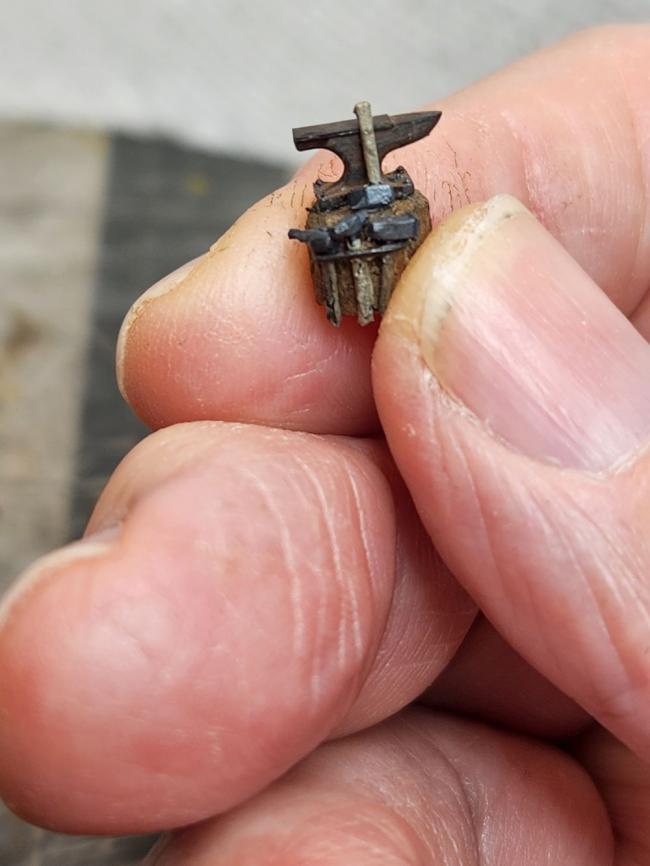
Starting with an overall of the detail parts

A close-up of the parts


Putting into perspective the size of the parts


Comments
Fine job on preparing the forge details. Your closeup photos really show the realism of the forge set. Again great execution of the forge details painting I am really looking forward to your design and build of the shop.
Later, Dave S. Tucson, AZ
The subtle colour changes, the blending, and yet the definition of everything.
Really well done.
ALCO, I'm not planning on lighting the forge. While that would be a neat detail, I am not proficient with the lighting thing. It looks and sounds too confusing to me. I know there are special kits for installing lighting, it's not something I'm into.
The wall with the 4 windows will have tilt out windows and they will be above a workbench. This wall will be the rear of the structure. The false front is the front, The long wall without any features is the right wall and the forge will be on this wall. The long wall with the door is the left wall.
Jerry
I have something similar planned drawn out in O so I'll be following you closely, as always.
Also great pics of the parts in your fingers, that really shows how good your work is, how detailed the parts are, and small.
The inside of the front wall
The inside of the right side wall. The forge is going in the center of the wall.
The rear wall! this was the most fun to detail. I knew I wanted the 4 windows over a workbench. I have many SW and FSM workbench detail parts, but none fit under the window. they were mostly too short. I also knew I wanted a shelf on each side of the workbench. Among the many SW cast shelf units I have, none fit so I built both the workbench and shelves. I treally enjoyed detailing them.
The inside of the left wall
Well done indeed, on everything.
This is special the weathering spot on a nice gray on the outside and a very nice color on the inside and what makes this special I can see all of the detall on the inside and that is a real life look........Good Job.........Carl
Jerry