Howdy, Stranger!
It looks like you're new here. If you want to get involved, click one of these buttons!
Categories
- 954 All Categories
- 3 Picture Posting and Resizing
- 60 New Member Introductions
- 100 Off-Topic Forum
- 2 Photography
- 2 Resources
- 18 New Product Information
- 164 The SierraWest Forum
- 11 Brett's Blog
- 120 General News & Ramblings
- 3 Re-Release Information
- 1 Q & A about SierraWest
- 9 What Would You Like to See?
- 405 Builds
- 145 HO Scale Builds
- 185 O Scale Builds
- 58 Finished SW Build Pics
- 11 Miscellaneous Builds
- 185 Techniques
- 19 Working with Wood
- 23 Painting Castings
- 4 Masonry
- 16 Scenery
- 37 Tools and Supplies
- 22 Layout Planning & Building
- 38 Miscellaneous
- 19 Prototype Information
- 18 Reference and Research
My 3, 4, and 5th Sierra West Models
As I said in my last post for my Second Sierra West model I was going to start a thread using the three sheds. I will try to fit the Rigging, Tool, and Line Side sheds into a square footer. The wood for the siding has been distressed and stained with CA.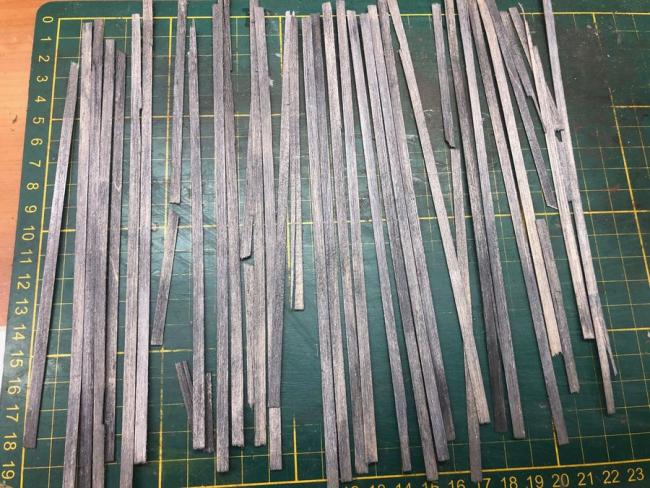
Castings have been primed.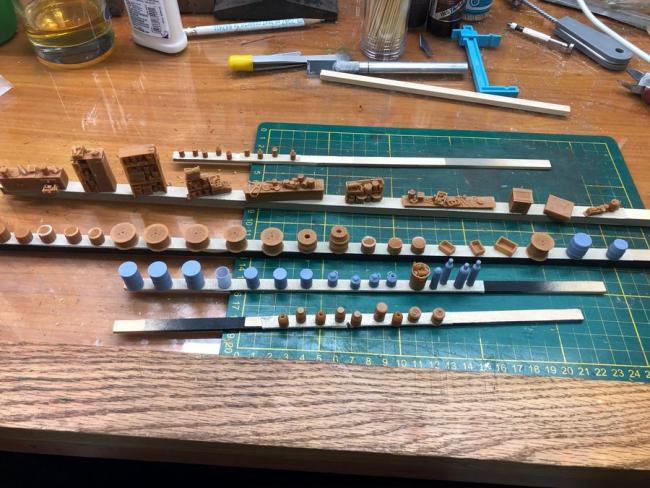
I think I remember reading in Robert G.'s rigging shed build that he thought the cable real laser cut ends were too thick. I used a chisel hobby knife blade to split the ends.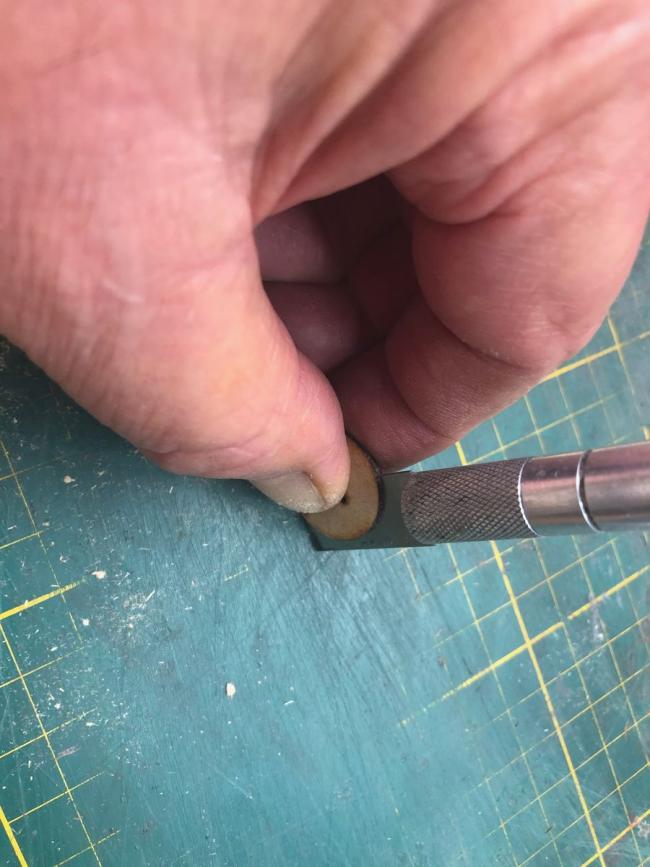
I then sanded them thinner with my disk sander.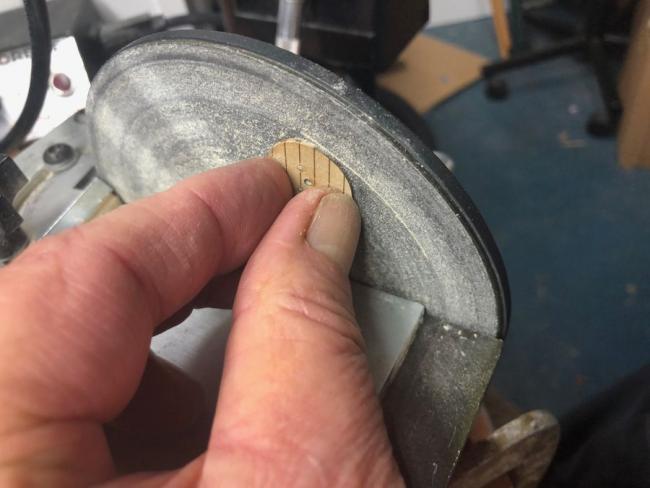
Board lines were scribed into the smooth back with a hobby knife. Some rounds were stained with gray CA to represent older real ends. Other ends were stained with brown CA and glued to the cable real centers.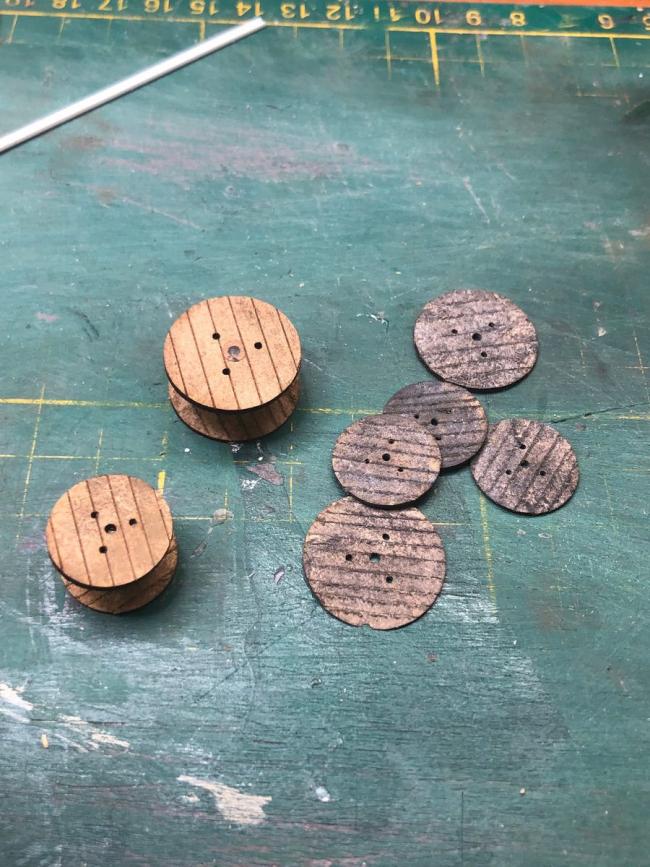
The laser cut frames were stained and the distressed siding was added along with some of the provided signs.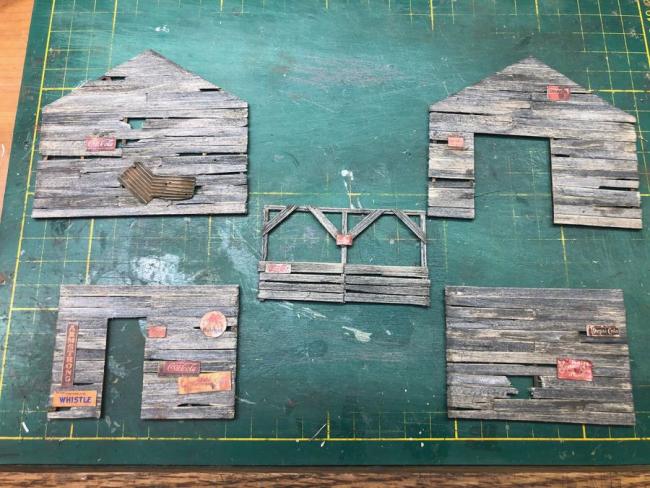
The walls are now glued together. I will stop with the building for now.
I think that the next step in this build will be painting some to the castings.

Castings have been primed.

I think I remember reading in Robert G.'s rigging shed build that he thought the cable real laser cut ends were too thick. I used a chisel hobby knife blade to split the ends.

I then sanded them thinner with my disk sander.

Board lines were scribed into the smooth back with a hobby knife. Some rounds were stained with gray CA to represent older real ends. Other ends were stained with brown CA and glued to the cable real centers.

The laser cut frames were stained and the distressed siding was added along with some of the provided signs.

The walls are now glued together. I will stop with the building for now.
I think that the next step in this build will be painting some to the castings.


Comments
Jerry
Here are the inside castings with only the wood parts colored.
And now the wood parts of the of the outdoor castings.
I will post these pictures of these castings again when I finish coloring the details on the shelves. Thanks for looking and any comments and suggestions are appreciated. Randy
Terry
Tom, I will need to get back to the workbench and take some more pictures to illustrate what I did. Thanks for the comments and questions. Randy
Back
Front
Some brown chalks were already added to this side before the picture. Chalks were scraped off into piles.
I used Rembrandt chalks. In order they are,408.3, 408.5, 408.9 and 234.3 for the browns.
For the grays I use in order, 700.5, 100.5, 704.5
A brush was dipped into alcohol, swirled on the chalk and then splotched at random on the back of the casting.
Then using the Black and White and Dirt AK Weathering pencils I made streaks black, dirty white, smoke, concrete marks, and dust
I then used an artist rolled paper tool called a tortillon or blending stump to feather and blend the pencil streaks. The tortollons was wet when used.
After blending the back of the casting looked like this.
I then used the brown chalks and these weathering pencils on the front of the casting.
Chalks first, then the weathering pencils produced this streaked brownish casting.
After using the wet tortillons the streaks were blended together to give what I feel is a nice aged wood effect.
The picture on the computer is not as brown as the real casting. Tom I hope this answered your questions. Any other comments or suggestions are welcomed. Thanks Randy
Thanks for the tutorial. The casting turned out very nice. I like the varied colors of the wood. I have never used the pencils before. Looks simple enough to do. Thank you.
The browish castings in the next picture will be placed inside the shed.
This was a older kit and the castings were all made of resin. any comments or suggestions are welcomed. Randy
<img src="https://www.craftsmankituniversity.com/vanforum/uploads/imageuplo Next I will add the castings and dirty up the floor with some dark chalk.Thanks for your nice comment. Randy
Below is a picture of the sliding door. I think I need to do a little adjusting to the left roller.
As usual all comments and suggestions are welcomed. Randy