Howdy, Stranger!
It looks like you're new here. If you want to get involved, click one of these buttons!
Categories
- 997 All Categories
- 3 Picture Posting and Resizing
- 60 New Member Introductions
- 118 Off-Topic Forum
- 2 Photography
- 2 Resources
- 18 New Product Information
- 171 The SierraWest Forum
- 12 Brett's Blog
- 120 General News & Ramblings
- 3 Re-Release Information
- 6 Q & A about SierraWest
- 9 What Would You Like to See?
- 412 Builds
- 146 HO Scale Builds
- 183 O Scale Builds
- 62 Finished SW Build Pics
- 15 Miscellaneous Builds
- 194 Techniques
- 19 Working with Wood
- 23 Painting Castings
- 4 Masonry
- 23 Scenery
- 37 Tools and Supplies
- 22 Layout Planning & Building
- 40 Miscellaneous
- 21 Prototype Information
- 20 Reference and Research
ON30 Disconnected Log Cars JimM
I should have started this thread earlier, before I'd done anything, but thought I'd show some of the assembly of the O scale "Disconnected Log Cars" kit. I started the kit by graining and cutting the included wood to size. I added some grain to the 3D printed "Rooster" and then I lightly primed the resin "frame" and the resin "bunk" and the rooster and also the wood for the deck and the "bolster" with the Khaki Rust-Oleum Camouflage spray paint (all the parts names are identified in the instructions that can be downloaded in the instructions section of the University tab of the SWSM website). I've never tried priming the strip wood before, but I wanted the resin parts and the wood parts to match perfectly so I thought I'd give it a try this way so I would start with the same base color on all of the parts.
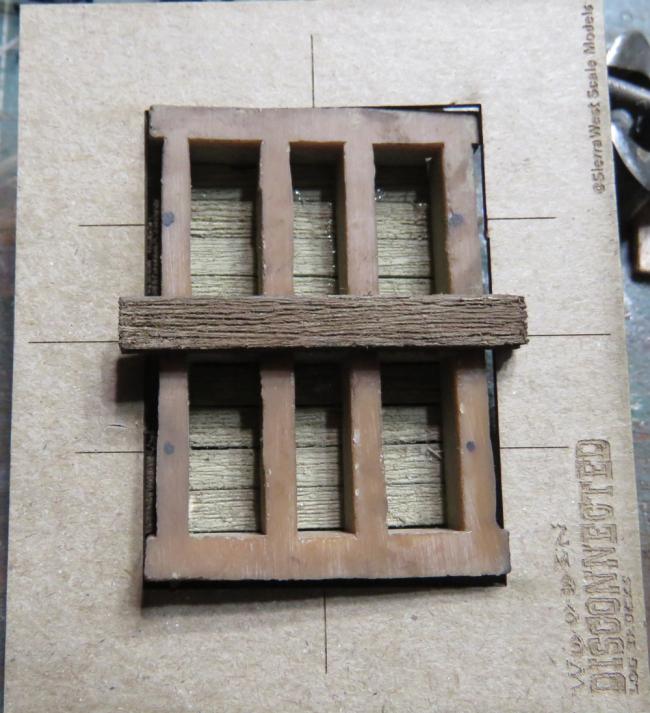
I used the enclosed template to mark the location of the "pedestals" for the wheelsets and the location of the "coupler pockets". These marks help you align the pedestals so that the wheelsets sit perfectly centered in the opening. This picture was taken after the bolster and the decking were already glued on, but the marking was actually done before any gluing took place.
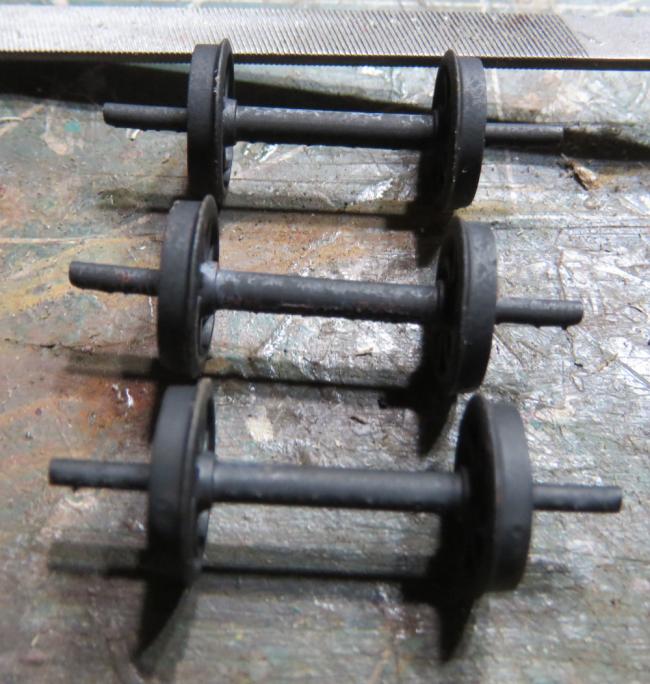
I primed the wheelsets with a flat black spray paint.
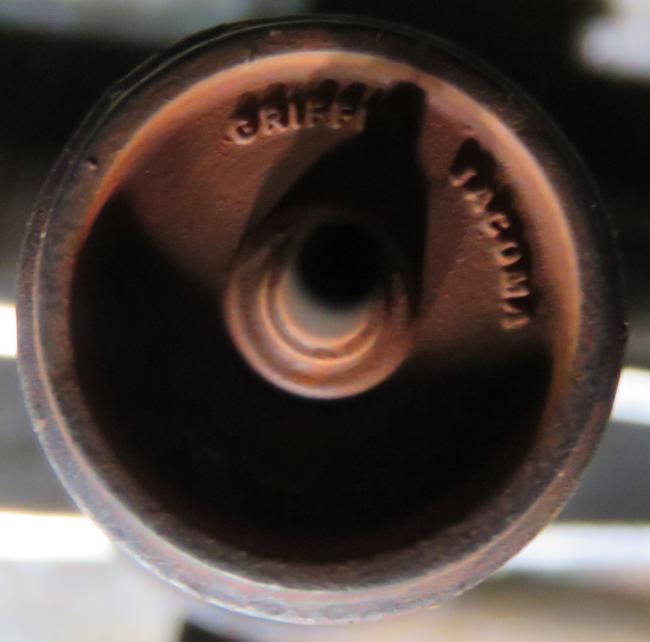
I love the detail of the wheelsets, they even have "Griffin Tacoma" embossed on the wheel. Pretty darn cool!
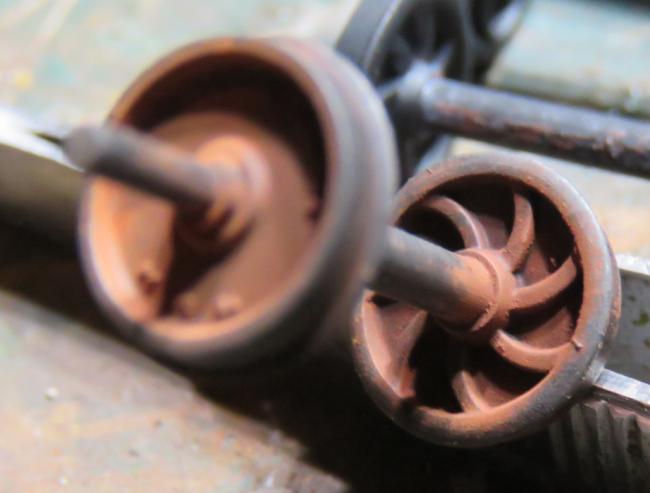
And look at the interior of those wheels, just awesome.
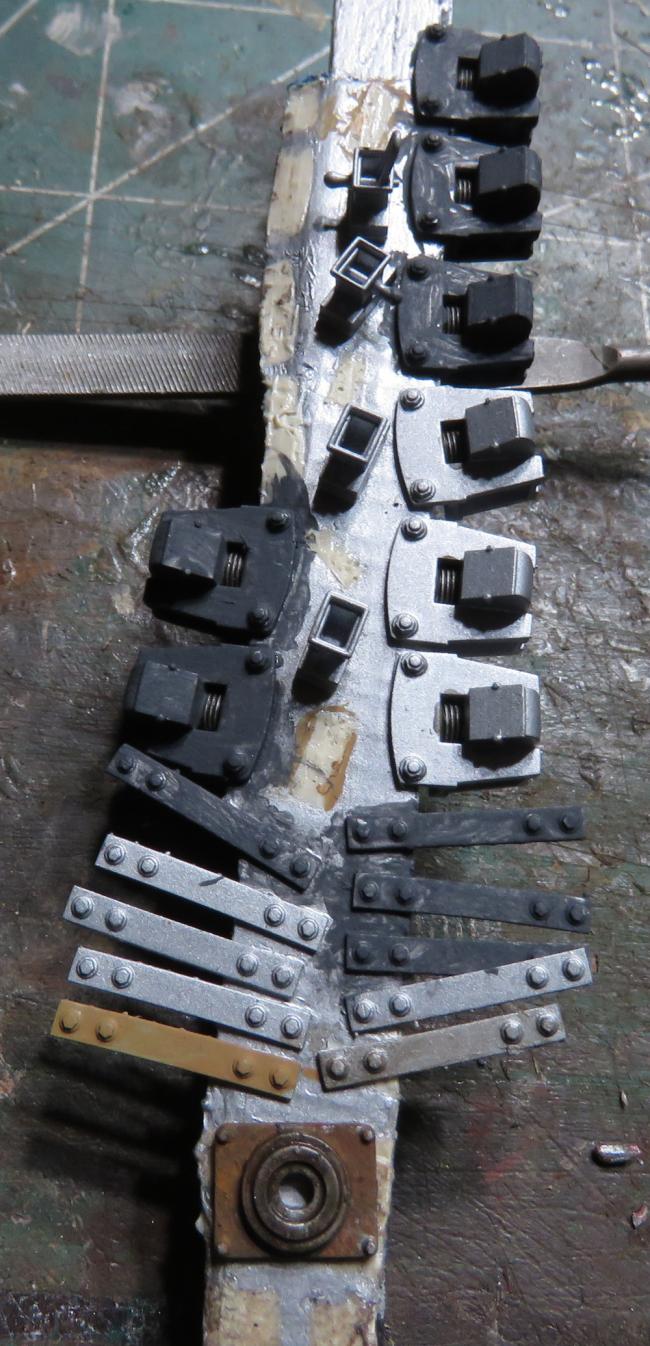
I primed the rest of the 3D printed details with Rust-Oleum Metallic "Matte-Nickle" spray paint. I will then hit the "matte-nickle" painted parts with dry black chalk. I find that takes the brightness away and is great for a bare tarnished metal look.
I then brush paint a flat black on these details and will finish with a rust-colored chalk. I know the black in this photo looks crappy, but that will get better when the chalk is applied. This picture shows the details in various stages of completion.
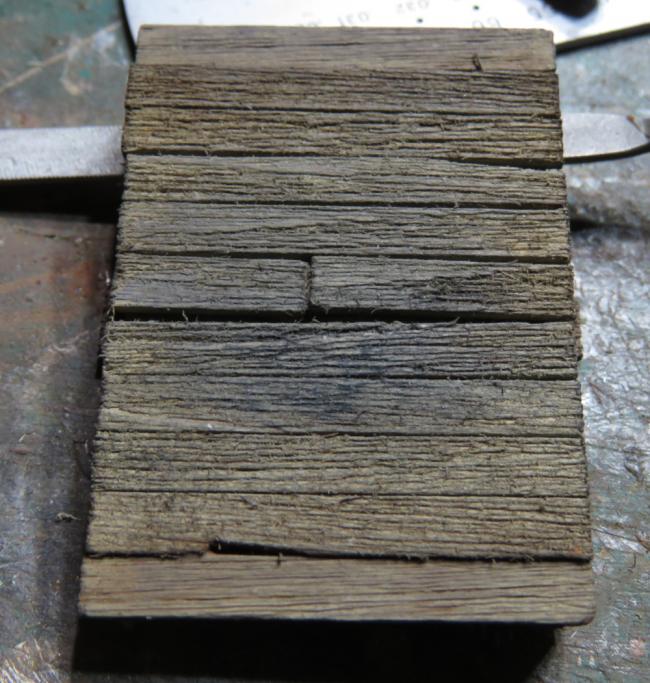
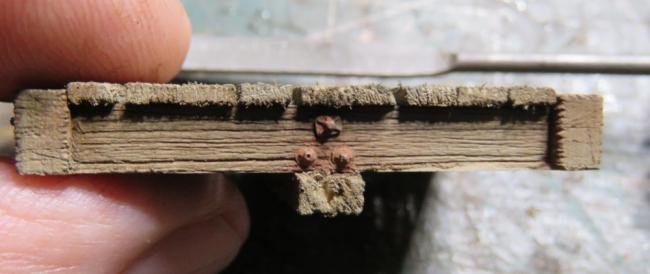
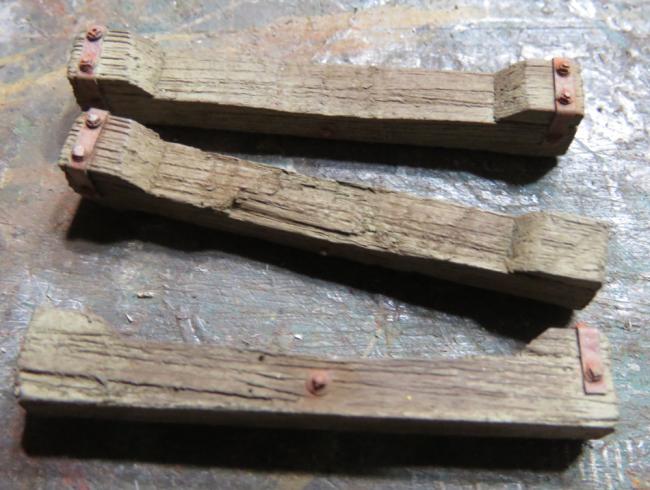
I then add chalks to the "bunk", decking and frame and "rust-up" the strapping and the nwb details with paint and chalk.
More to come.
I used the enclosed template to mark the location of the "pedestals" for the wheelsets and the location of the "coupler pockets". These marks help you align the pedestals so that the wheelsets sit perfectly centered in the opening. This picture was taken after the bolster and the decking were already glued on, but the marking was actually done before any gluing took place.
I primed the wheelsets with a flat black spray paint.
I love the detail of the wheelsets, they even have "Griffin Tacoma" embossed on the wheel. Pretty darn cool!
And look at the interior of those wheels, just awesome.
I primed the rest of the 3D printed details with Rust-Oleum Metallic "Matte-Nickle" spray paint. I will then hit the "matte-nickle" painted parts with dry black chalk. I find that takes the brightness away and is great for a bare tarnished metal look.
I then brush paint a flat black on these details and will finish with a rust-colored chalk. I know the black in this photo looks crappy, but that will get better when the chalk is applied. This picture shows the details in various stages of completion.
I then add chalks to the "bunk", decking and frame and "rust-up" the strapping and the nwb details with paint and chalk.
More to come.

Comments
Jerry
Nice project write-up. Great attention to details + Great craftmanship = Great finished project.
Thanks for sharing the details of your build.
Later, Dave S. Tucson, AZ
I turn my attention to installing the eyebolt/ring 3D prints ("EBR") onto the bunks. The rings were primed with the aforementioned Matte-Nickle Rust-Oleum spray paint and then when dry, brushed with the dry black chalk to give the aged, tarnished metal look. I drilled a small hole in the bunk to receive the ring. In the picture, the rings are not glued in place because I plan on placing a log on these cars and will need the ring to aid in chaining the log in place. Some of the rings will be hanging down but not the ones that have a chain around the log.
I weathered the wheelsets to my satisfaction and then using the witness marks that were applied to the frame earlier, I glued the pedestals onto one side of the frame with the wheelset in place. Make sure the pedestal is centered in the gap of the frame. I figured it might be difficult getting the wheelset into its position if the pedestal was already glued in place because there isn't a lot of room to manipulate things. Then glue the pedestal onto the other side.
After these were installed, I decided I should have painted the wheels where they make contact with the track so that they looked like bare metal.
After the deck straps and deck plates are weathered to your satisfaction, they can be applied to the deck using the template to aid with placement.
More to follow.
After the deck plate and deck straps were glued in place, I glued the couplers in place utilizing the witness marks that were applied earlier.
I then moved my attention to the strapping under the frame. I cut strips from the included card stock and painted them with a flat black spray paint. When dry, I coated them with a rust colored chalk.
I then applied them to the frame as described in the instructions. I clipped them flush with the frame with a straight nail clipper.
The only thing left to do is to add nail holes, (which I did by dipping the end of a dental pick into the rust chalk and then plunge the pick into the wood; they don't show up too well in this picture) and glue the bunk in place.
This SWSM kit contains all the parts necessary to complete 2 cars and the rooster which joins the cars together. BTW, if RobertG had done this thread, he would have also built that Maple tree in the background. :-)
I have 2 kits and I may link them all together when I finally get to my sawmill kit.
I wanted to see how this will look carrying a log, so I went out in the woods and found some. I don't know if this one will make the "cut" but the scene is pretty cool. The bunk in front is not glued on, it's just balanced (not very well) onto the deck plate for the time being until I know how these will be displayed.
Final thoughts: I'm amazed at the quality of this kit. It is not only well thought out, but everything fits together perfectly; the wheelsets even roll. It is a static display, but they do roll, are you kidding me? It was so much fun to build, and even though this is a small kit, you still get to use all the skills and techniques that you use when constructing a regular building kit. Thanks for looking.
Great explanations and photos throughout this build. Thanks for sharing your build ideas and photos. Got a good laugh out of your comment about "If Robert had done this thread..."
Later, Dave S. Tucson, AZ
Jerry
Art, I can't wait to see what you do with them. It's a fantastic little weekend project.