Howdy, Stranger!
It looks like you're new here. If you want to get involved, click one of these buttons!
Categories
- 954 All Categories
- 3 Picture Posting and Resizing
- 60 New Member Introductions
- 100 Off-Topic Forum
- 2 Photography
- 2 Resources
- 18 New Product Information
- 164 The SierraWest Forum
- 11 Brett's Blog
- 120 General News & Ramblings
- 3 Re-Release Information
- 1 Q & A about SierraWest
- 9 What Would You Like to See?
- 405 Builds
- 145 HO Scale Builds
- 185 O Scale Builds
- 58 Finished SW Build Pics
- 11 Miscellaneous Builds
- 185 Techniques
- 19 Working with Wood
- 23 Painting Castings
- 4 Masonry
- 16 Scenery
- 37 Tools and Supplies
- 22 Layout Planning & Building
- 38 Miscellaneous
- 19 Prototype Information
- 18 Reference and Research
HO/HOn3 Logging and Tractor Repair Shed
I have been on a well established quest to build each and every SierraWest Scale Models kit (HO/HOn3) in the order of their release. Next up on the bench, following on the heels of my Shelby's Marine Service build, is...the Logging and Tractor Repair Shed (L&TRS). This kit was released back in January 1999 and was extremely popular and promptly sold out...familiar scenario with Brett's kits!
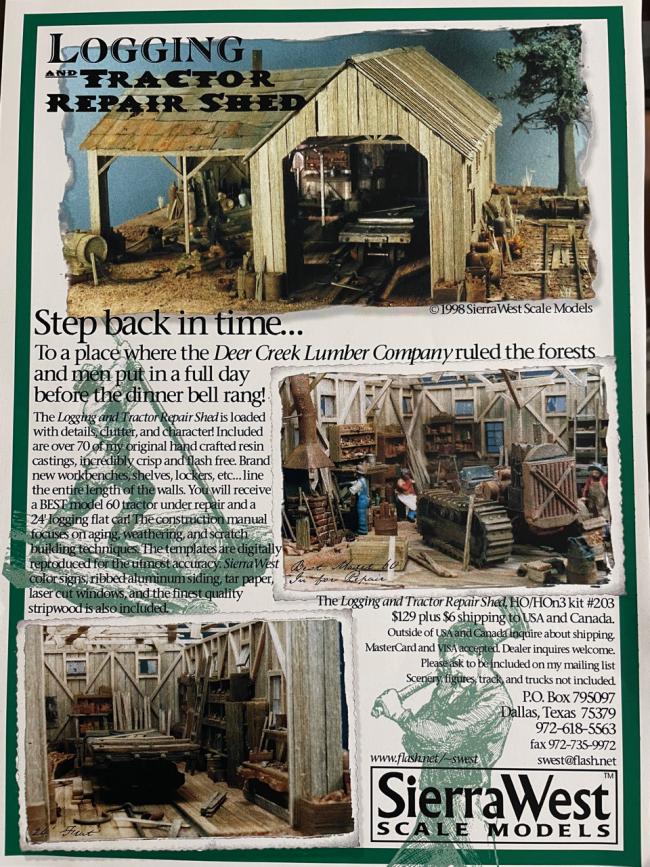
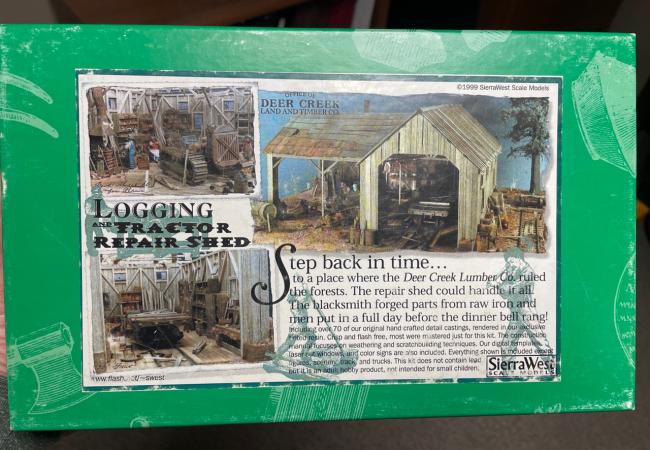
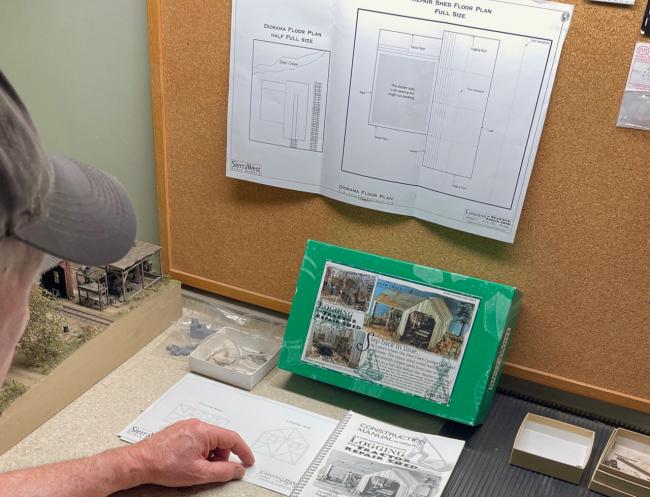
A full page ad was featured in the January/February issue of Narrow Gauge and Short Line Gazette (photo 1). This beautiful, full color ad, featured the same images as found on the now famous SWSM green box (photo 2). Coming off the build of Shelby's, which is a relatively large kit, the L&TRS is a single structure kit and a much smaller project. When I say "smaller" that's what I mean, smaller in size, but larger than life in its design, character, and charm. Much time will be spent, as usual, in the research and planning phase including the religious perusal of the instruction manual and associated materials (photo 3). There is much in store with this build and a few surprises to work in along the way.
More later...Ken

(photo1). Full page, full color, ad in the Jan/Feb issue of Narrow Gauge and Short Line Gazette.

(photo 2) The famous SWSM "Green Box"

(photo 3). Step 1...
A full page ad was featured in the January/February issue of Narrow Gauge and Short Line Gazette (photo 1). This beautiful, full color ad, featured the same images as found on the now famous SWSM green box (photo 2). Coming off the build of Shelby's, which is a relatively large kit, the L&TRS is a single structure kit and a much smaller project. When I say "smaller" that's what I mean, smaller in size, but larger than life in its design, character, and charm. Much time will be spent, as usual, in the research and planning phase including the religious perusal of the instruction manual and associated materials (photo 3). There is much in store with this build and a few surprises to work in along the way.
More later...Ken

(photo1). Full page, full color, ad in the Jan/Feb issue of Narrow Gauge and Short Line Gazette.

(photo 2) The famous SWSM "Green Box"

(photo 3). Step 1...


Comments
This will be fun, educational and interesting to follow.
Terry
I don't know about that Art...I'll pull something out of my...lets say hat! Lol.
Hey Karl, appreciate the vote of confidence, I'll have to make an effort to deliver something at least close and the fun is the only one I can guarantee!
Nice to hear from you Terry, and nice to know you'll be checking things out.
Good to hear Jim. With the relatively small footprint of the single structure I plan to devote a good bit of time to the interior appointments. This comes with a huge call out to you and others of the design crew of these incredible SWSM 3D detail parts. Adds so much to these already classic kits!
Jerry
Glad to hear Kev, pop one for me too!
I don't know Brett...packing both you and Kevin's luggage onto one tree stump!...hmm..
Hey Emery, what's up my friend? Glad to have you checking in now and again.
Now I will become an eyewitness.. . As Jerry said, it will be a pleasure to follow.
Thanks for that.
Well Mike that just made my day! What a nice thing to say, appreciate that my friend.
Sounds good Robert. Nice hearing from you.
That's what its all about Bryan...if we aren't having fun, what's the point. Appreciate your continued support over the years.
I stained the framing wood and siding with a reddish brown AI stain. This was followed by scraping a small amount of black chalk (700.5) over the boards and then washed in with alcohol. The boards appeared all black and were then immediately placed between and drawn through paper towels to remove most of the black. This resulted in a good match to the look I was after (photo 2 and 3).
I now want to create a weathered grayish look just on the outside of the siding boards without changing the stain color on the inside. This was accomplished by carefully lining up the strip wood tightly together and scraping white chalk over the boards. I did not flood with alcohol on this step as it would have seeped and ran under the boards and altered (screwed up) the inside color previously achieved. To keep this from happening, I stippled the boards with a short stiff brush just barely damp with alcohol. This set the chalk without running under the boards and altering (screwing up) the other side
(photo 4).
I now have siding boards with different finishes on each side ready to further detail and apply to the framing.
More later...Ken
Please Note: The technique for applying chalk to stain (color) stripwood is masterfully done by Brett. The video is found under the University tab and select "Videos" then select Weathering Scale Stripwood with Artists Chalk.
(photo 1) Aged oak with the desired look.
(photo 2) Framing lumber with stain and black chalk application.
(photo 3) Siding lumber with stain and black chalk application.
(photo 4) Somewhat neutral grayish finish on the other side (outside) of the siding lumber ready to detail and apply.
Thanks Jim, I was happy with the results thus far.
I got close to my target colors/finish Robert, appreciate the support. Time well spent at this stage.
Wonderful coloring on both sides.
Jerry