Howdy, Stranger!
It looks like you're new here. If you want to get involved, click one of these buttons!
Categories
- 954 All Categories
- 3 Picture Posting and Resizing
- 60 New Member Introductions
- 100 Off-Topic Forum
- 2 Photography
- 2 Resources
- 18 New Product Information
- 164 The SierraWest Forum
- 11 Brett's Blog
- 120 General News & Ramblings
- 3 Re-Release Information
- 1 Q & A about SierraWest
- 9 What Would You Like to See?
- 405 Builds
- 145 HO Scale Builds
- 185 O Scale Builds
- 58 Finished SW Build Pics
- 11 Miscellaneous Builds
- 185 Techniques
- 19 Working with Wood
- 23 Painting Castings
- 4 Masonry
- 16 Scenery
- 37 Tools and Supplies
- 22 Layout Planning & Building
- 38 Miscellaneous
- 19 Prototype Information
- 18 Reference and Research
My First SWSM kit - RRC Truck Repair. #312
Hi everyone.
First I would like to thank you for the warm welcome.
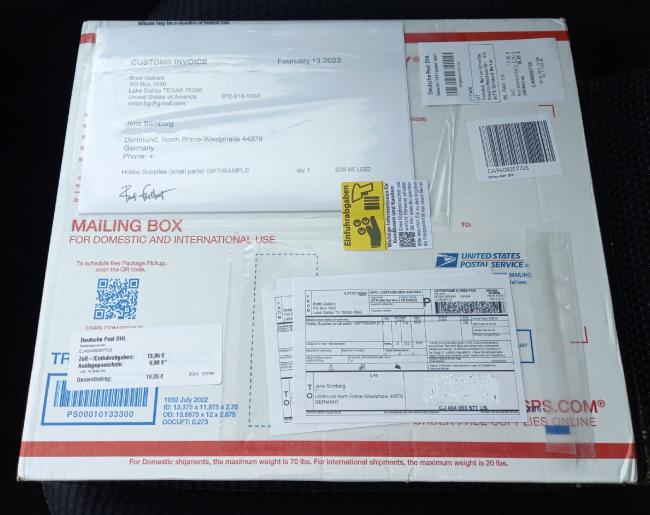
I received Brett's package two weeks ago,

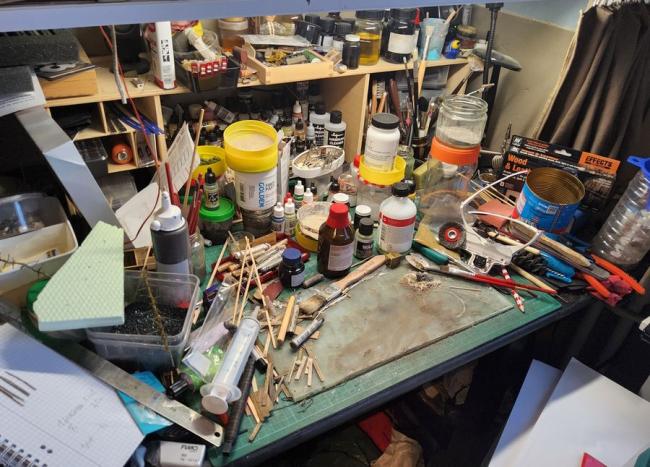
and decided to clean up the mess of my last project first

some of you may know that kind if "maintenance condition", I hope..
First I would like to thank you for the warm welcome.
I received Brett's package two weeks ago,

and decided to clean up the mess of my last project first

some of you may know that kind if "maintenance condition", I hope..

Comments
my bench more often looks like your first pic than your second, especially mid build.
I have been trying to keep it somewhere inbetween over the past year and clear it up after anything is finished.
Nice looking bench/area btw, I'm looking forward to watching your progress.
Even with a bigger bench it would look the same. I have never seen such a mess on your posts ; )
My first build of Brett's kits will be the Truck Repair.
I have been quietly following this forum for almost two years now, and alI of the Truck Repairs turned out great. It really became one of my favorites. Its small enough to fit in my little layout but has so many details that makes it outstanding for me.
I hope I won't mess it up.
The Truck Repair is an awesome kit, and as you say the box/kit is packed with details, detail and everything else great that is SWSM.
We're all looking forward to following along with you.
Jerry
Terry
I grained the wood stripes, did the saw blade bandings, added the different knots, holes and knotholes, uncertain if the burnishing tools will work - I never used those before. I bought a set of three different sizes for nearly 5,- euro, what is nothing, at a local art store. after the first two knots were pressed, the rounded tip fell off... I remembered Brett's chapter "Essential & Usefull Tools" and the advice to look for quality tools!!
Then I used the steelwool no. 000 to wipe away the fuzz and "carved" the grain a bit with a no. 11 blade.
As stain I used isopropyl and the two chalk colors 408.3 and 5,but also added some dark gray very sparse and randomly
Actually the wood colour looks more like its seen on the second picture.
Maybe I really have something new for you. Its my kind of secret weapon cause I don't have that nice sanding stick Ken used as he turned into Dr. Grunge.
Its my Glass Eraser Pen
I use it to highlight just parts of the wood to give more variety.
Thanks Ken. The wood frames costs me some nerves and time. Don't want to do this in HO. But im happy with the result.
i didn't but i will. thanks for the heads up.
You're welcome Kevin.
I finally got the complete framing done, puh...
...Grrrrr, forgot the interior wall....
The creases/highlights in the tarpaper look good and will give a great effect peeking through all of the details you are going to add to those walls.
Keep up the good work and posts.
I had forgotten that this kit has the notched header/footer style walls and not full laser cut framing.
So I just realized you have added the studs and then the firebreaks/braces individually.
A very nice and precise job you have done there, very well done.
Jerry