Howdy, Stranger!
It looks like you're new here. If you want to get involved, click one of these buttons!
Categories
- 954 All Categories
- 3 Picture Posting and Resizing
- 60 New Member Introductions
- 100 Off-Topic Forum
- 2 Photography
- 2 Resources
- 18 New Product Information
- 164 The SierraWest Forum
- 11 Brett's Blog
- 120 General News & Ramblings
- 3 Re-Release Information
- 1 Q & A about SierraWest
- 9 What Would You Like to See?
- 405 Builds
- 145 HO Scale Builds
- 185 O Scale Builds
- 58 Finished SW Build Pics
- 11 Miscellaneous Builds
- 185 Techniques
- 19 Working with Wood
- 23 Painting Castings
- 4 Masonry
- 16 Scenery
- 37 Tools and Supplies
- 22 Layout Planning & Building
- 38 Miscellaneous
- 19 Prototype Information
- 18 Reference and Research
Welcome to Jerkwater
This is the story of Jerkwater, USA. An off-the-beaten-path filling station for thirsty coffeepot locos.
This build will incorporate the water tank/handcart repair shed. It may be alone, but I doubt it. I'm leaning towards cutting the size of the repair shed down to 12x12 and use a lean-to to cover the area between it and the tower. I'm also thinking of incorporating the wood cutter shack...the 6-pole shed as a cover for the handcar work area and the oil tank for fuel. The main structure of the wood cutter could be a sand drying house or the Jerkwater station. It also may not make it at all.
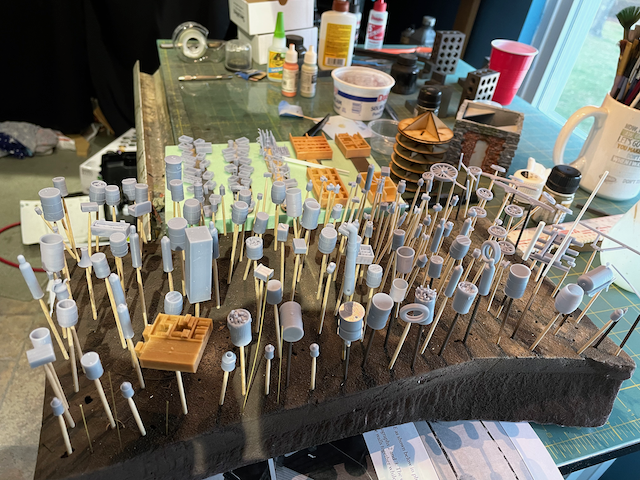
I still have a lot of planning to do as you can see, but I couldn't wait to get started. So I got to work on some parts that will be in the build no matter what...the castings.
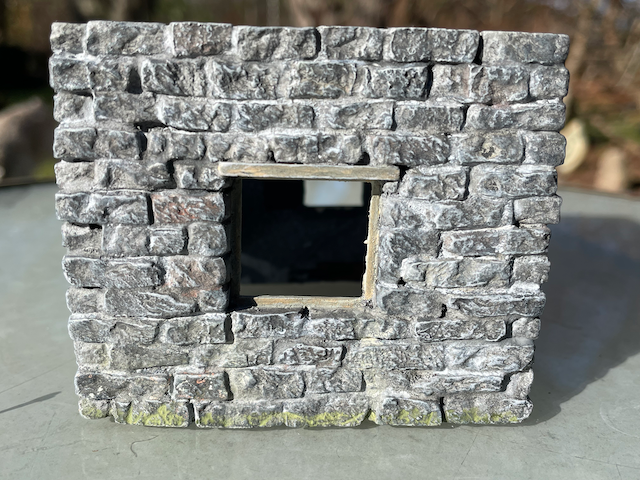
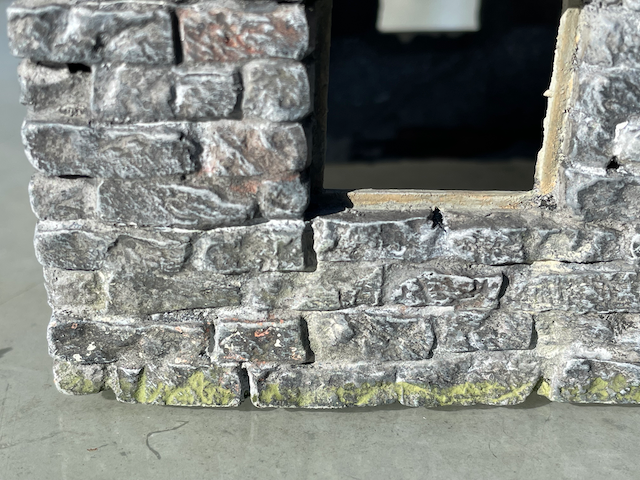
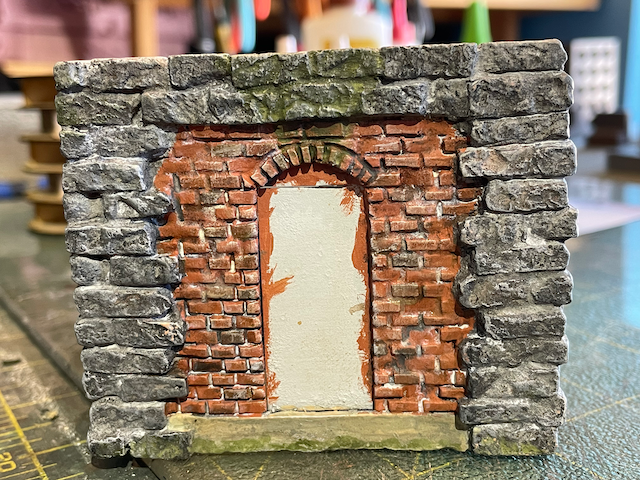
The stone base is assembled, painted and mostly weathered. I'm going to look at it for a while to make sure I like it. I can always change the paint job now, but will not be an option later. The close up shows a couple stones at the bottom left where I'm trying out adding lichen (very small light gray and orange spots above the moss) Also just primed the 3-d printed details...2 more and they wouldn't have fit on my foam.
Ideas for the story and layout plan are welcome as always. Making them funny increases the chances of adding them.


Comments
Thanks for that outline of your plan to incorporate the Water Tank and Handcar Maintenance Shed into a larger build/diorama. What a great plan outline. I really look forward to seeing how you further develop your concepts. Eventually this should make a great diorama.
Nice start on the plaster castings. In particular I admire your brick work.
Later, Dave S. Tucson, AZ
I'll keep pressing on until I get a better sense of how it should look.
I'm also toying with switching sides of the sand storage and station.
There is room behind the repair shed for all of the clutter, handcars, etc. May also be able to squeeze in a tree in that back corner as long as the branches are placed right. I'd also like a cellar door at the base of the stone base.
I'm still thinking and extra 2" or so might be in order, but we're getting somewhere now.
Jerry
Terry
Some progress shots on the tank. I see some glue spots to clean up and some board ends to tend to but it's coming along. I went with a brownish color for this to go with the gray stones. I also have a surprise in store for the tank in the next step.
It sure looks like you are up there in the 'high speed and high quality' group.
I like the green algae, damp mold effect, subtle and very nice.
Edge of my seat waiting to see your next ideas and update.
The tank took its next step here...got a coat of ochre yellow. We must be thinking alike Art.
I did a paint peel after it dried. I think I scrubbed too hard over the Deer Creek stencil seen in pic 2. The close up does give a nice representation of the depth given by peeling the paint and also the rust texture on the bands. I added a couple of streaking lime/calcium deposits. I'll keep working on these. Also went with smaller shingles on the roof and skipped the hatch, though I was thinking about adding an open hatch looking into some dead rats floating on the water.
Still 4 separate assemblies to continue working.
I was planning on a roof brown accent color but after seeing Karl's door I'm going with maroon. The station will match. Jerkwater may be a backwoods hick town, but the workers know how to color coordinate.
Wow Brett, a triple play.