Howdy, Stranger!
It looks like you're new here. If you want to get involved, click one of these buttons!
Categories
- 991 All Categories
- 3 Picture Posting and Resizing
- 60 New Member Introductions
- 118 Off-Topic Forum
- 2 Photography
- 2 Resources
- 18 New Product Information
- 170 The SierraWest Forum
- 12 Brett's Blog
- 120 General News & Ramblings
- 3 Re-Release Information
- 6 Q & A about SierraWest
- 9 What Would You Like to See?
- 408 Builds
- 146 HO Scale Builds
- 183 O Scale Builds
- 58 Finished SW Build Pics
- 15 Miscellaneous Builds
- 194 Techniques
- 19 Working with Wood
- 23 Painting Castings
- 4 Masonry
- 23 Scenery
- 37 Tools and Supplies
- 22 Layout Planning & Building
- 40 Miscellaneous
- 20 Prototype Information
- 19 Reference and Research
E.J.Whiley Build
Hi everyone,
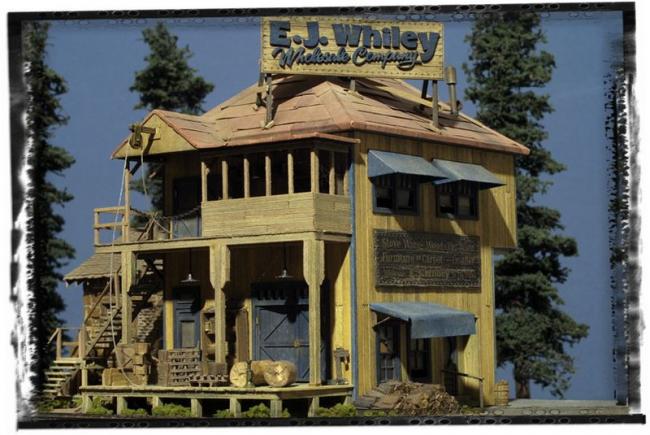
This weekend I started working on E.J. Whiley. It's been a little while since I've built one of Brett's kits and even longer since I've done a build thread. For this one I'm sticking close to Brett's color scheme only a little bit more subdued.
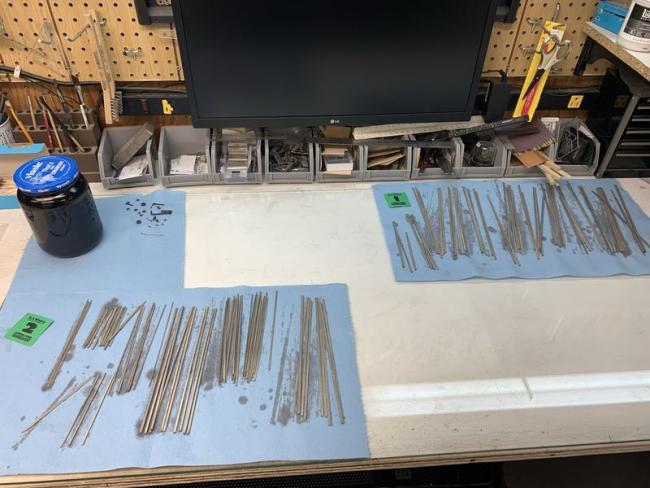
I grained and stained all the wood. For this build I stuck with plain old A&I for all the boards instead of chalk and alcohol.
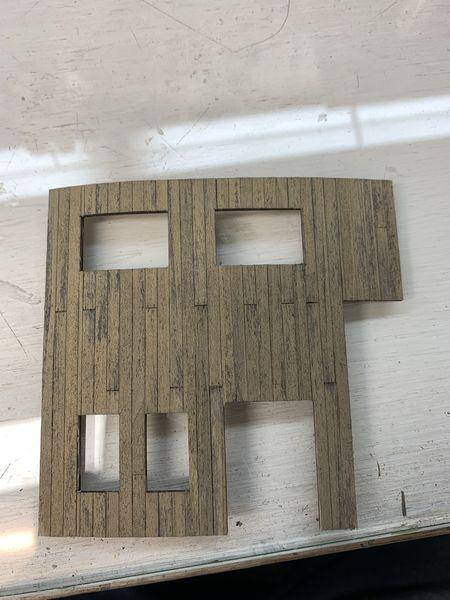
The assembly method for this kit is the same as most of Brett's, board on board over a laser cut cardstock sheet. I painted all the wood with Apple Barrel Khaki using the wet brushing method. It always feels like it will take a long time to do the board on board but I covered all the walls in about 90 minutes.
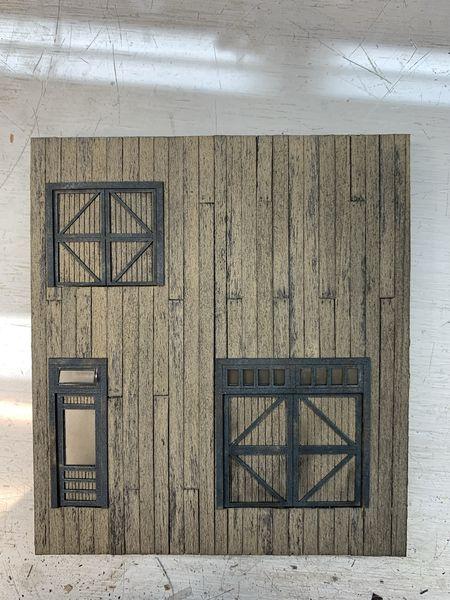
I assembled, painted and installed the windows and doors. The windows, doors and trim are all painted with AK Interactive Anthracite. I applied the paint to the doors and windows with a torn makeup sponge.
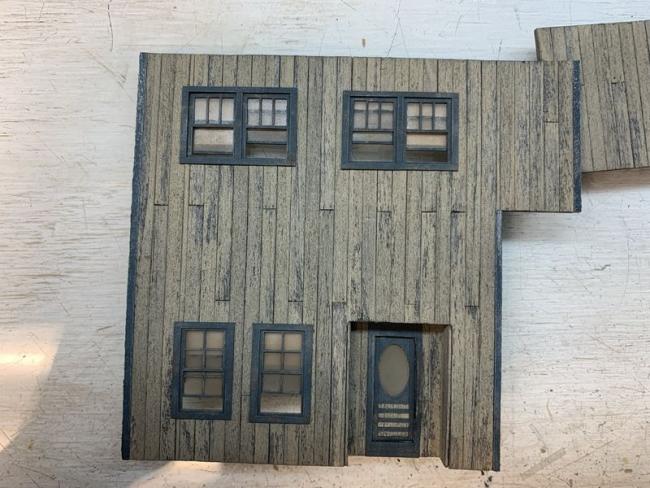
One of the other walls assembled with the corner trim.
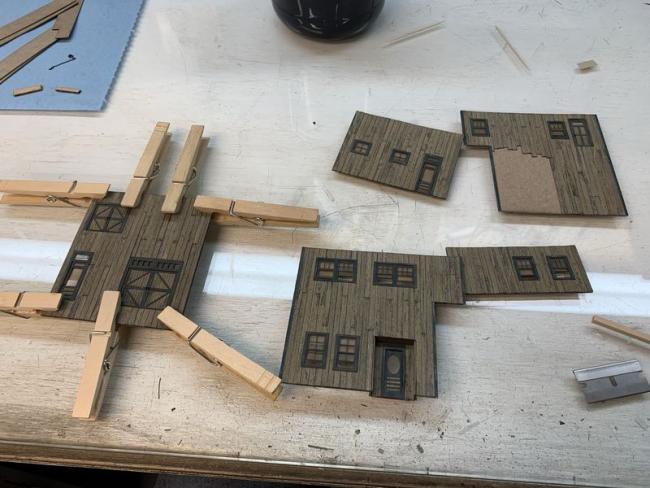
All the walls are assembled minus any details and some additional weathering. I did 2 washes of A&I over the siding to darken it a bit and it caused some warping, so I had to add a bit of bracing to straighten it out.
That's what I have so far, next will be some more wall detailing and then gluing them together.
This weekend I started working on E.J. Whiley. It's been a little while since I've built one of Brett's kits and even longer since I've done a build thread. For this one I'm sticking close to Brett's color scheme only a little bit more subdued.


I grained and stained all the wood. For this build I stuck with plain old A&I for all the boards instead of chalk and alcohol.

The assembly method for this kit is the same as most of Brett's, board on board over a laser cut cardstock sheet. I painted all the wood with Apple Barrel Khaki using the wet brushing method. It always feels like it will take a long time to do the board on board but I covered all the walls in about 90 minutes.

I assembled, painted and installed the windows and doors. The windows, doors and trim are all painted with AK Interactive Anthracite. I applied the paint to the doors and windows with a torn makeup sponge.

One of the other walls assembled with the corner trim.

All the walls are assembled minus any details and some additional weathering. I did 2 washes of A&I over the siding to darken it a bit and it caused some warping, so I had to add a bit of bracing to straighten it out.
That's what I have so far, next will be some more wall detailing and then gluing them together.

Comments
Love the walls and the toned down colors, very well done.
I glued the walls together.
I colored the stone walls and added the windows and doors. For the stone I primed it with gray followed by a couple A&I washes then I colored individual stones with various earth tone chalks. I added mortar using plaster darkened with brown and gray but it was really loud so I used some 408.3 to tone it down a bit. The windows and doors were colored with Reaper Boxcar Red.
I glued the stone walls together.
Both buildings mocked against each other to get a feel for how they will look, also making sure my fit against the main building is tight.
That's it for now.
Ken, I originally had some obvious mortar in the cracks and pretty heavy variation in the stones, but it really looked wrong to me. It was looking like a paint-by-numbers stone wall, so I kept weathering and blending until I got here.
This will be a perfect fit on the RR!!
Jerry
Terry
Stone work looks great,
I really like your 'cold' stone colour contrasting the 'warm' (boxcar red ?) on the doors and windows, looks great, the stone combined with the not so easy to do weathering on that red, very nice.
Nicely done so far, I'm looking forward to more.
I'm working on the roofing now, so I'll have another update in a day or so. Nothing much of interest to post while I add shingles.
For the stone building I did individual shingles instead of the included shingles with the kit. In the past I've used cedar sheets cut down into strips, split, colored etc.. but I found myself struggling to get them to a gray color that I liked. This time I used used HO scale 1x6s and chopped them up on the chopper after staining them with A&I. I did another coat of A&I after they were glued down and a little light tan dry brushing.
I also did the rolling roofing for the main structure. It was primer with Red Oxide Rust-Oleum and weathered a bit with chalks. I'll add some more weathering once I got the roof details in place.
The other side view.
That's all for now. I started the decking and I'll be adding the roof rafters, door hinges and some wall signs next.
Jerry
I'm a little slow working this build, I'm not super motivated with the modeling lately. I did make some progress on the kit over the last week or so and I started to map out it's home on the layout.
I started adding some details to the 2nd story porch.
More porch progress..
The roof is in place. It was a little bit tricky to get right but not as bad as I thought it would be.
Patched in the valleys and the peak.
I weathered the porch roof a bit to match the rest of the roof.
Next step before I could move forward was to figure out exactly where this scene will live on my layout. I don't have any more siding space so this one will be serviced by the road.
This is the little area that seems to work the best for it.
Another shot showing the place from a different angle.
It will sit next to my combo O'Neills/Quincy salvage and I plan on continuing the cobblestone road across the front.
That's as far as I got right now. I started working on the road, once that's in I'll run the track that connects to O'Neills and start building the scene.
I wonder how one of the roof patches would look in black.