Howdy, Stranger!
It looks like you're new here. If you want to get involved, click one of these buttons!
Categories
- 954 All Categories
- 3 Picture Posting and Resizing
- 60 New Member Introductions
- 100 Off-Topic Forum
- 2 Photography
- 2 Resources
- 18 New Product Information
- 164 The SierraWest Forum
- 11 Brett's Blog
- 120 General News & Ramblings
- 3 Re-Release Information
- 1 Q & A about SierraWest
- 9 What Would You Like to See?
- 405 Builds
- 145 HO Scale Builds
- 185 O Scale Builds
- 58 Finished SW Build Pics
- 11 Miscellaneous Builds
- 185 Techniques
- 19 Working with Wood
- 23 Painting Castings
- 4 Masonry
- 16 Scenery
- 37 Tools and Supplies
- 22 Layout Planning & Building
- 38 Miscellaneous
- 19 Prototype Information
- 18 Reference and Research
R.R.C aka Robert's Railroad Camp
So, after building another brass locomotive, it is time to get an unbuild SW kit out of the cupboard... A few are left and I decided to pick this one. The Railroad Camp. No special reason for that, they are all great. Anyway, as you would have expected from me, it won't be a build straight out of the box. We'll see what's gonna happen. I can say that more of the stone walls will be seen. They are such great castings, but in the end more than half of them are hidden, so I will change that for starters...
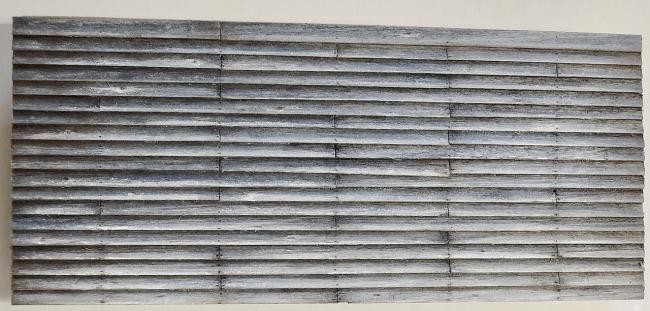
Speaking of starters, here is the first wall , a wall of the office. Just to get in the zone....( as they say it these days... )
)
Pics taken inside, so not 100% color correct... But you'll get the idea..


to be continued...
Speaking of starters, here is the first wall , a wall of the office. Just to get in the zone....( as they say it these days...
Pics taken inside, so not 100% color correct... But you'll get the idea..


to be continued...

Comments
Jerry
So I will be following
Keep up your great work Robert!!
Terry
Lovely start!
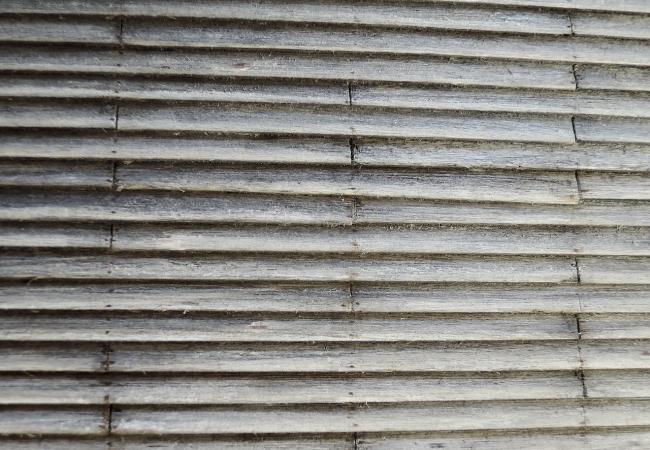
The other office walls. More weathering when assembled of course.
Jerry
You can bet we are all watching with great interest.
Did you take this latest set of photos outside?
Later, Dave S. Tucson, AZ
/
And for the coloring, I'm going for that greyisch/silver/faded look. At least for the upper part, this part, of the office building. As you'll have noticed, no knots in these boards. It's not a barn nor a shed, so better quality boards were used.
Man, I love doing these kits....
So far today's lesson kids.....
From the beginning, I was fascinated by the resin 'stone' wall castings. The first thing that came on my mind was "I'm not gonna hide these beautiful walls." According to the original building plan, half of them are hidden by walls of connecting buildings.
So , for now I don't have an alternative arrangement of these buildings, but I'll work something out. I do have some ideas floating in my brain... Managed to do so with the previous build, The Blue Sky Company. So, no worries....
Here you can see a wall with the opening for a window, actually it wasn't open ,but one that wouldn't be seen in normal circumstances . I thought it gave me the opportunity to put in some planks . A nice detail..
So resin turned into stone... A short summary of the modus operandi...
After fitting the walls into each other, I glued them with epoxy. Then all the seems were filled with a kind of mortar. Then every single stone was painted with several tones of colors. I used about five different colors and with these I did all the paintwork.
When dry, a wash with very diluted Bitume de Judée. ( Asphaltum) And finish off with some chalk and pigment powders...
More later...
THIS IS BETTER THAN REAL LIFE YOUR WORK IS OUTSTANDING.
Jerry