Howdy, Stranger!
It looks like you're new here. If you want to get involved, click one of these buttons!
Categories
- 954 All Categories
- 3 Picture Posting and Resizing
- 60 New Member Introductions
- 100 Off-Topic Forum
- 2 Photography
- 2 Resources
- 18 New Product Information
- 164 The SierraWest Forum
- 11 Brett's Blog
- 120 General News & Ramblings
- 3 Re-Release Information
- 1 Q & A about SierraWest
- 9 What Would You Like to See?
- 405 Builds
- 145 HO Scale Builds
- 185 O Scale Builds
- 58 Finished SW Build Pics
- 11 Miscellaneous Builds
- 185 Techniques
- 19 Working with Wood
- 23 Painting Castings
- 4 Masonry
- 16 Scenery
- 37 Tools and Supplies
- 22 Layout Planning & Building
- 38 Miscellaneous
- 19 Prototype Information
- 18 Reference and Research
Around October 25th, 1921
This build will feature the O scale Rigging Shed.
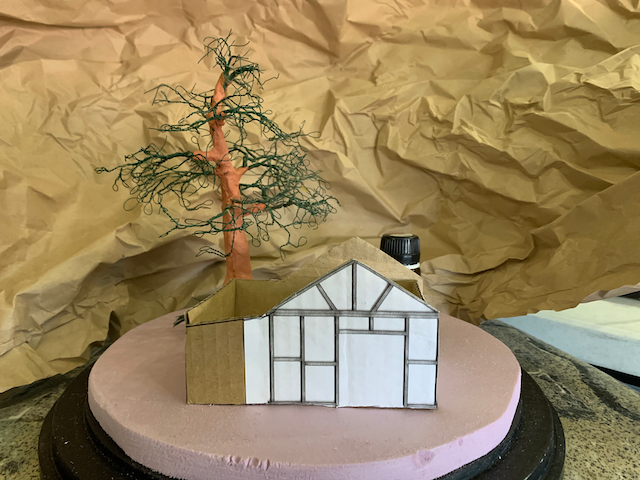
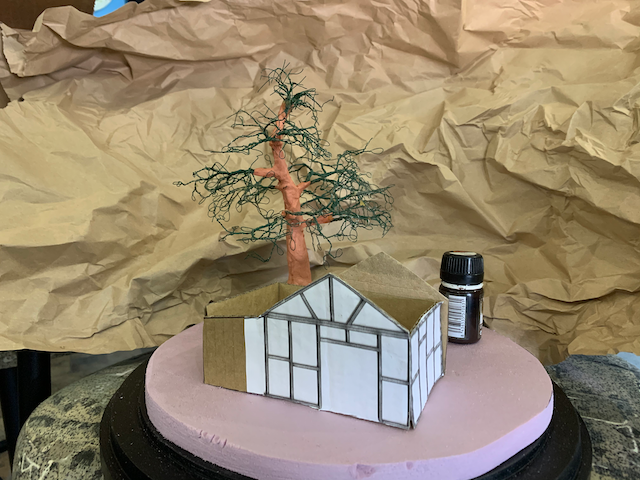
The build title is a play on words. It will be mounted on a round diorama. I had a time of year that I wanted to model. Specifically the first snow of the fall when there are only a few leaves left on the trees. So I needed a fall date a long time ago so I chose my grandmother's birthday...at least that's the day I remember it was. She would have approved, assuming I got it right. The mockup shows the look I am going for with the paint bottle standing in for the outhouse.
New elements that I am going to try include a dusting of snow and a nearly bare maple tree. I wanted to also include a ditch with some ice on the banks but space limitations cut that out. I planned for a 12" diameter and ended up with 11.25" which cuts out 14 square inches...bye bye ditch.
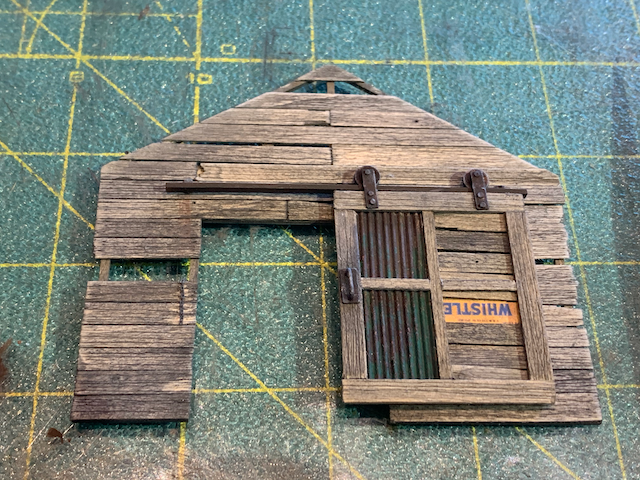
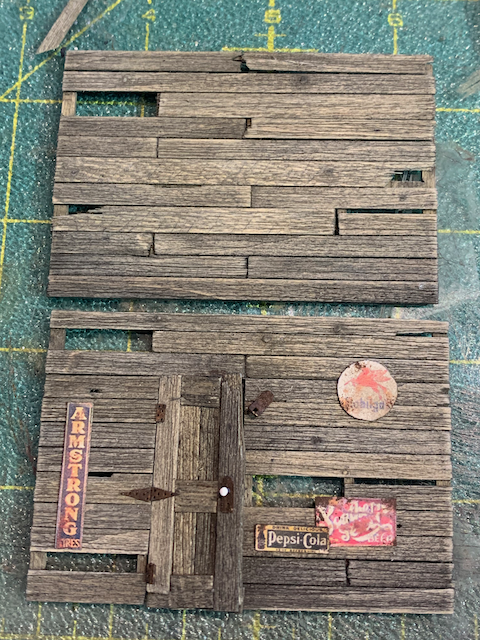
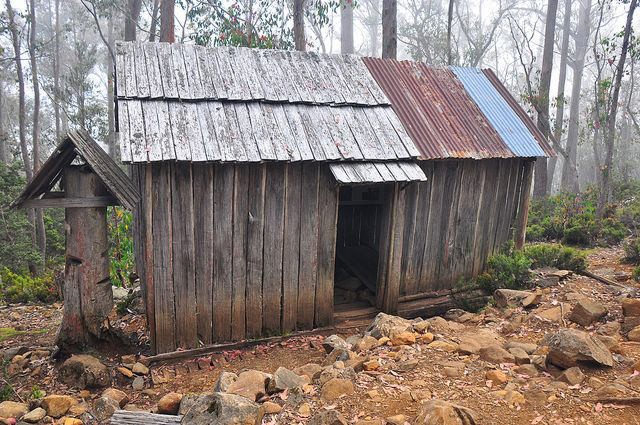
The walls are nearing completion. I wanted a more silvery gray but have not been able to get that color the way I like it so I went with this. I'll try a darker gray for the shingles. The shed in the last photo is really the color I was looking for.


Comments
i recently learned of a new stain developed by a couple in south africa. they put a handfull of rusty nails in a receptacle, put about a tablespoon of coarse salt in it, and then poured white vinegar in it to cover the nails. they ended up with a real nice looking gray stain. i might try this on the roof of the tractor and logging shed.
I did a first snow experiment by making a pair of test scenes. I included a variety of scenery elements, detail pieces and some structure components. The snow came from Precision Ice and Snow because of reviews on a military modeling forum. I used 2 different fixers. First was the fixer that came with the snow and the 2nd was matte varnish from a rattle can. Both gave good results with the varnish being easier to use.
In the first pic you can see a defining line in the snow. The area on the right has 1 layer of snow and the area on the left has 2. The look I am going for is a light dusting of snow. I want to make sure the castings have some accumulation but not enough to hide them.
When I look at the roof panel here I see that the snow in the middle kept its powdery texture while the snow on each end did not. This is the area where the fixer would have pooled. The missing snow in the middle is from me picking at it to see how well it adhered. I definitely do not want this much snow on the roof of the shed.
One of the biggest takeaways from this experiment is that both fixers are completely transparent on the wood meaning this process wont mess up the shed.
Back to the task at hand...i didn’t notice before the accumulation of “snow” along the one side of the cable reel...sweet!
Thanks Tom
Ken, I second that motion. Everyone try their best technique to get a silvery gray. Here are a few of my tries.
The wall section is bare wood coated with Liquitex gray ink followed by washes of dark gray and brown (sparingly) enamels. Finished with a light sanding.
The crane leg is wood painted very light gray (almost white) followed by washes of brown enamel and IA.
The 2 sticks: Top stick is 704.3 blended with 408.9 Rembrandt chalks with some white blended while wet. Followed with light sanding and IA. Bottom stick is gray ink on bare wood with progressive washes of IA.
Chalk and alcohol works for me... I started the new thread to keep this one on track with Bryans build.
the spools were primed with a light gray then a thinned coat of the paints you see in pic 1 were added. They were then given an enamel wash with brown and/or gray followed by a drybrush of light gray. NBW added.
2nd row done now. I tried a couple things different. 1st I painted some individual boards to see how that would look on the finish. 2nd I sanded instead of drybrushing. Both sets turned out nice and are slightly more gray than the photos suggest. Very cool little castings.
I roughed out the base. This is 1" foam. I also did a 1/2" version which I liked better but then I went and messed it up by trying to add that ditch...knowing there wasn't enough room. It was my last scrap of 1/2" foam also. Oh well...I'll trim it up with some .020 styrene and paint to match the base.
Mockup of the location of the structure with a new tree under construction. I found that using 28g wire was much easier to work with than the 26g. It gives much finer branch tips also. Tried 30g but that didn't hold the shape very well.
I'm searching for a round tuit to add on the the scenery. Just joking around.