Howdy, Stranger!
It looks like you're new here. If you want to get involved, click one of these buttons!
Categories
- 996 All Categories
- 3 Picture Posting and Resizing
- 58 New Member Introductions
- 120 Off-Topic Forum
- 4 Photography
- 2 Resources
- 18 New Product Information
- 170 The SierraWest Forum
- 10 Brett's Blog
- 121 General News & Ramblings
- 3 Re-Release Information
- 6 Q & A about SierraWest
- 9 What Would You Like to See?
- 408 Builds
- 145 HO Scale Builds
- 180 O Scale Builds
- 62 Finished SW Build Pics
- 15 Miscellaneous Builds
- 195 Techniques
- 19 Working with Wood
- 23 Painting Castings
- 5 Masonry
- 23 Scenery
- 37 Tools and Supplies
- 22 Layout Planning & Building
- 40 Miscellaneous
- 24 Prototype Information
- 22 Reference and Research
Dusting Off the Shelves The Freight House
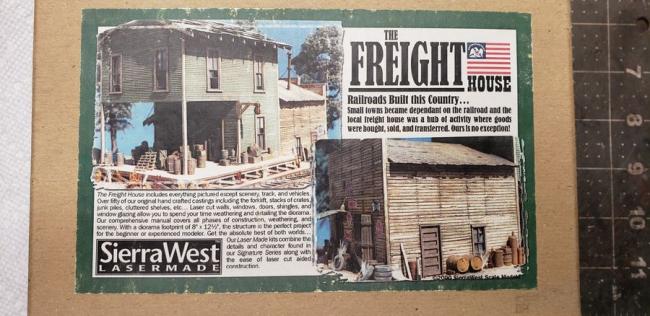
I'm opening my stash of kits and building some oldies but goodies. I started with E.J. Whiley a short time ago and now the Freight House. This is a smaller diorama but still has all the character and detail of SW kits. I's pretty much following the instructions but with updated techniques and materials as some materials outlined in the instructions are no longer available such as Floquil paints. My collection of Floquil paints has dried up long ago! The new acrylics available now are more readily available and offer good quality, especially the SW paint collection.
I did not find any builds for this kit on the forum so here's my build of The Freight House.
The kit is composed of 2 connected structures, The Freight House and The Tuck Repair Building. The freight house is a newer addition to the truck repair building so it is not as "weathered" as the truck repair portion. I chose to weather my freight house more as needing some "maintenance". The truck repair building is showing more "age" but still is not neglected.
The instructions start with constructing the walls of the Freight House.
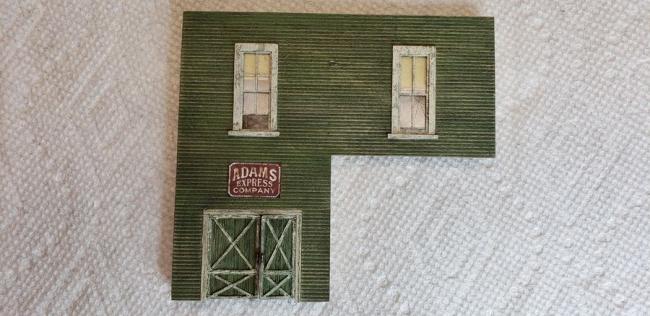
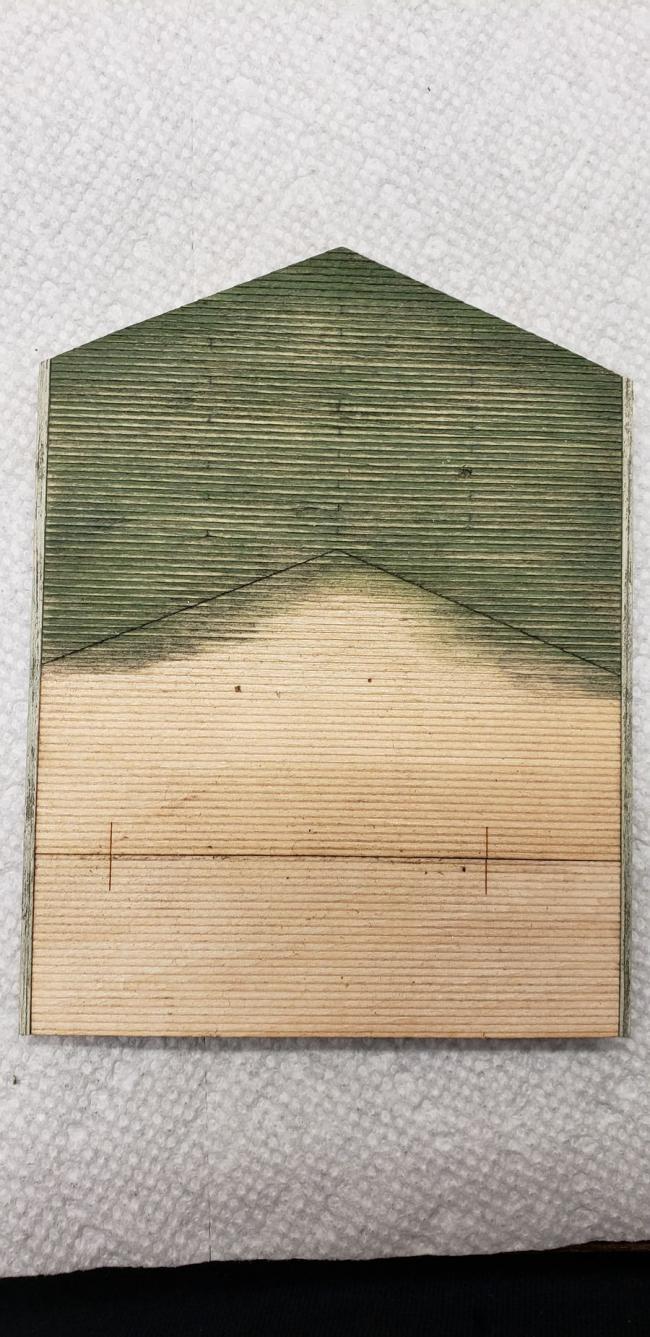
This is the front of the freight house located under the covered loading dock so doesn't show as much weathering.
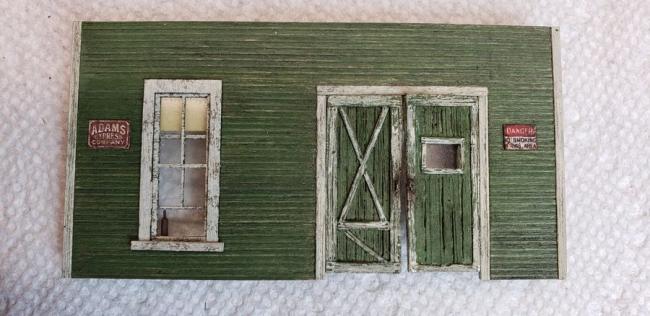
I did not find any builds for this kit on the forum so here's my build of The Freight House.
The kit is composed of 2 connected structures, The Freight House and The Tuck Repair Building. The freight house is a newer addition to the truck repair building so it is not as "weathered" as the truck repair portion. I chose to weather my freight house more as needing some "maintenance". The truck repair building is showing more "age" but still is not neglected.
The instructions start with constructing the walls of the Freight House.


This is the front of the freight house located under the covered loading dock so doesn't show as much weathering.


Comments
Rick
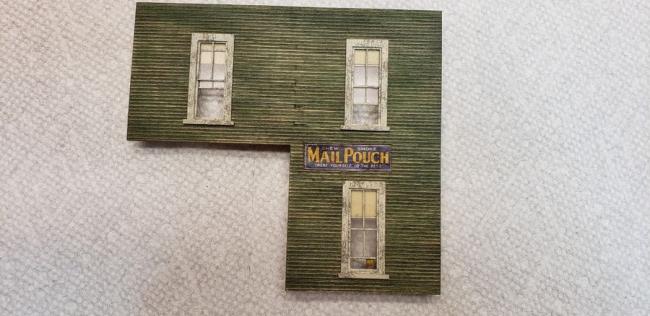
As noted earlier this part of the building represents an older more weathered structure. Not run down, just in need of some TLC.
One item of note. There are a lot of windows on these 2 structures and windows are something I don't always look forward to. Cutting the mylar to fit within the castings I more often than not make them too big and need more cutting to fit or too small needing to cut a new piece. Well Brett has made the task enjoyable with laser cut mylar window inserts as well as the self stick parts. everything fits together perfectly and it makes the task much more enjoyable. It is even easier to detail the windows with bullet holes, cracks, missing panes, replacement panels etc.
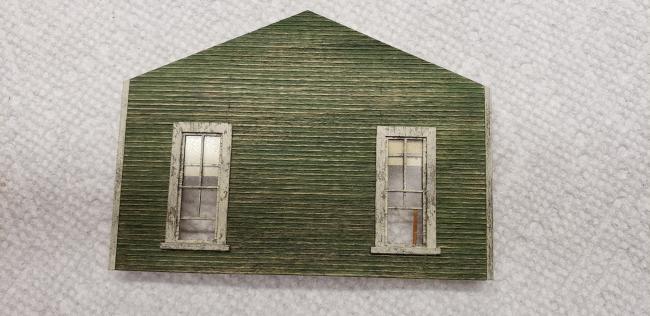
Here are the walls.
Rick
Brett I had this one built in Pittsfield Expo for sale.
Anyhow I wait until you are done Tom and follow along.
I keep going back to the front wall with the false front. Some faded stenciled lettering might look good across the top. I was also thinking that the double doors with the rusted hinges had a lot of contrast in the color. What would you think about slightly darkening the door or lightening the hinges?
If you notice the doors on the building sides and windows are darker than the door with transom on the front. This is a factor of how the light reflects off them. they are the same color. They are laser cut from a plywood and stained with the leather dye and alcohol mix. The trim on the top of the false front looks darker as well, but in person it's basically all the same.
A faded stencil across the top would have been a nice touch to the false front, but I'm afraid it would be too difficult to add it now with all the details added.
After assembling the structures I had a major problem! as you can see in the above photo there is quiet a difference between the top of the side wall and the top of the rear wall on the Freight House. It's over 1/8". You can see the problem here.
So the only thing I can think of is when Gluing the 2 pieces of the rear Freight House wall together I used a wrong piece, but there was only 1 option and the alignment marks lined up properly.
The other option was I made the dock too tall, but there are 3 precut spacers included with the kit that help stiffen the dock and align the height of the dock. I made the legs of the dock according to the template and both align.
So I'm in a quandary as to what went wrong. In any case I had to come up with a solution. Fortunately the laser cut siding included extra material above the gable.
I cut the needed patch from this extra material.
Here it is just set in place to check alignment.
Once satisfied with the fit I glued it in place and it lined up so now the rear and side walls align.
Just a word of caution to those of you that said they were looking to build this kit. Do a dry fit of the structures before actually gluing the walls together to make sure everything is the right alignment. It is easier and wouldn't show if the extra material is added to the bottom of the rear Freight House wall.
By the way the 3 Truck repair walls are glued together first according to the instructions and the rear Freight House wall is glued to the rear of that. This is before the Freight House is glued together. So I didn't know the walls wouldn't align until assembling the Freight House. So now disaster avoided, it's onward!
Looks great too.
Rick
The way to the ground?
The freight house is then built on top of the loading dock.
By the way, I have used a lazy susan for years and like it very much. It's just a piece of ship lap cut off from a decorating project from my wife. It's 5" by 7".
In any case I have finished assembling the structure. I used a slightly wider fascia and rafter tails than the instructions call for and I think it looks OK. You can see in the following photos that it does cover the patch pretty well.
You can just barely see the patch. This shot is taken pretty low and it just barely shows.
No on to the fun part, creating the diorama!
Rick
To my eye the patch is basically invisible.
Fun build! Now what next?