Howdy, Stranger!
It looks like you're new here. If you want to get involved, click one of these buttons!
Categories
- 996 All Categories
- 3 Picture Posting and Resizing
- 58 New Member Introductions
- 120 Off-Topic Forum
- 4 Photography
- 2 Resources
- 18 New Product Information
- 170 The SierraWest Forum
- 10 Brett's Blog
- 121 General News & Ramblings
- 3 Re-Release Information
- 6 Q & A about SierraWest
- 9 What Would You Like to See?
- 408 Builds
- 145 HO Scale Builds
- 180 O Scale Builds
- 62 Finished SW Build Pics
- 15 Miscellaneous Builds
- 195 Techniques
- 19 Working with Wood
- 23 Painting Castings
- 5 Masonry
- 23 Scenery
- 37 Tools and Supplies
- 22 Layout Planning & Building
- 40 Miscellaneous
- 24 Prototype Information
- 22 Reference and Research
E.J. Whiley Build
I guess I'm feeling nostalgic. I am resurrecting a kit from 2009. It's not one seen often actually I went back through past builds to try to find a build for this kit but came up empty. So here's my build of E. J. Whiley. I followed the instructions pretty much as they are, but I used the damp brushing technique to paint/weather the wood for the walls. I like this method as it is quick and easy to get some pretty good results.
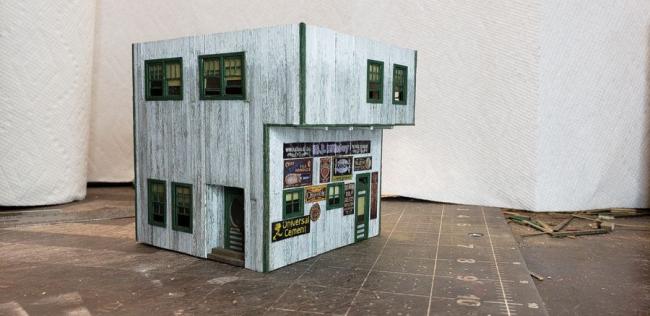
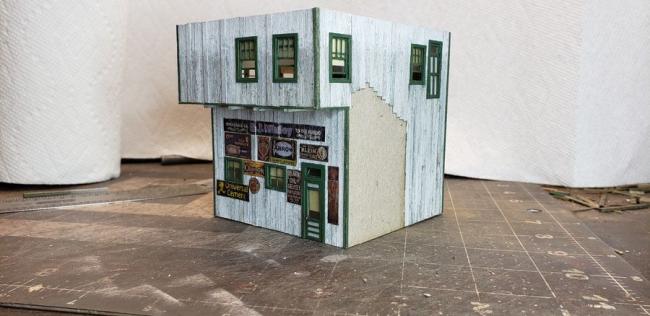
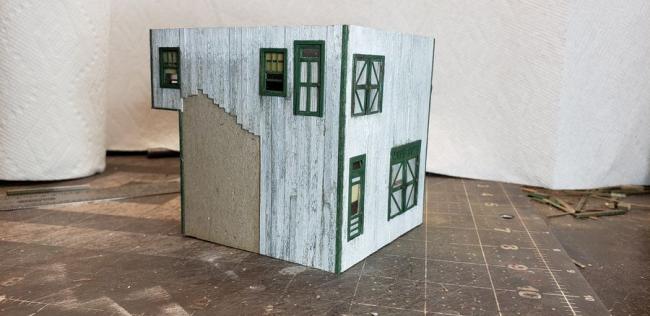
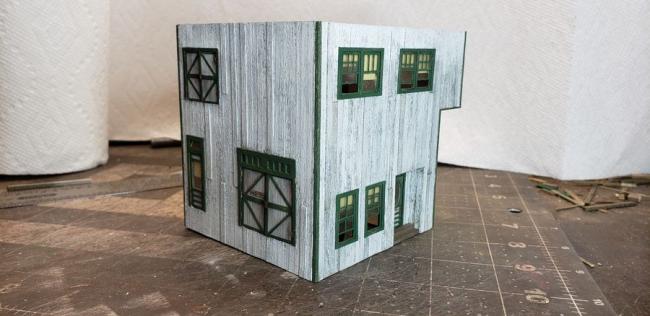
After completing the walls I intended to photograph them flat on the workbench, but I got so wrapped up in building that I didn't remember to take pics until after assembling the walls. So here is where I am at this point.
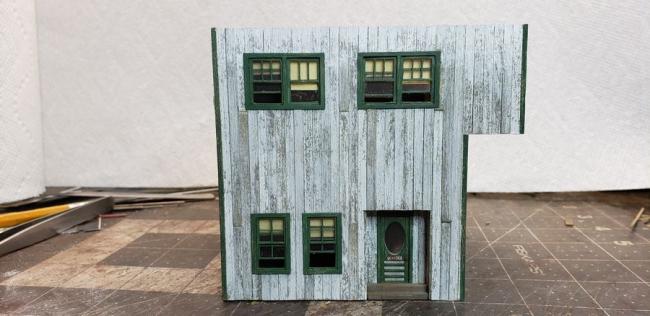
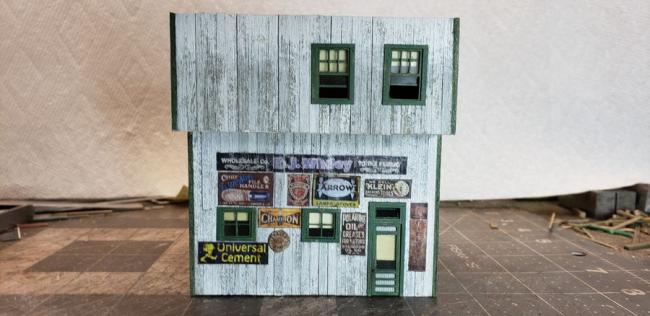
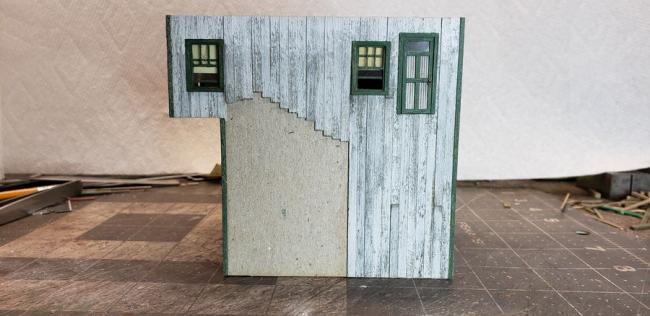
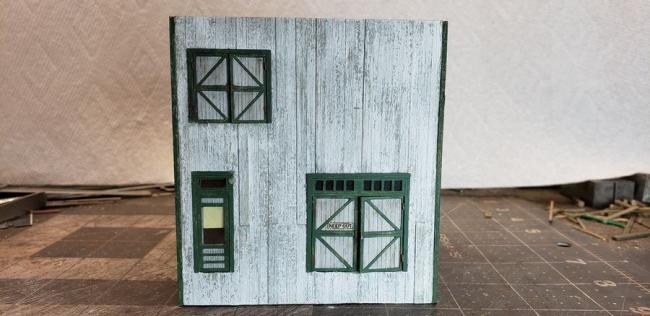
Now shots from each corner.
I want to thank brownbr for his great tutorial on coloring stone. I wanted to try it and this was a great opportunity to try it out. It took me a little playing around but I got what I consider satisfactory results. In my opinion the stones don't look quite as good at in the tutorial. I attribute that to the initial spray paint I used. I think it was a little dark. I used a gray Rustoleum automotive primer. The gray in the tutorial looks to be lighter and a warmer shade of gray. In any case I'm satisfied with the results. I will definitely use this technique again.
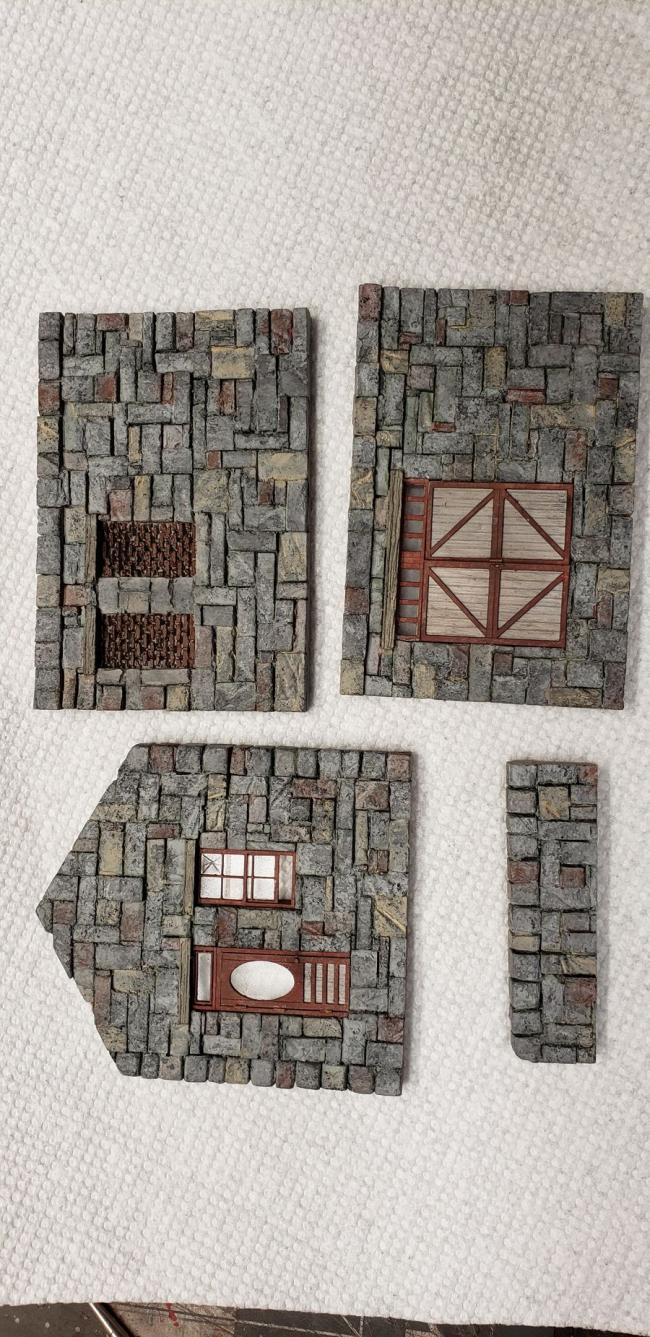
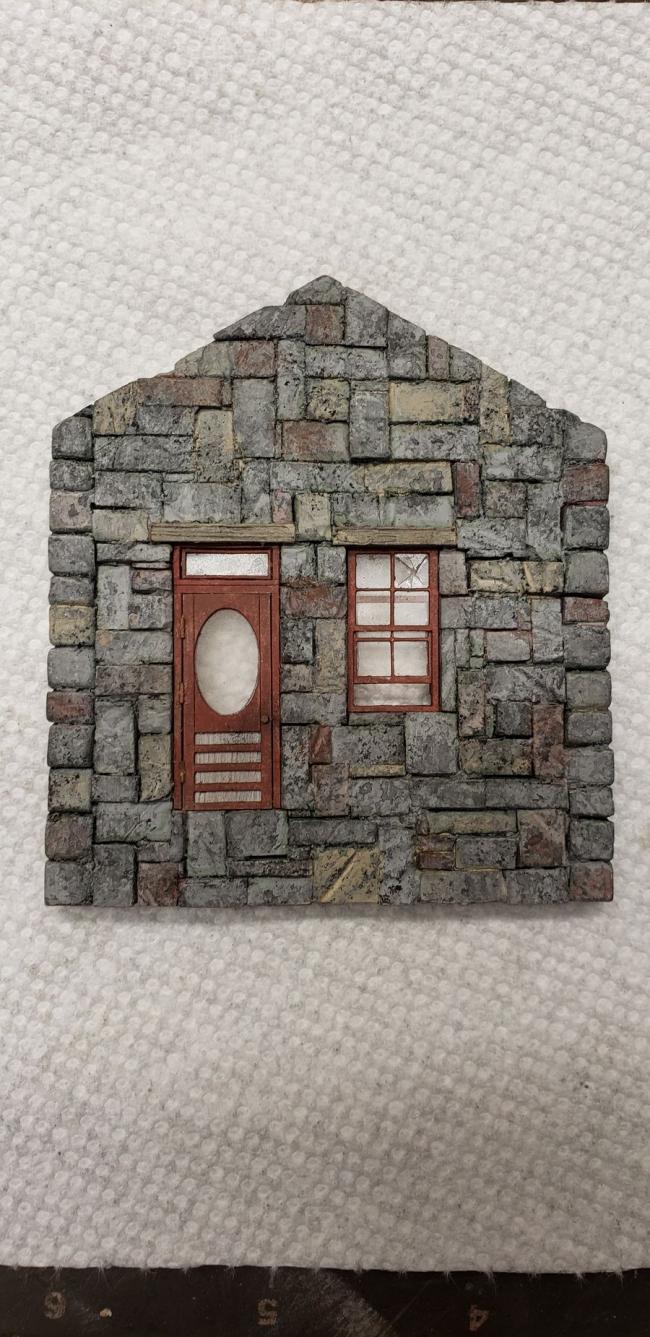
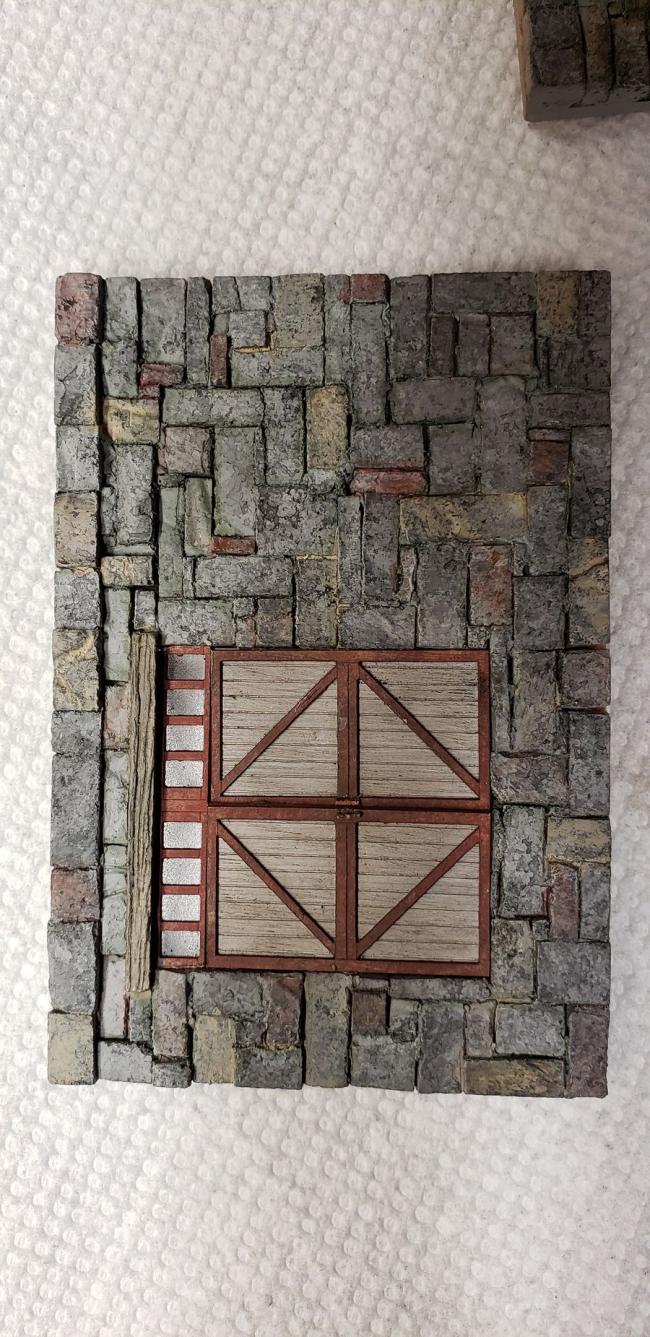
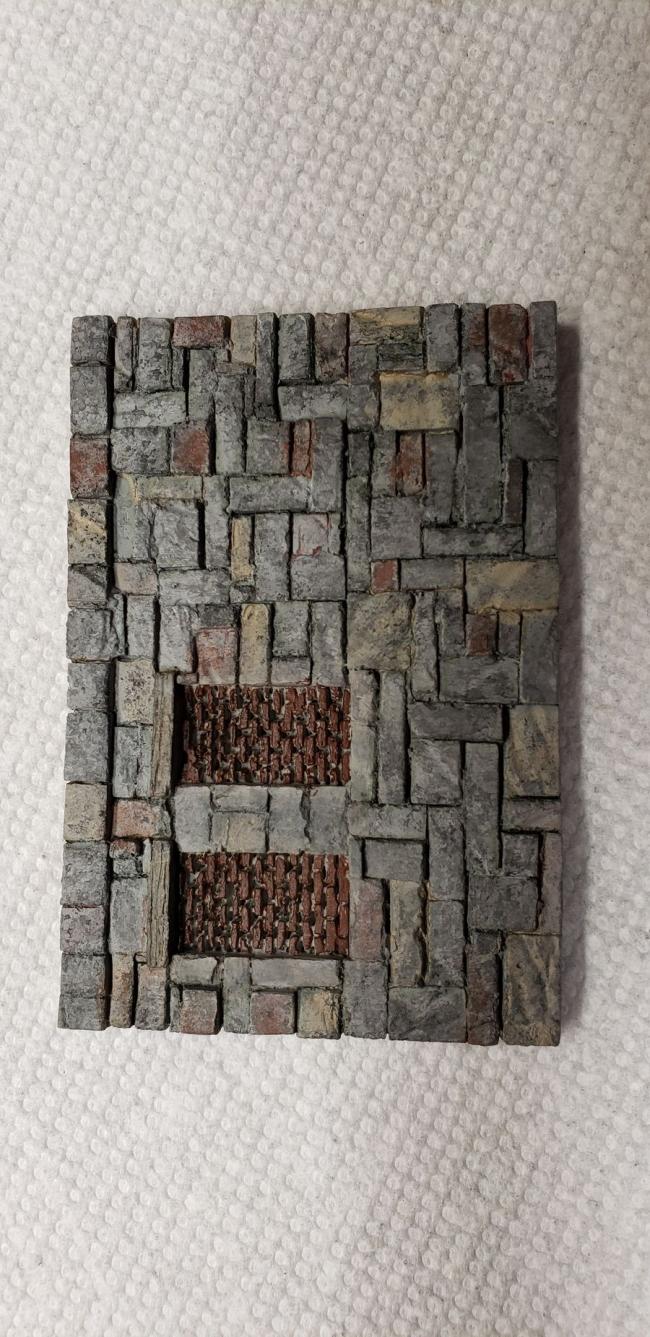
More as I progress through the build.
After completing the walls I intended to photograph them flat on the workbench, but I got so wrapped up in building that I didn't remember to take pics until after assembling the walls. So here is where I am at this point.


Now shots from each corner.


I want to thank brownbr for his great tutorial on coloring stone. I wanted to try it and this was a great opportunity to try it out. It took me a little playing around but I got what I consider satisfactory results. In my opinion the stones don't look quite as good at in the tutorial. I attribute that to the initial spray paint I used. I think it was a little dark. I used a gray Rustoleum automotive primer. The gray in the tutorial looks to be lighter and a warmer shade of gray. In any case I'm satisfied with the results. I will definitely use this technique again.


More as I progress through the build.

Comments
Color to me is always a personal preference. If you like it, go with it as it should always be pleasing to you first.
Now the red has to go. Just messing with you.
Rick
Rick
Havent seen too many versions of it but always wanted an upscale with peeled white like yours.
I'll def be looking at this build for inspirations when I get around to mine.
Keep up the great work.
i've got three. only three. course, i didn't dive in to the swsm pool until i couldn't see n scale any more.
My 'library' still isn't completed, but damn, I need to finish the ones I've got first anyway...
You have your hands full with the hotel anyway, which is coming along nicely. That'll keep you busy until you can build your pool of kits.
Compare the photo above ant this one and let me know what you think.
My vote is for the your revised porch with the fewer posts.
Later, Dave S. Tucson, AZ
I added some extra details. Not that there weren't enough already included in the kit. I just like to add some extra touches. Some close up shots.
I did make an adjustment to the awning over the door on the stone building. The instructions called for tar paper. Since I made my tar paper green instead of the red called for in the instructions I didn't think it would look right with the red trim on the stone portion of the building so I used corrugated roofing. I was so intent on following along with the instructions I made the trim color on the stone building red and in hind site should have made it green as well. I was in a zone!
Rick