Howdy, Stranger!
It looks like you're new here. If you want to get involved, click one of these buttons!
Categories
- 996 All Categories
- 3 Picture Posting and Resizing
- 58 New Member Introductions
- 120 Off-Topic Forum
- 4 Photography
- 2 Resources
- 18 New Product Information
- 170 The SierraWest Forum
- 10 Brett's Blog
- 121 General News & Ramblings
- 3 Re-Release Information
- 6 Q & A about SierraWest
- 9 What Would You Like to See?
- 408 Builds
- 145 HO Scale Builds
- 180 O Scale Builds
- 62 Finished SW Build Pics
- 15 Miscellaneous Builds
- 195 Techniques
- 19 Working with Wood
- 23 Painting Castings
- 5 Masonry
- 23 Scenery
- 37 Tools and Supplies
- 22 Layout Planning & Building
- 40 Miscellaneous
- 24 Prototype Information
- 22 Reference and Research
Machine Shop-My Interpretation
I have long admired the works from Anders Malmberg and Chuck Doan. I noticed Anders Malmberg's machine shop is built from the SW Deer Creek Machine Shop. I built this model a couple of years ago and have the plans, so I though I'd give it a go as a scratch build. I also have a cache of machinery from Rio Grande Models, and SS Ltd, plus an assortment of castings from many sources. So just before Thanksgiving last fall I started on this journey, and finished yesterday. Since this is not an official SW kit I asked permission from Brett to post this build and he enthusiastically encouraged me to do so. Thank you Brett!
I did not take photos of the construction, but do have a couple of planning photos. The first thing I did was build the machines so as to plan the layout. I had the floor plan for the SW Machine Shop and used it to layout the machinery.
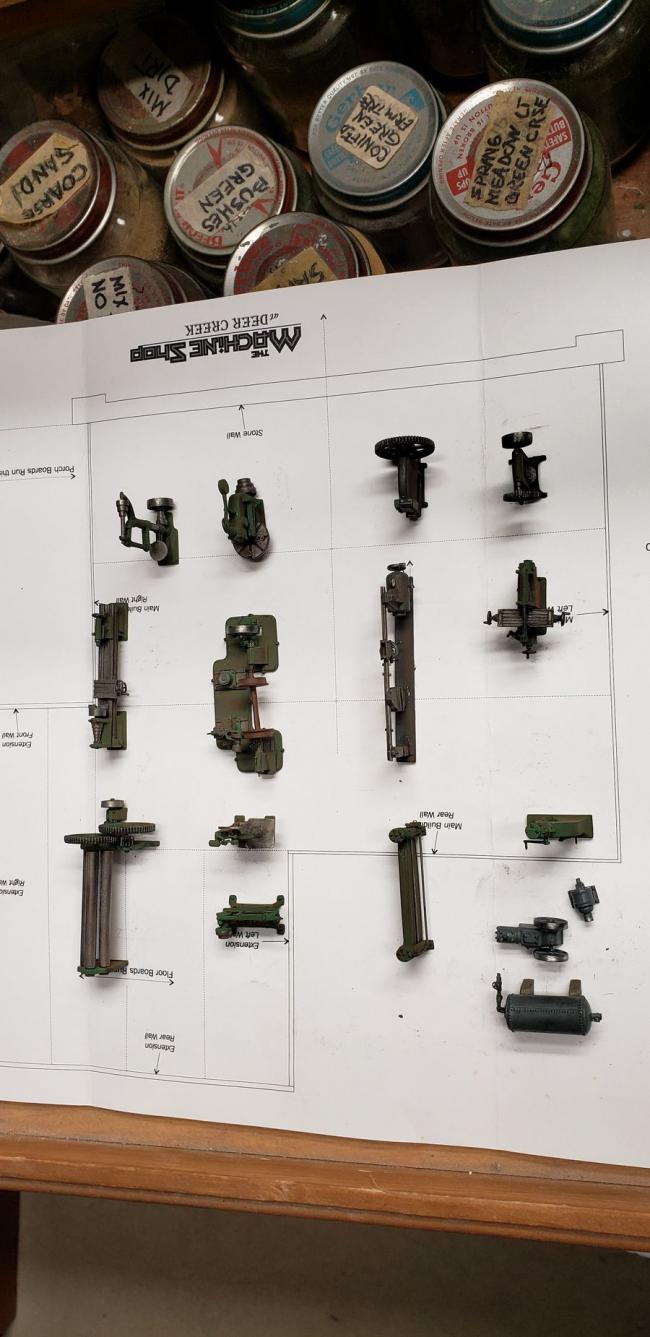
Laying out the machinery I realized building the structure from the original plans would not work as the machinery didn't all fit and make a pleasing layout. So I increased the size of both structures by about 10%. This meant I had to draw plans for the walls, etc. A couple examples here.
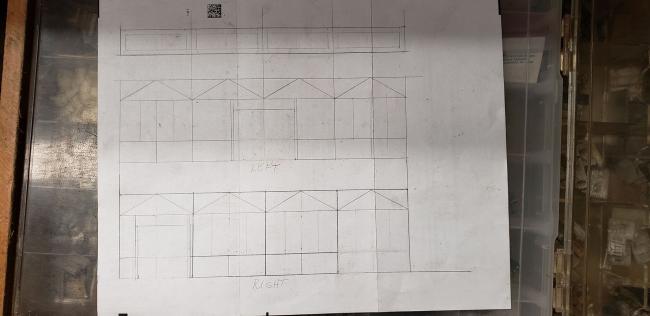
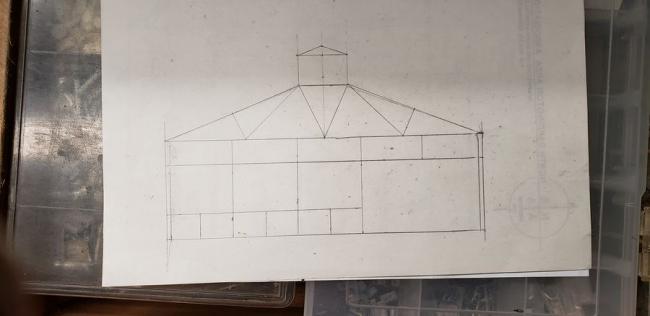
With plans in hand I set out to construct the structure board on board. I deviated from the original plan layout by adding side doors, which I thought would aid in viewing the interior when the roofs are on. I have quite a stash of materials, as I am frugal when constructing kits and have picked up materials wherever available. So I constructed the walls as per the usual methods with much appreciation from methods learned on this forum as well as kit construction.
Once the walls were constructed I put them together to form the structures. With the walls assembled I again laid out the machinery for placement. I placed the machines where they would best fit the structure, and this may not be actual optimal placement for efficient prototype use. I mulled over placement for several days, making adjustments, so they would not block aisles or not fit the overhead belt drive system. As Kevin has pointed out in his great Hotel build, there was no pre-planning by Brett to work out all the kinks. While pondering solutions I did not waste time. I did something that I enjoy, working with castings and painting them. I select castings from my cache that I "might" use and painted them all ahead of time so when selecting castings I have my assortment available to try placement, more mulling.
This was also the time to figure out the layout of the diorama, with track etc. I decided to make the floor out of "concrete" (cardboard) instead of wood as in Malmberg's diorama. This would have put a strain on my wood supply and I would have had to purchase more 2 x 12's, so concrete it was.
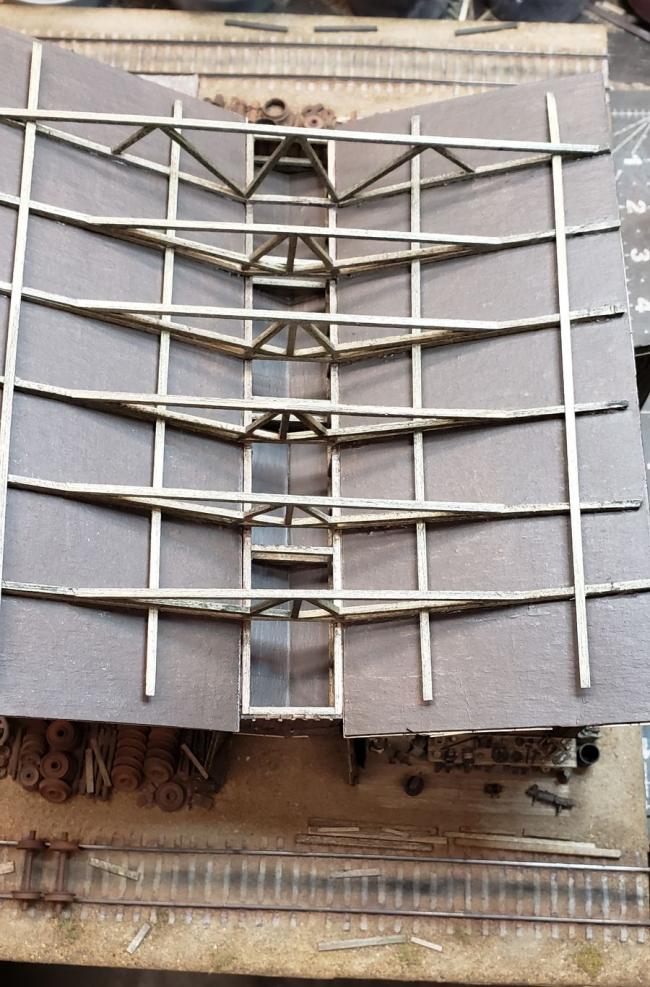
With the structure attached to the floor it was time to work on the roof. More mulling. I needed to figure out how to construct the main structure roof so I decided on trusses. There are 2 different trusses in the structure since the front portion of the main structure has the crane, simple trusses would interfere with its operation. The rear truss is a simple truss. The small annex is typical rafter construction. The clerestory caused much consternation. After a couple of days I settled on the method used. I'm not happy with how the joint on the end walls turned out, but it is what it is.
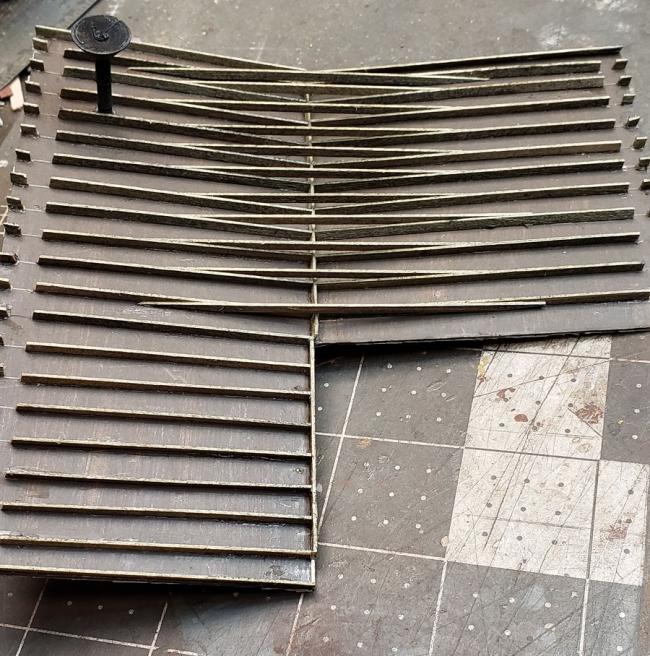
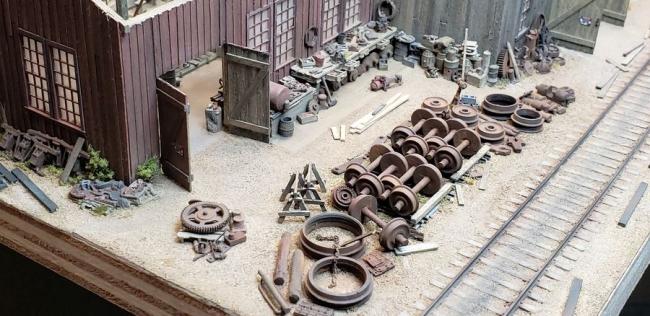
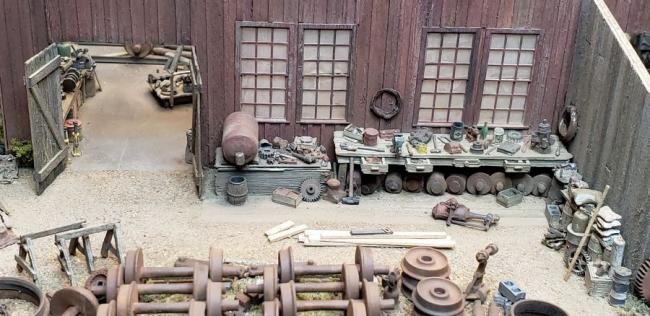
Once all this was done, it was time for the fun to begin, and I mean placement of castings and scenery. This is the most enjoyable part of any build for me and I had a LOT of fun with this one. Well it's time to post photos of my version of the Machine Shop at Deer Creek. I hope you enjoy them and if you have any questions I'm happy to answer them.
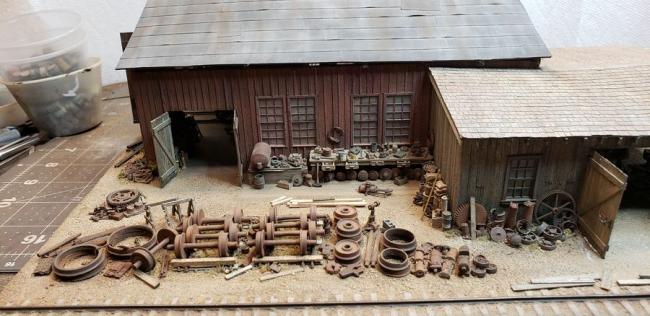
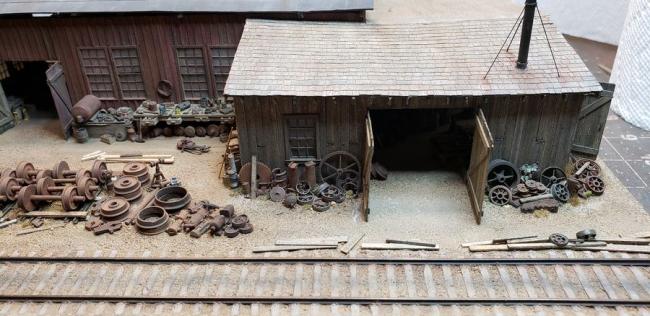
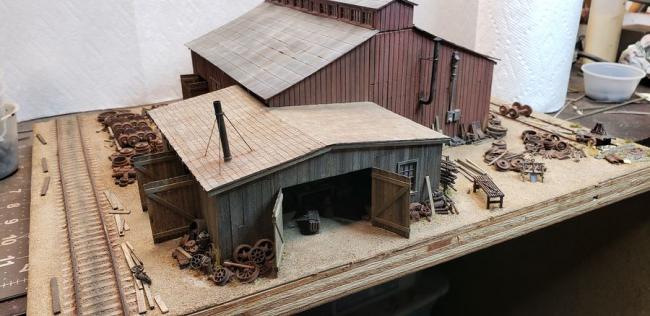
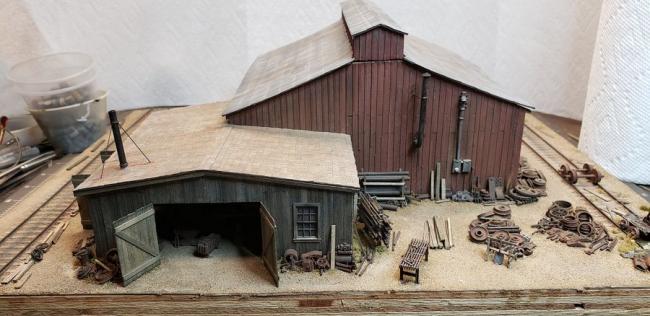
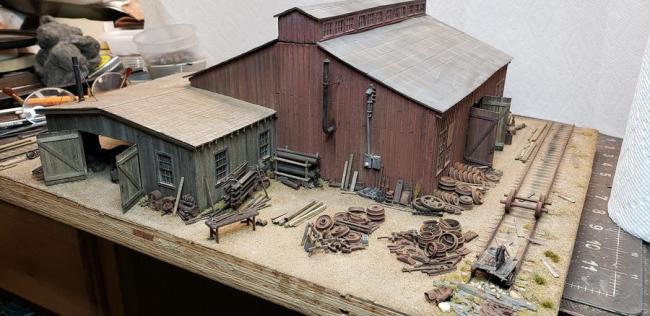
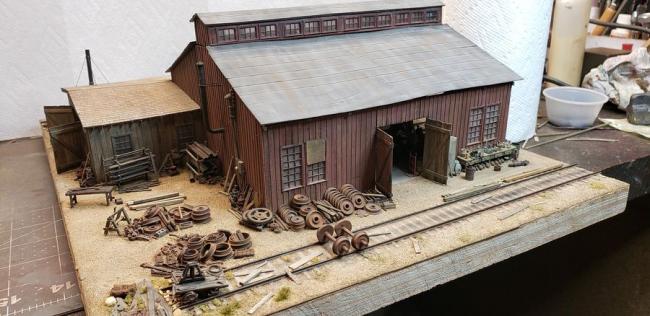
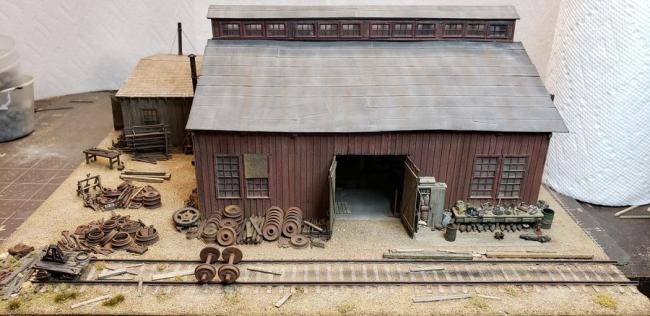
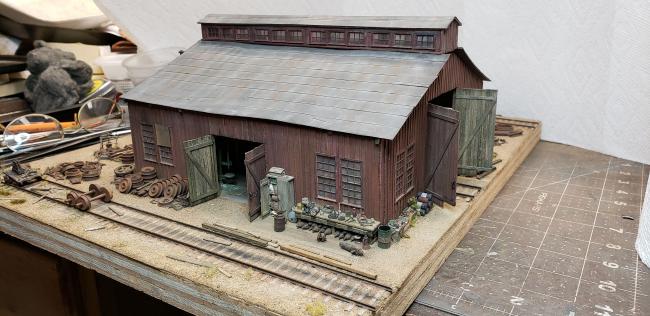
I took a lot of photos from many different angle. I'll try to post them in a logical order that makes some sense. I'll start with the outside then move inside and finally post random photos that show details.
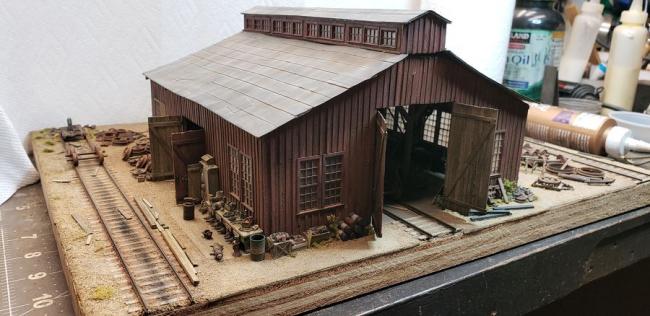
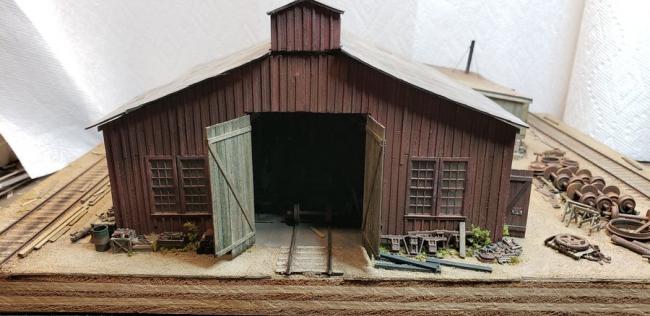
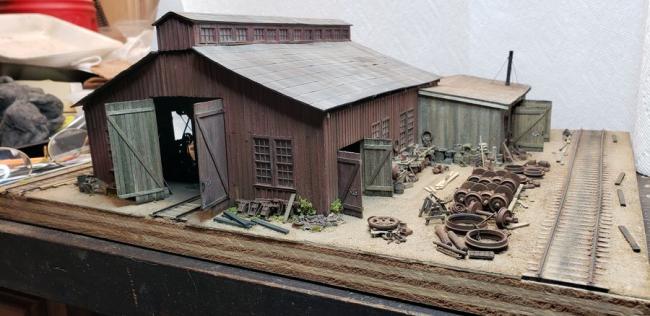
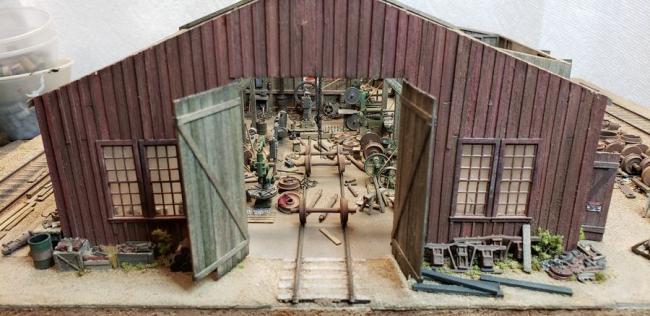
I did not take photos of the construction, but do have a couple of planning photos. The first thing I did was build the machines so as to plan the layout. I had the floor plan for the SW Machine Shop and used it to layout the machinery.

Laying out the machinery I realized building the structure from the original plans would not work as the machinery didn't all fit and make a pleasing layout. So I increased the size of both structures by about 10%. This meant I had to draw plans for the walls, etc. A couple examples here.


With plans in hand I set out to construct the structure board on board. I deviated from the original plan layout by adding side doors, which I thought would aid in viewing the interior when the roofs are on. I have quite a stash of materials, as I am frugal when constructing kits and have picked up materials wherever available. So I constructed the walls as per the usual methods with much appreciation from methods learned on this forum as well as kit construction.
Once the walls were constructed I put them together to form the structures. With the walls assembled I again laid out the machinery for placement. I placed the machines where they would best fit the structure, and this may not be actual optimal placement for efficient prototype use. I mulled over placement for several days, making adjustments, so they would not block aisles or not fit the overhead belt drive system. As Kevin has pointed out in his great Hotel build, there was no pre-planning by Brett to work out all the kinks. While pondering solutions I did not waste time. I did something that I enjoy, working with castings and painting them. I select castings from my cache that I "might" use and painted them all ahead of time so when selecting castings I have my assortment available to try placement, more mulling.
This was also the time to figure out the layout of the diorama, with track etc. I decided to make the floor out of "concrete" (cardboard) instead of wood as in Malmberg's diorama. This would have put a strain on my wood supply and I would have had to purchase more 2 x 12's, so concrete it was.
With the structure attached to the floor it was time to work on the roof. More mulling. I needed to figure out how to construct the main structure roof so I decided on trusses. There are 2 different trusses in the structure since the front portion of the main structure has the crane, simple trusses would interfere with its operation. The rear truss is a simple truss. The small annex is typical rafter construction. The clerestory caused much consternation. After a couple of days I settled on the method used. I'm not happy with how the joint on the end walls turned out, but it is what it is.


Once all this was done, it was time for the fun to begin, and I mean placement of castings and scenery. This is the most enjoyable part of any build for me and I had a LOT of fun with this one. Well it's time to post photos of my version of the Machine Shop at Deer Creek. I hope you enjoy them and if you have any questions I'm happy to answer them.
I took a lot of photos from many different angle. I'll try to post them in a logical order that makes some sense. I'll start with the outside then move inside and finally post random photos that show details.


Comments
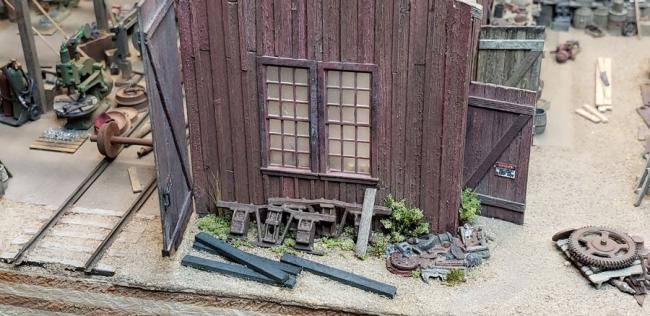
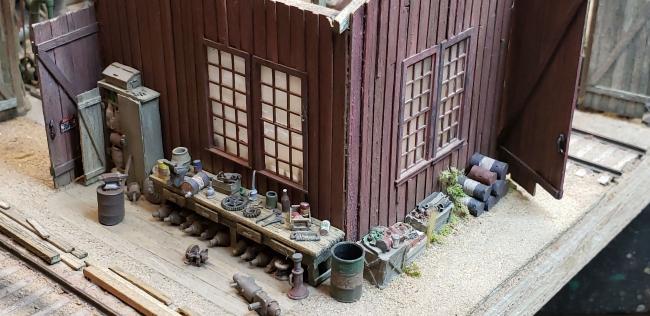
I tried to move around the exterior in a logical order now let's move inside.
I'll start on the front wall and move around clockwise as looking down from the top.
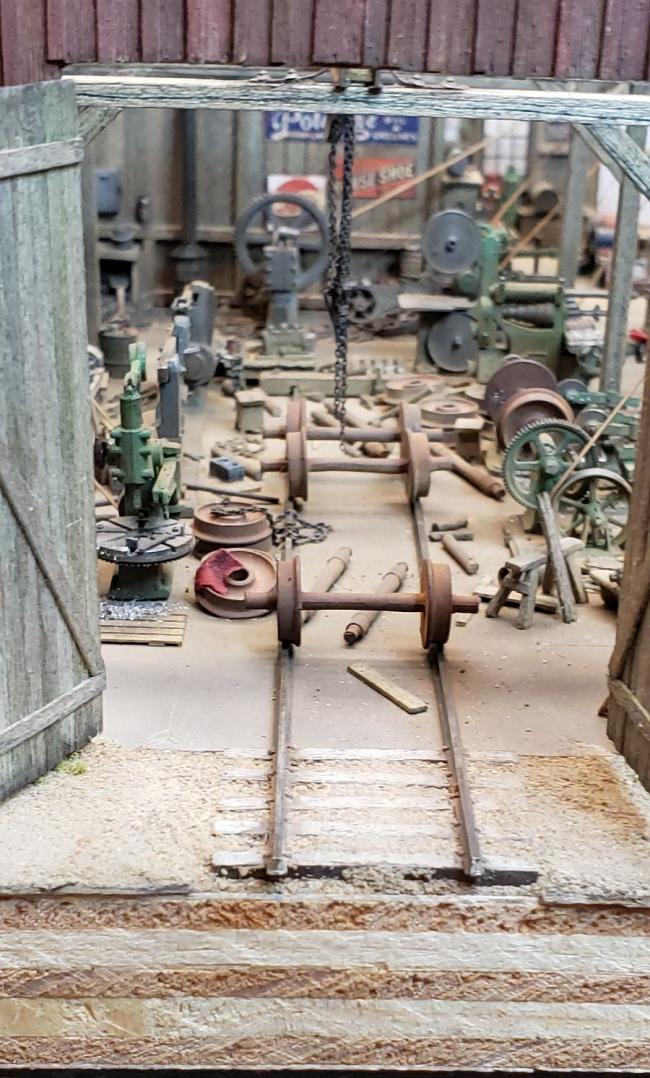
Next moving through the middle of the main building from the front.
Next moving into the annex.
That's a tour around the inside. Now I'll post some random photos.
I think that about covers it. Hope you all enjoy.
Great work Tom..
Real nice work I like the color of the walls and everything else. I tried to get castings for my shop not much around for woodworking.
Outstanding Tom.
SS Ltd. does make woodworking machinery in HO. They also have a wood workers workbench and woodworking hand tools. Other than those, I don't know of any other realistic woodworking castings.
Thanks for your reply. Those dimensions will give me an idea of how much I might need to increase my structure footprint. Once I have my machinery built I can begin to lay things out to gauge what looks good to me just as you did. It looks like your main building square footage increased from 2193 sq ft to 2805 sq ft or about 28%. That increase not only adds room between the equipment but more space for meaningful clutter. Looks Great!
Is the SS Ltd machinery decent I did see it on their web site? ...Carl........
Yes, SS Ltd. machinery is very good. I've used the woodworking machines in a build I did many years ago of the SS Ltd. Jennings Lumber Co. I like just about all of their castings and use them quite often. The band saw, Wheel Lathe, and the drill press in my current Machine Shop are SS Ltd. castings. You can see them in the photos.
You can usually find some of them on ebay for less than direct order.