Howdy, Stranger!
It looks like you're new here. If you want to get involved, click one of these buttons!
Categories
- 954 All Categories
- 3 Picture Posting and Resizing
- 60 New Member Introductions
- 100 Off-Topic Forum
- 2 Photography
- 2 Resources
- 18 New Product Information
- 164 The SierraWest Forum
- 11 Brett's Blog
- 120 General News & Ramblings
- 3 Re-Release Information
- 1 Q & A about SierraWest
- 9 What Would You Like to See?
- 405 Builds
- 145 HO Scale Builds
- 185 O Scale Builds
- 58 Finished SW Build Pics
- 11 Miscellaneous Builds
- 185 Techniques
- 19 Working with Wood
- 23 Painting Castings
- 4 Masonry
- 16 Scenery
- 37 Tools and Supplies
- 22 Layout Planning & Building
- 38 Miscellaneous
- 19 Prototype Information
- 18 Reference and Research
Peeling paint corrugated panels
Here are a couple of options I have used to create peeling paint on roof panels. I included the products used for reference.
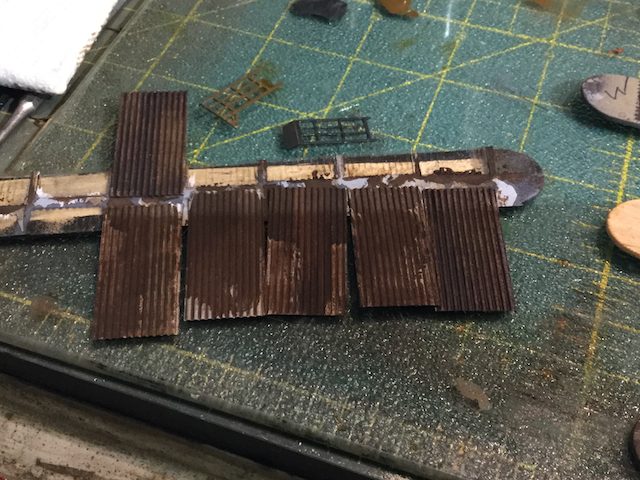
I started by spray painting the panels and then giving a coat of rust to taste. Doesn't have to look pretty at this point just get it to a point where you like it. Photo 1.
I'm using 4 different methods so I can see which I like best.
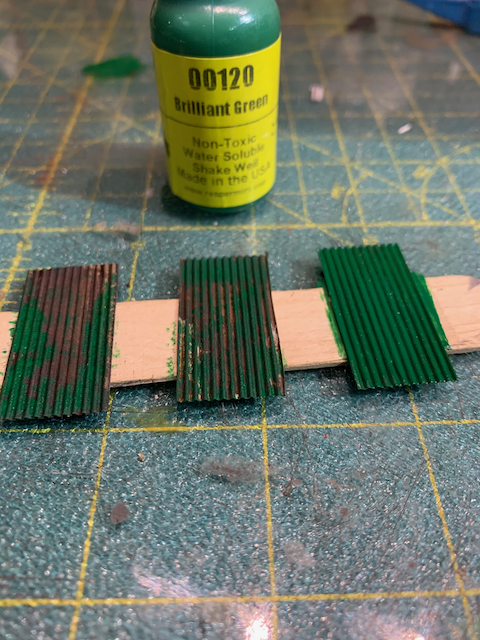
First is to stiple green paint on using a brush. Photo 2.
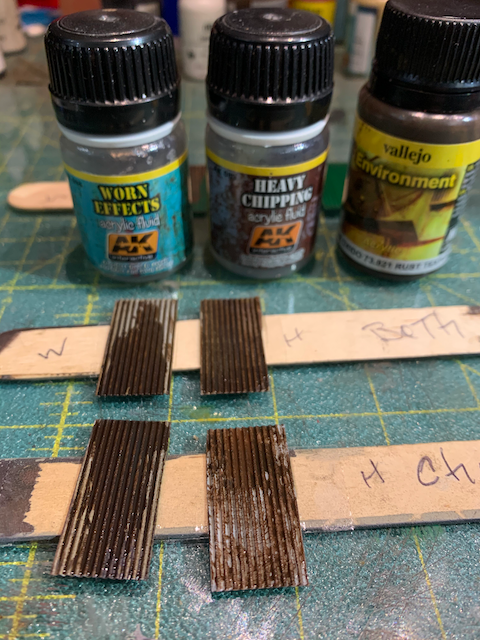
Second is using a base coat of chipping fluid. Photo 3. 2 different kinds used.
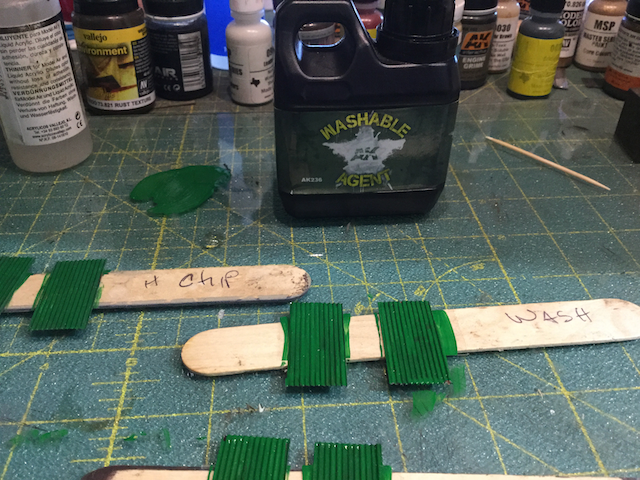
Third is using a fading paint additive. Photo 4.


Comments
Photo 1 is using the chipping fluid only. Panel on left using "Weathering effect" and right is "Heavy chipping".
Photo 2 used chipping fluid and washable agent.
Photo 3 used washable agent only. I like this one the least so far as it did not peel the way I like.
Photo 4 I let the chipped panels dry then washed with enamel rust. Left is "Rust streaks" and right is "Track Wash".
Once everything had dried, this was the end result:
Photo 1: Paint over rust
Photo 2: Chipping fluid
Photo 3: Washable agent
Photo 4: chipping fluid and washable agent.
Paint over rust did just fine. My favorite used chipping fluid.
Great tutorial. Thanks for sharing your step by step approach and project materials.
Later, Dave S. Tucson, AZ
Dave, I think there is a variety of products that could be used as substitutes if you like. For example, I think chalks could be used in place of the enamels...the goal is to tone down and blend in the paint color on the panel. I've done green and cream and like them both. Also, I took a lot more paint off of these panels than the ones on my Truck repair shop. This is a flexible technique. You can wet, scrub a little then spray it off and see if you like it. Take off more if you like...etc. In short, take off a little at a time and stop when you like it.
Kevin, I do not bake mine. I use auto primer that stick pretty well. I give a coat of primer and let it dry then look at it in bright light. If I see shiny spots I coat it again. Usually do a light shade for the top and a darker shade for the bottom. Do the bottom first.