Howdy, Stranger!
It looks like you're new here. If you want to get involved, click one of these buttons!
Categories
- 954 All Categories
- 3 Picture Posting and Resizing
- 60 New Member Introductions
- 100 Off-Topic Forum
- 2 Photography
- 2 Resources
- 18 New Product Information
- 164 The SierraWest Forum
- 11 Brett's Blog
- 120 General News & Ramblings
- 3 Re-Release Information
- 1 Q & A about SierraWest
- 9 What Would You Like to See?
- 405 Builds
- 145 HO Scale Builds
- 185 O Scale Builds
- 58 Finished SW Build Pics
- 11 Miscellaneous Builds
- 185 Techniques
- 19 Working with Wood
- 23 Painting Castings
- 4 Masonry
- 16 Scenery
- 37 Tools and Supplies
- 22 Layout Planning & Building
- 38 Miscellaneous
- 19 Prototype Information
- 18 Reference and Research
O-Scale Dolbeer
I thought I would post these photos for reference photos. As I've been working on this I've been referring to the manual as well as Roberts build. I thought some pre-weathered photos would be of help to someone maybe.
One thing to note. I had to drill an extra hole behind the cylinder because I didn't notice the hole in the cap when I was initially gluing everything together..
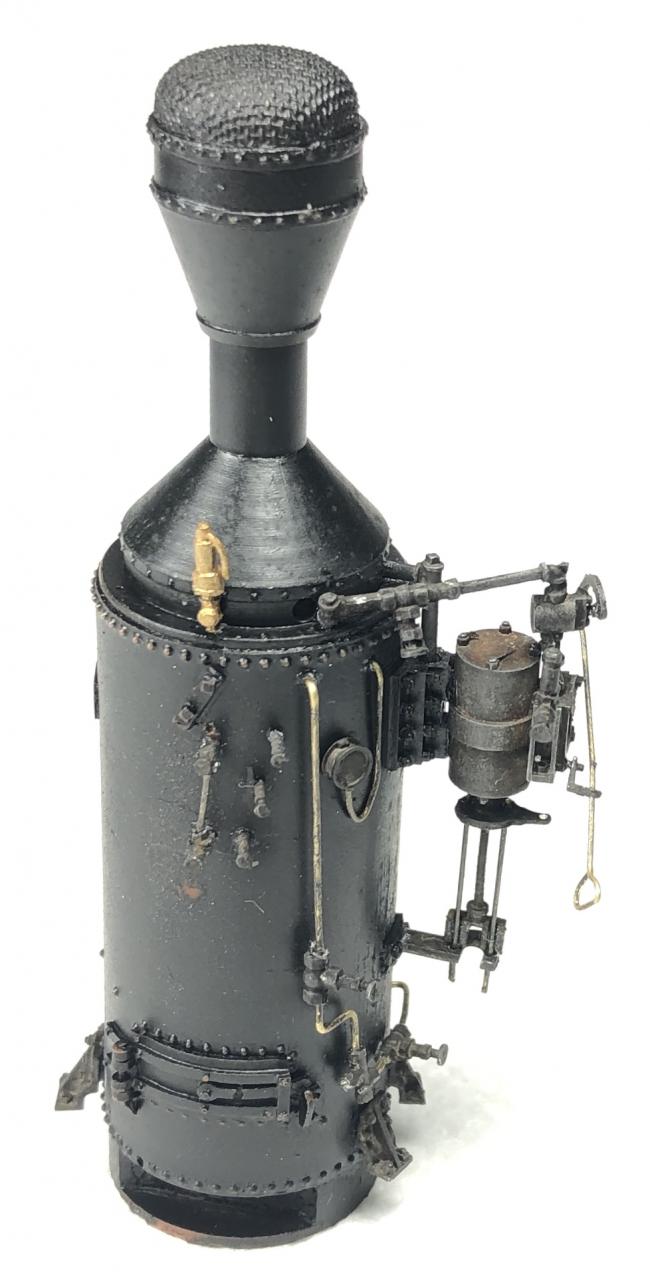
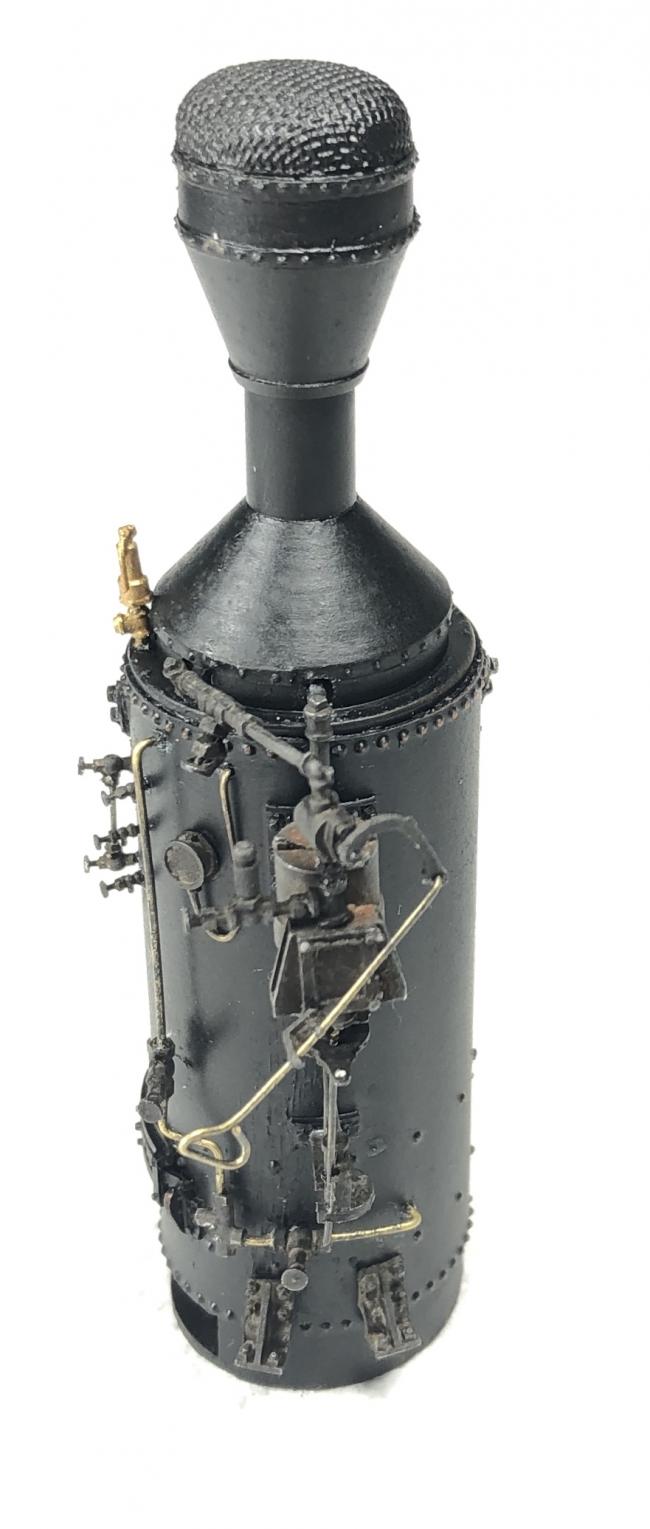
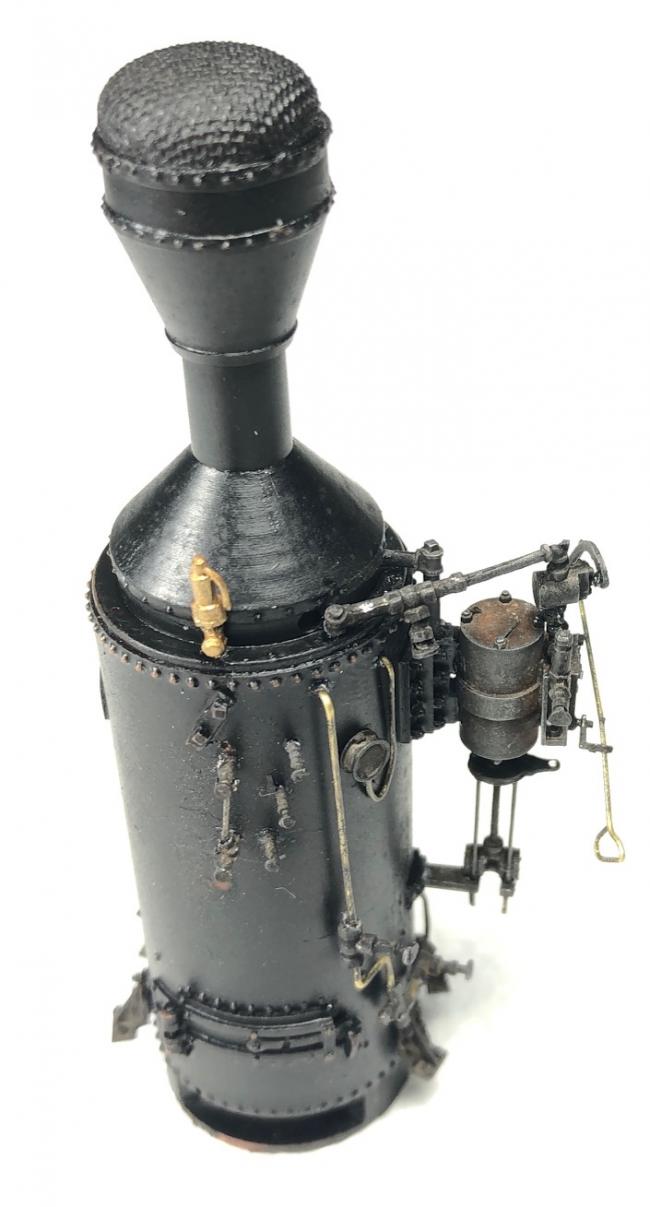
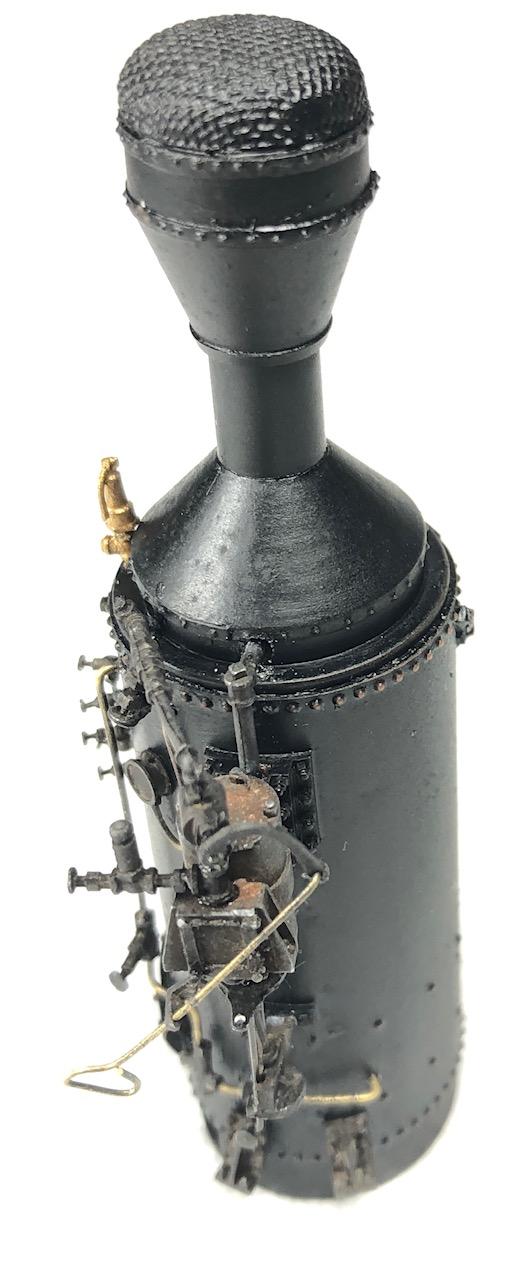
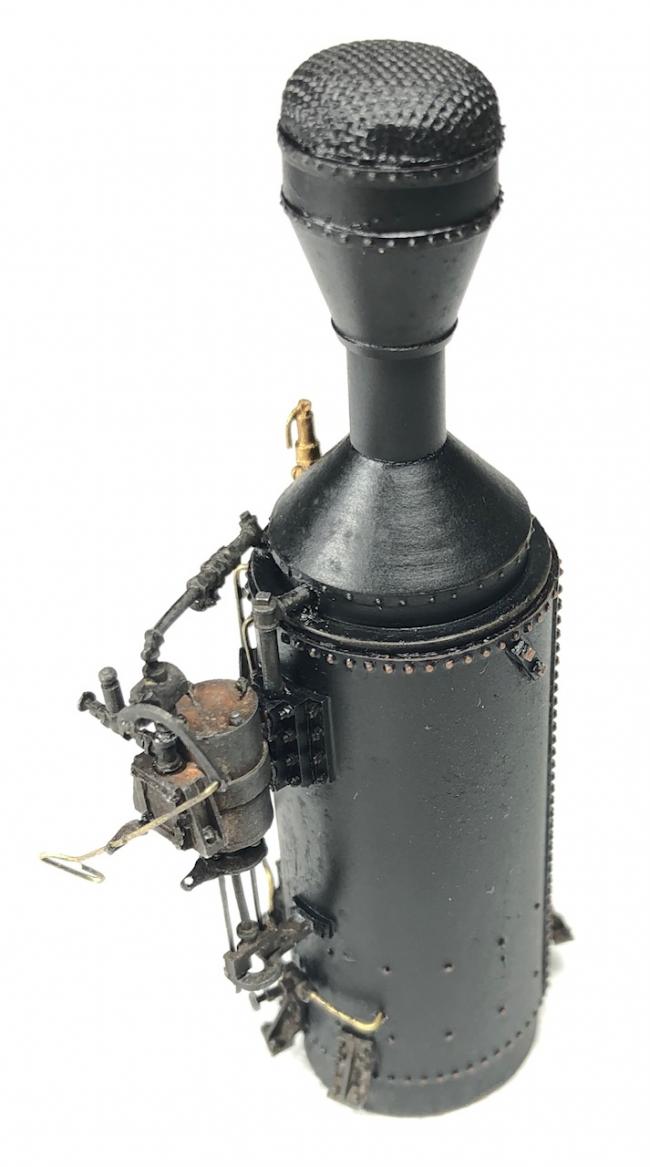
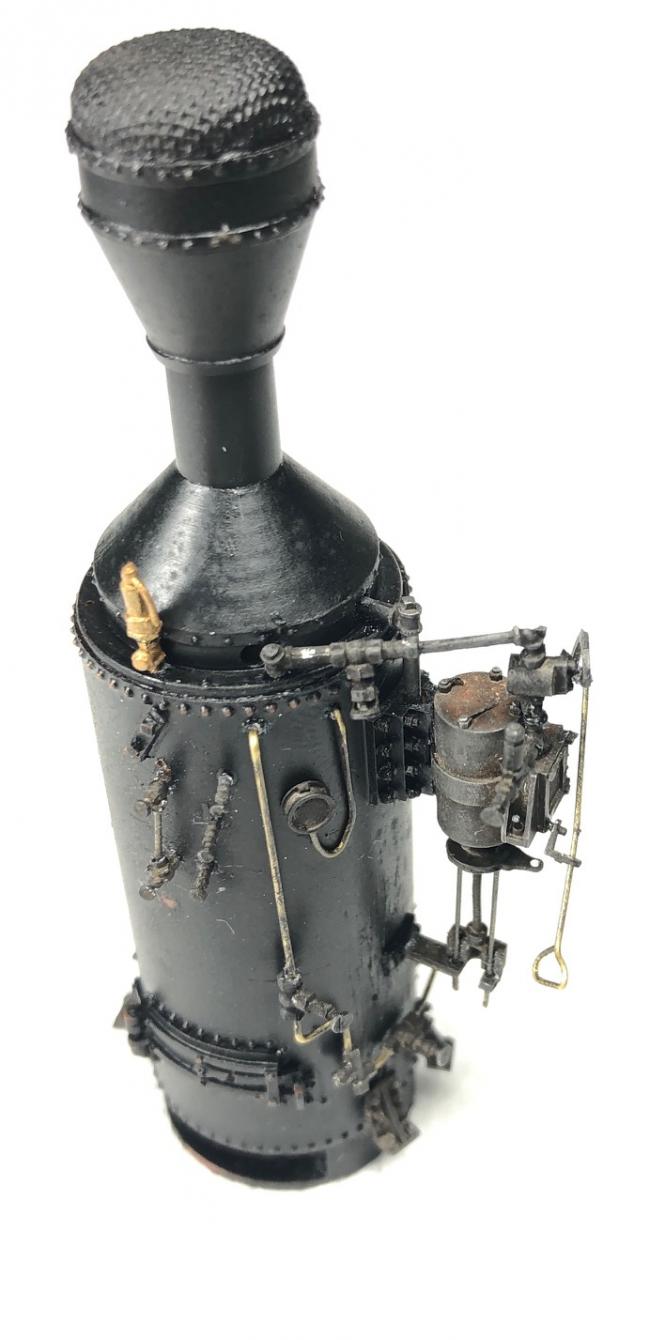
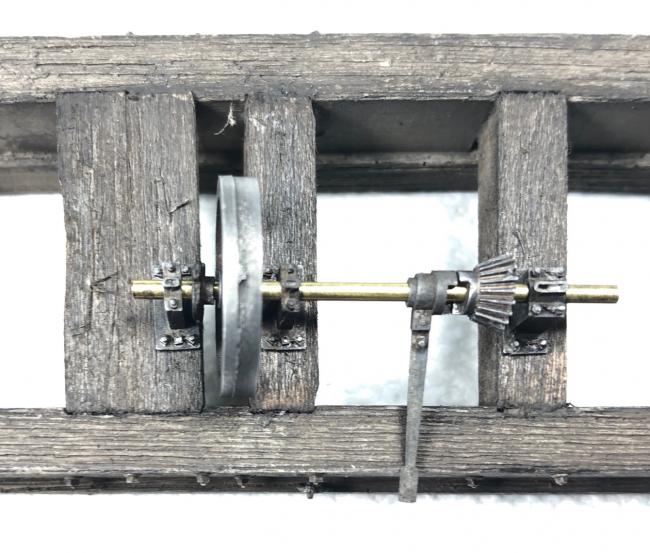
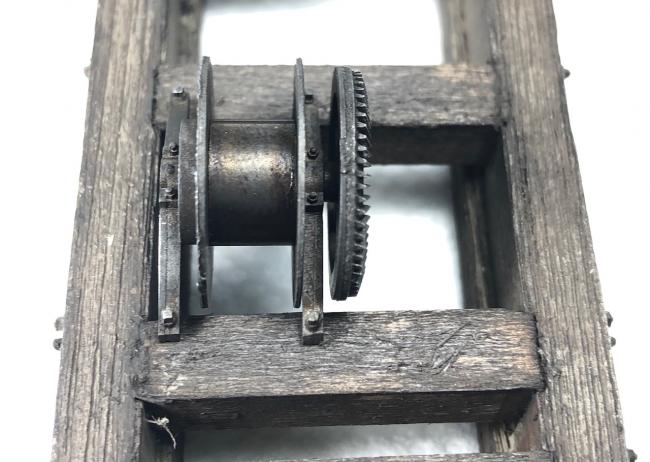
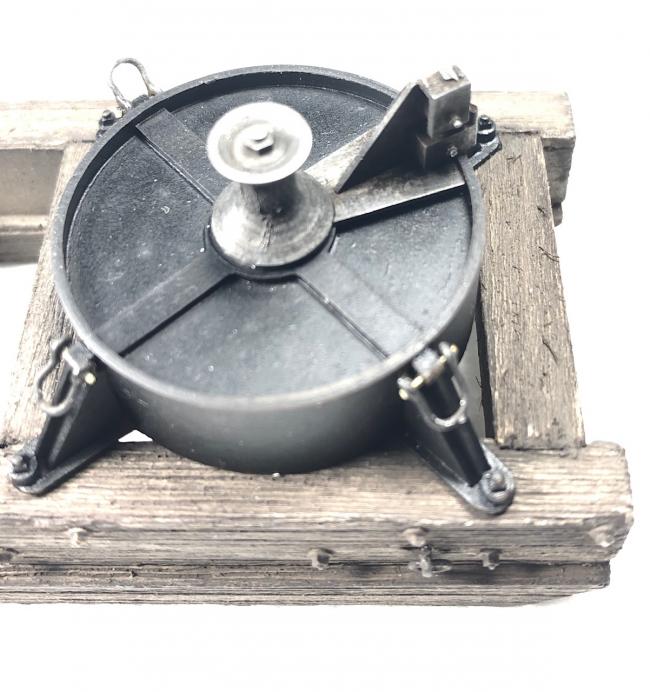
One thing to note. I had to drill an extra hole behind the cylinder because I didn't notice the hole in the cap when I was initially gluing everything together..


Comments
Mike S.
Tonight I tried my best to do a consecutive 360 degree photo's for reference purposes.
My HO Diorama took me 8 months or so.. Now that I'm a little more proficient with how to build these I'm a little bit quicker.
I thought I would share the below photo. this evening I put the log ties on. If your anything like me and are a very symmetrical person this may help you. Initially I thought I was doing something wrong because some photos have 3 ties while others have 4.. it took me a few moments to realize all of the photos are correct. One side has 3 while the other has 4 which is why 7 are included in the kit
Once i finish this one it will be displayed on my home office desk for a while until more of my wood cutter is finished.
Also, you could make a micro scene if you wanted (now you have a reason
The boiler and water tank are drying now. So the weathering will wait.
In the second photo you can see the line gear I mentioned previously. Later I'll take a direct overhead photo for reference.
The overall look of the Dolbeer , the wood, the metal, is very good I think. The rope is a nice addition .
I was to get over to hancock fabrics as they will have a thick boot thread or something similar.
Photos would be great!