Howdy, Stranger!
It looks like you're new here. If you want to get involved, click one of these buttons!
Categories
- 996 All Categories
- 3 Picture Posting and Resizing
- 58 New Member Introductions
- 120 Off-Topic Forum
- 4 Photography
- 2 Resources
- 18 New Product Information
- 170 The SierraWest Forum
- 10 Brett's Blog
- 121 General News & Ramblings
- 3 Re-Release Information
- 6 Q & A about SierraWest
- 9 What Would You Like to See?
- 408 Builds
- 145 HO Scale Builds
- 180 O Scale Builds
- 62 Finished SW Build Pics
- 15 Miscellaneous Builds
- 195 Techniques
- 19 Working with Wood
- 23 Painting Castings
- 5 Masonry
- 23 Scenery
- 37 Tools and Supplies
- 22 Layout Planning & Building
- 40 Miscellaneous
- 24 Prototype Information
- 22 Reference and Research
Another O'Neils
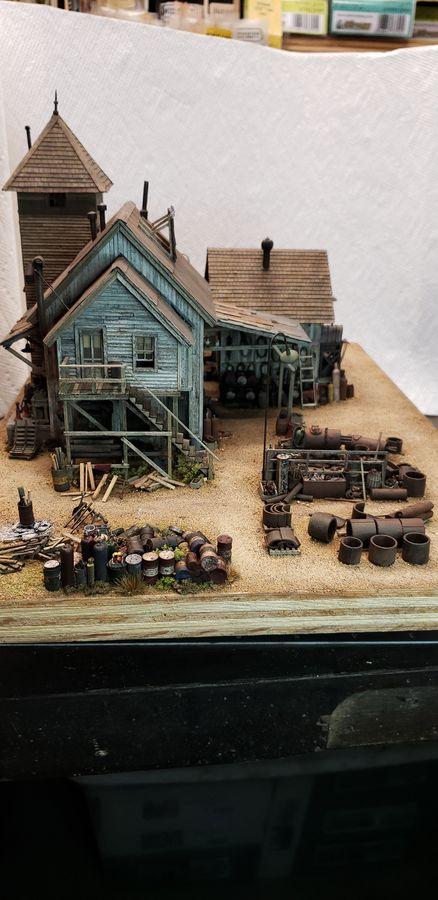
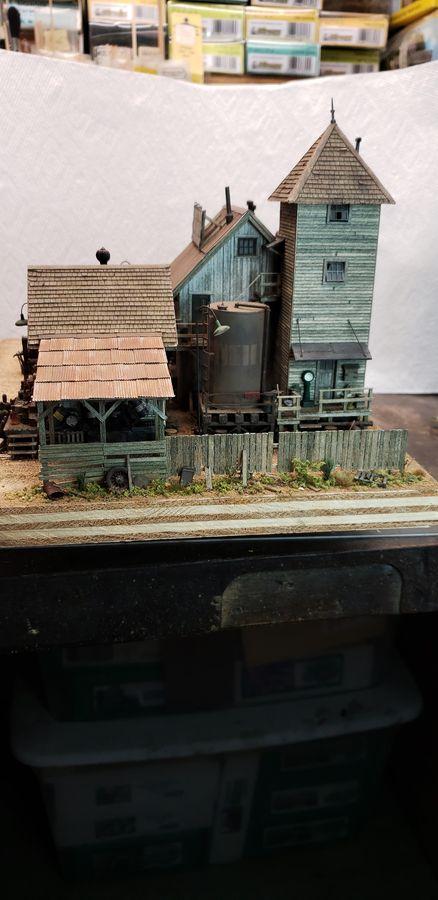
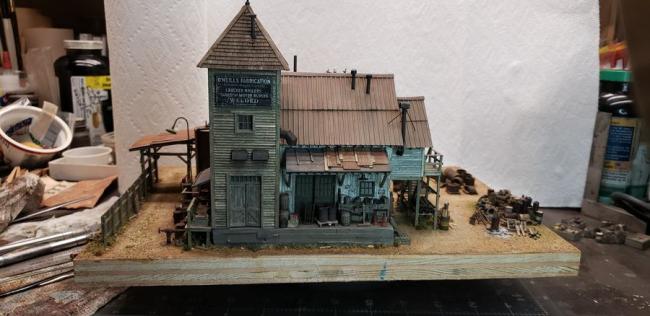
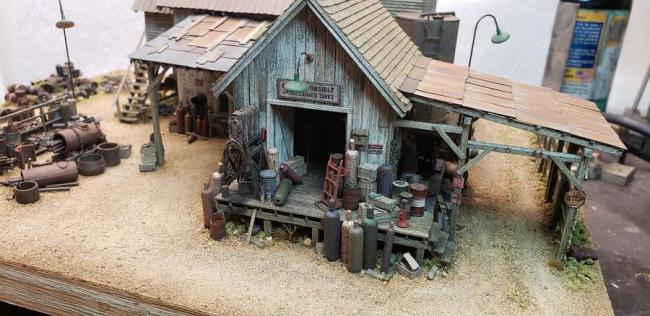
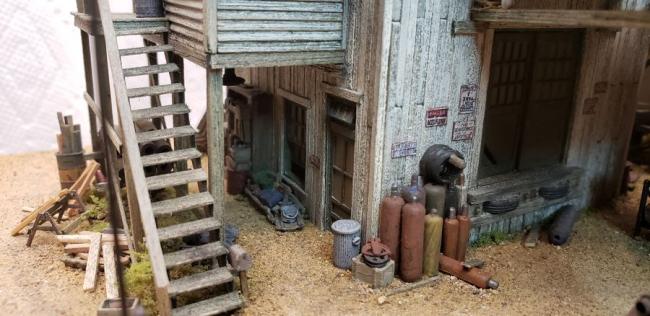
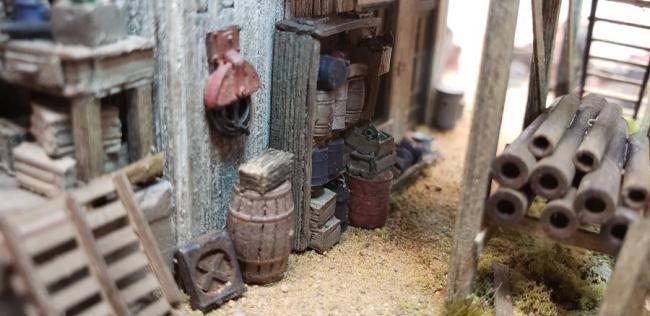
Since I finished the Foundry last spring, the build of which was posted on the forum, I decided to build O'Neil's before the Riverfront release. This will not be a build since there have been many great builds posted on the forum. I am showing my completed diorama. It's always great to follow previous builds for inspiration and ideas. I want to thank those previous builders for sharing their ideas. Here are the photos, I took at my workbench with my Samsung phone.
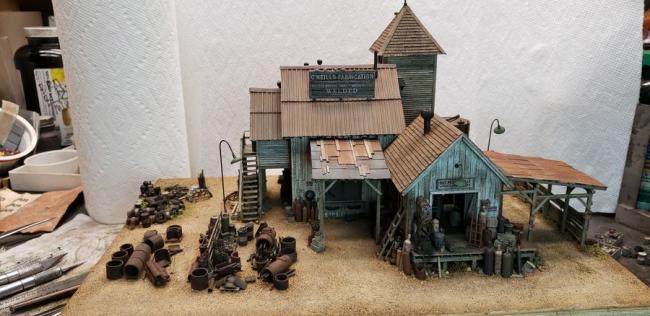
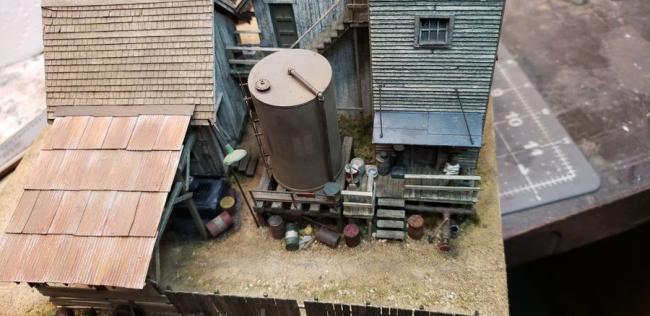
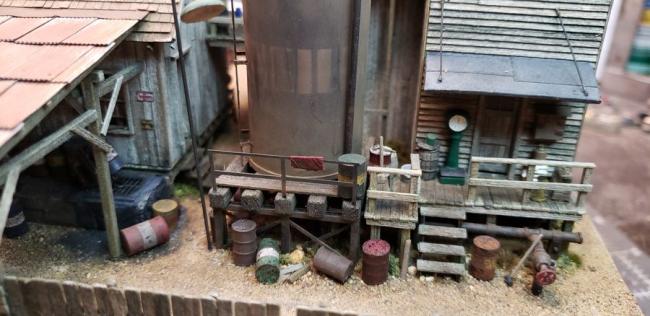
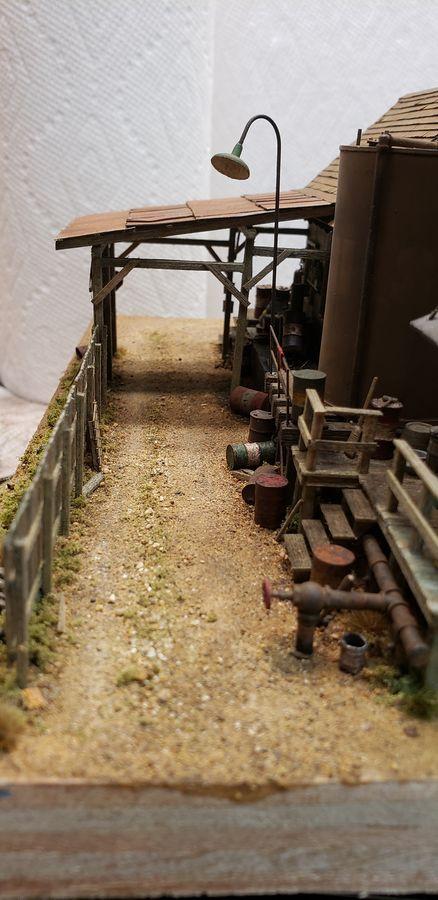
The piping that leads to the oil tank is too interesting to hide under the dock so I pulled it out in front of the dock. Had I planned better I would have shortened the pipe leading to the handle instead of making it the length indicated in the instructions.
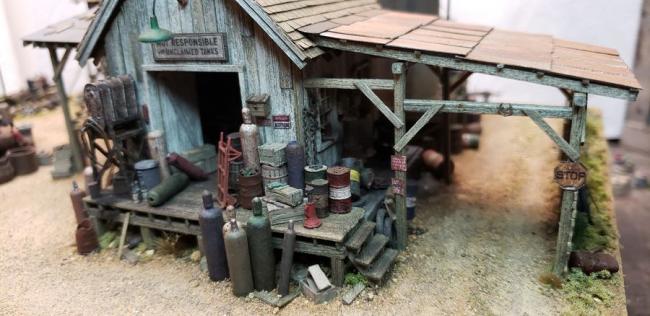
There were 2 horse shoes left over from my Foundry build, on the beam over the drive through, but one came off at some point.
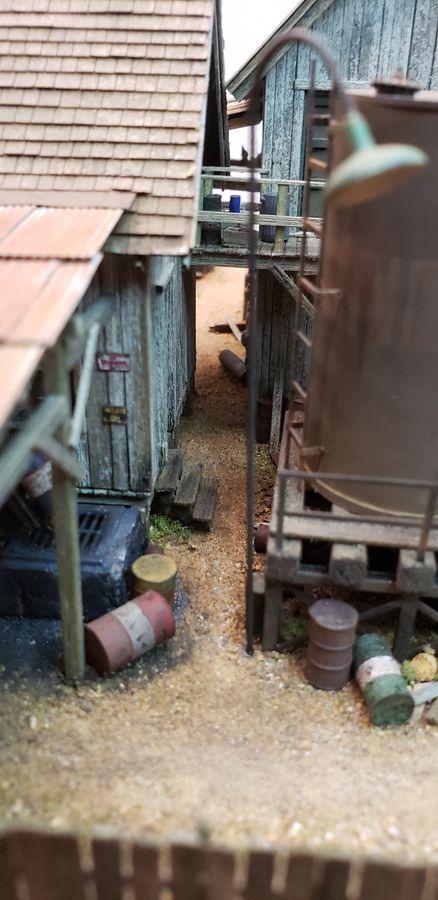
Notice the pigeon nest in the upper left.
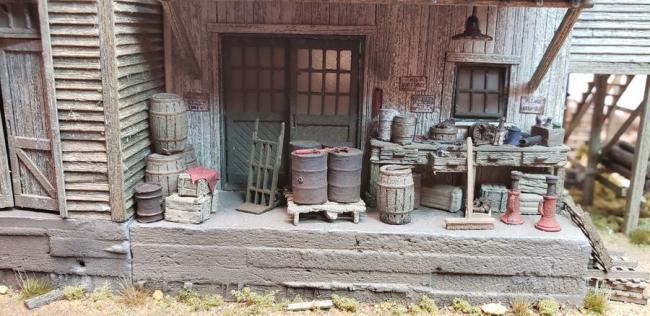
I did correct the crooked handle on the spout.
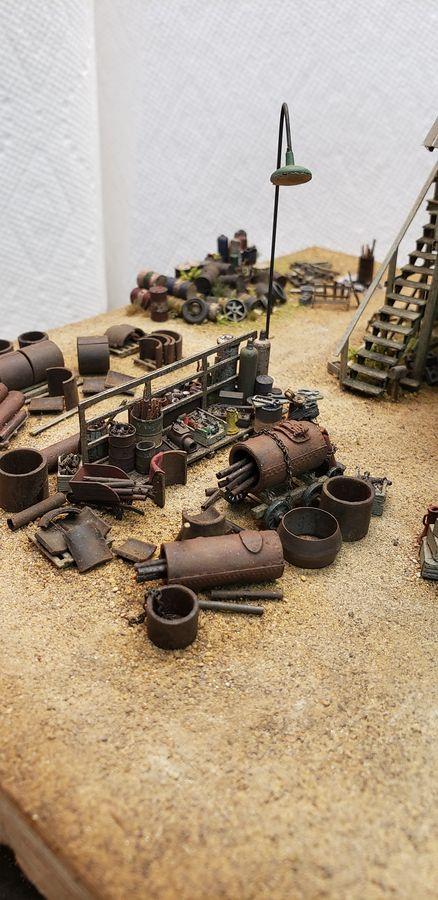
I borrowed an idea from the O scale version pictured on the SW website and put the boiler on a cart.
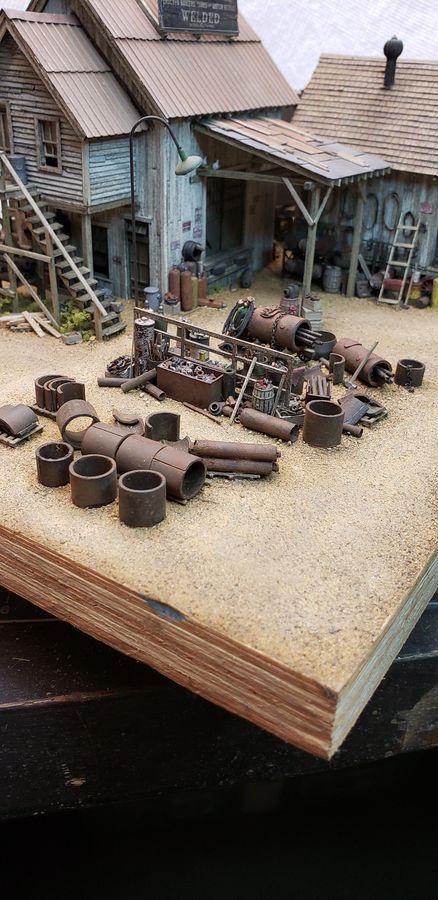
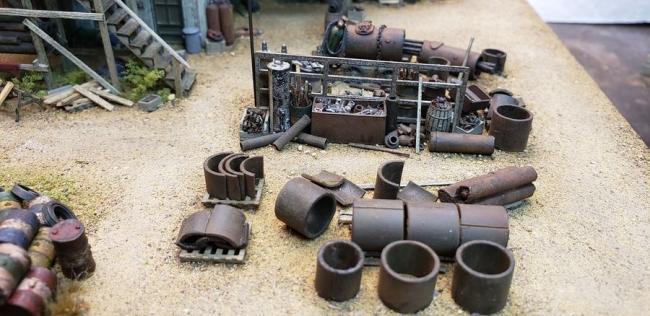
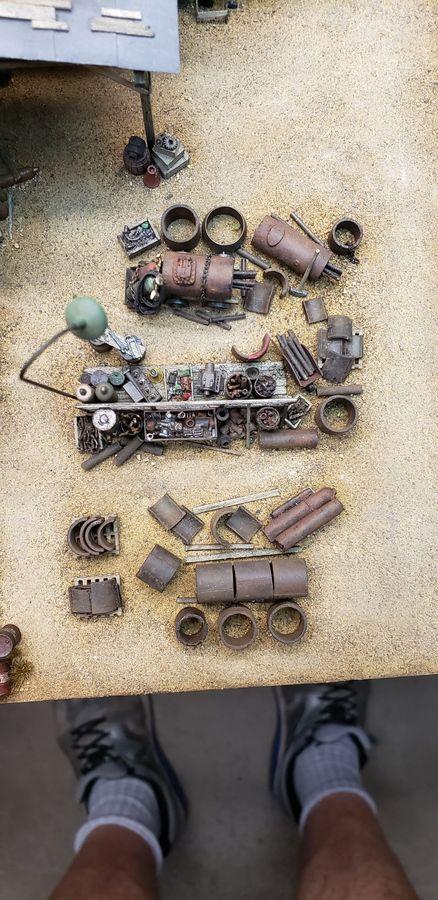
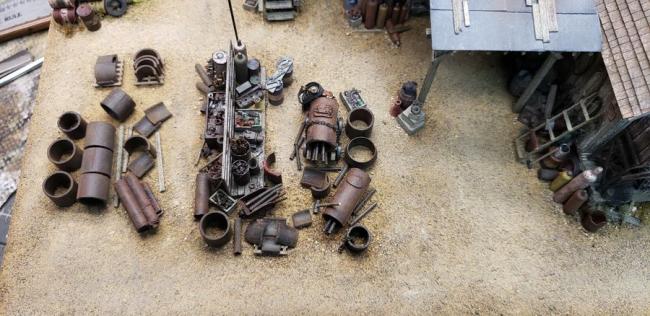
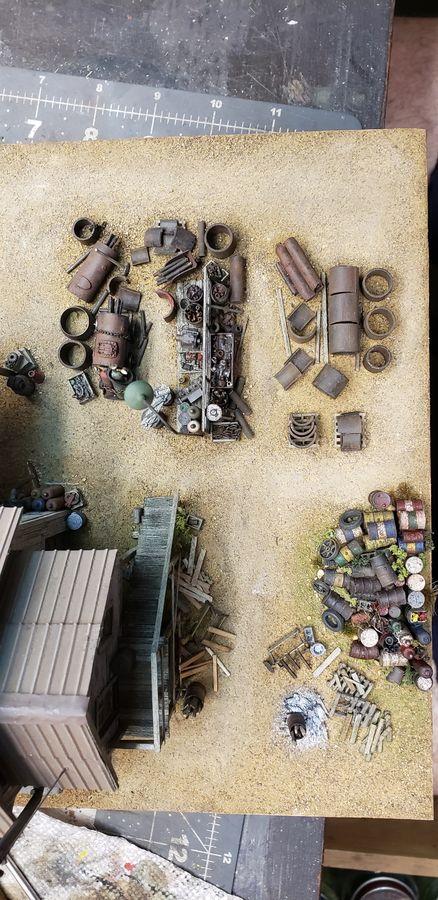
Overhead view of the boiler scrap area.
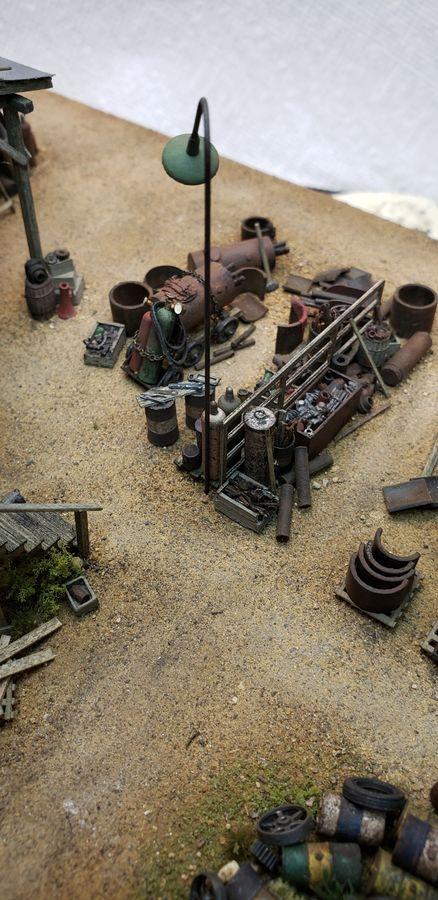
Here's the second welding cart.
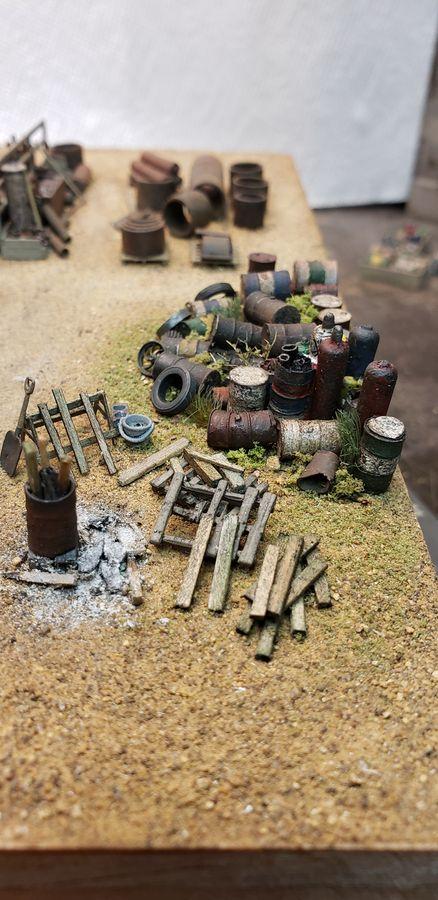
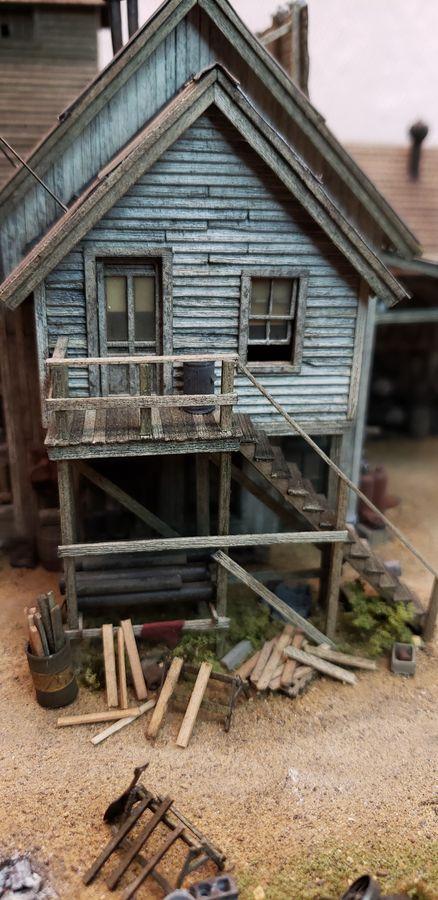
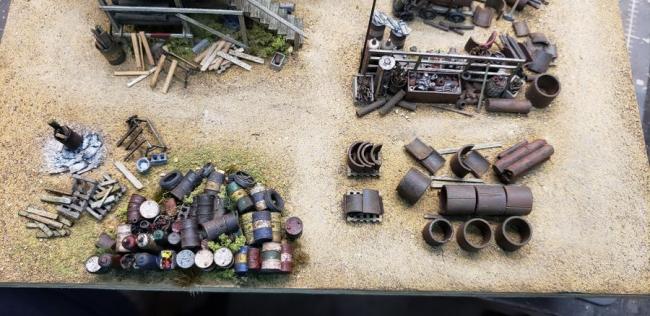
That's real wood ash.
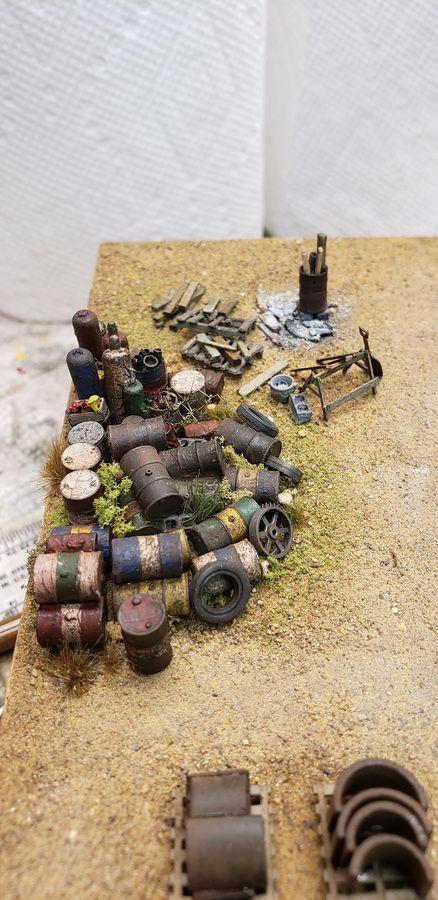
The burn barrel and the boiler scrap area are neat details. I would assume since this is a scrap yard for tanks and oil drums there would be some lying around. I decided to create an area where some of these items are "stored".
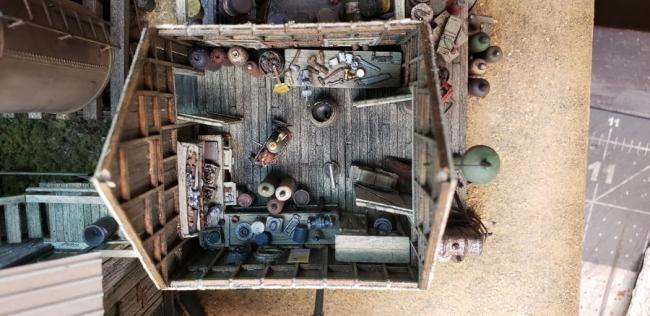
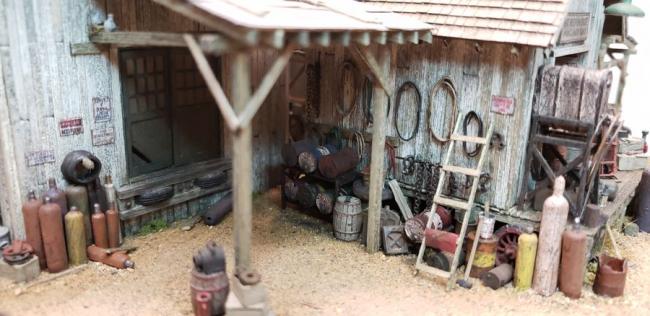
The interior of the welding shop it too detailed to hide so I made the roof removable.
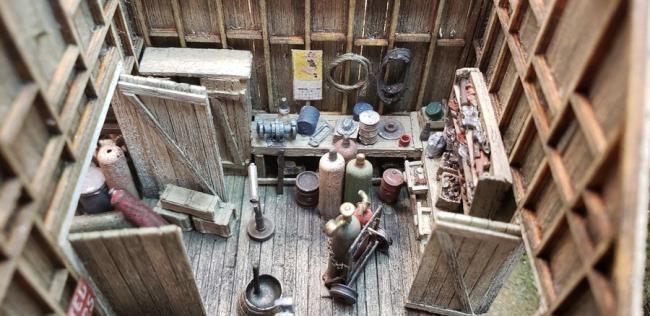
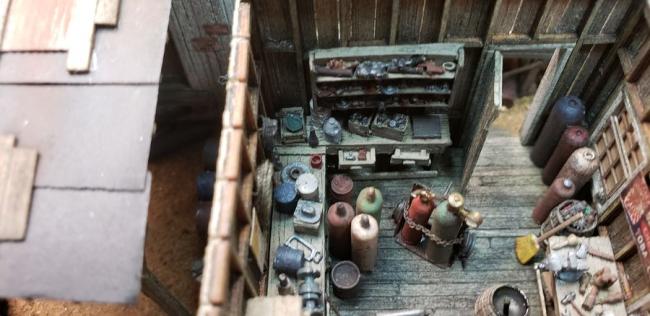
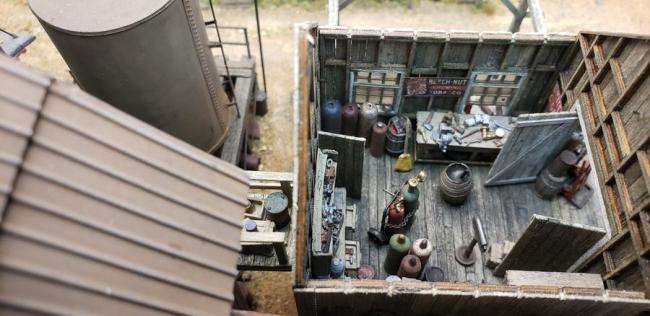
There are 2 welding carts cut with a laser included with this kit. I used one inside the welding shop and the other at the rear of the boiler. I used SS Ltd. welding tanks with gauges and their welding hose for these.
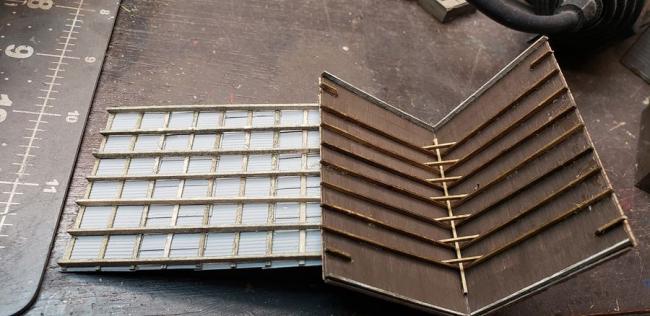
Putting collar ties on the peaked roof made it rigid. In hind sight I would have moved the collar ties lower on the roof to make it stiffer. The roof rafters set in the notches in the side walls and the ridge beam on the roof fits in the notches on the end walls. The tin roof overhang is attached to the peak roof. I used the flashing to help hold it and glue on each rafter to attach it to the peak roof. It is quite rigid.
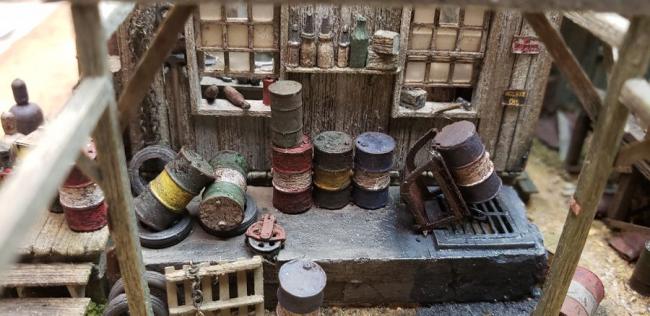
The oil dump with the roof removed. Too bad this is hidden by the drive through roof.
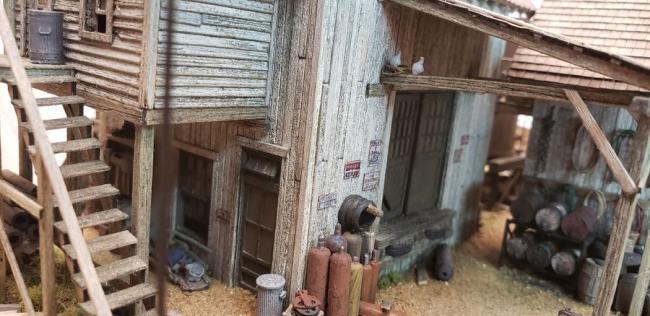
Here's a better shot of the pigeon nest.
It really was fun to build. Brett amazes me how he continually advances each kit with more interesting details. The laser cut details really add a lot to each kit. Having built the Foundry and now this kit I am really looking forward to the Riverfront!
I hope you enjoy my version of O'Neil's.


The piping that leads to the oil tank is too interesting to hide under the dock so I pulled it out in front of the dock. Had I planned better I would have shortened the pipe leading to the handle instead of making it the length indicated in the instructions.

There were 2 horse shoes left over from my Foundry build, on the beam over the drive through, but one came off at some point.

Notice the pigeon nest in the upper left.


I did correct the crooked handle on the spout.

I borrowed an idea from the O scale version pictured on the SW website and put the boiler on a cart.


Overhead view of the boiler scrap area.

Here's the second welding cart.

That's real wood ash.

The burn barrel and the boiler scrap area are neat details. I would assume since this is a scrap yard for tanks and oil drums there would be some lying around. I decided to create an area where some of these items are "stored".


The interior of the welding shop it too detailed to hide so I made the roof removable.


There are 2 welding carts cut with a laser included with this kit. I used one inside the welding shop and the other at the rear of the boiler. I used SS Ltd. welding tanks with gauges and their welding hose for these.

Putting collar ties on the peaked roof made it rigid. In hind sight I would have moved the collar ties lower on the roof to make it stiffer. The roof rafters set in the notches in the side walls and the ridge beam on the roof fits in the notches on the end walls. The tin roof overhang is attached to the peak roof. I used the flashing to help hold it and glue on each rafter to attach it to the peak roof. It is quite rigid.

The oil dump with the roof removed. Too bad this is hidden by the drive through roof.


Here's a better shot of the pigeon nest.
It really was fun to build. Brett amazes me how he continually advances each kit with more interesting details. The laser cut details really add a lot to each kit. Having built the Foundry and now this kit I am really looking forward to the Riverfront!
I hope you enjoy my version of O'Neil's.

Comments
Terry
Jerry
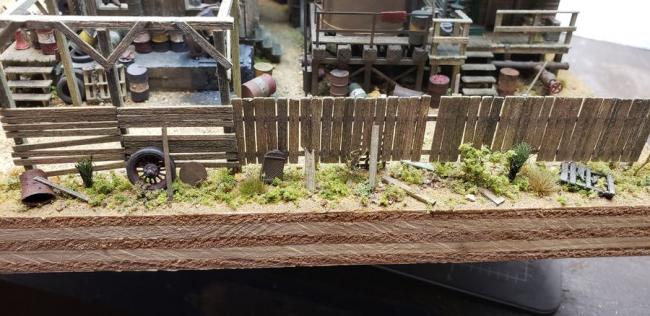
That fence is a nice addition to the diorama. It helps define the boundary and gives a reason for the trash pile being linear along the outside edge just like you thought it would.
Later, Dave S. Tucson, AZ
I am currently working on this kit and will post by the end of the year.
Keep up the great work!!
Chris (Pappy)