Howdy, Stranger!
It looks like you're new here. If you want to get involved, click one of these buttons!
Categories
- 997 All Categories
- 3 Picture Posting and Resizing
- 60 New Member Introductions
- 118 Off-Topic Forum
- 2 Photography
- 2 Resources
- 18 New Product Information
- 171 The SierraWest Forum
- 12 Brett's Blog
- 120 General News & Ramblings
- 3 Re-Release Information
- 6 Q & A about SierraWest
- 9 What Would You Like to See?
- 412 Builds
- 146 HO Scale Builds
- 183 O Scale Builds
- 62 Finished SW Build Pics
- 15 Miscellaneous Builds
- 194 Techniques
- 19 Working with Wood
- 23 Painting Castings
- 4 Masonry
- 23 Scenery
- 37 Tools and Supplies
- 22 Layout Planning & Building
- 40 Miscellaneous
- 21 Prototype Information
- 20 Reference and Research
Most Ambitious Build so far...The O Scale Sawmill..
OK, for those who thought I fell asleep, here's something to get focussed on again.
While still waiting for the Truck Repair, which is traveling around the globe apparently ( it's in India...of all places, for the moment ) I decided to start on a project that will fill my modeling time for the next year I presume. The O scale Sawmill Project.
After taking the boxes in and out of my cabinet about a thousand times, study the content, man there is no end to the amount of castings, loads of wood, enough templates to cover my wall and so on, I finally found enough courage to start this huge build.
While I am still studying the manual, the templates etc, I am trying to get myself a picture of this build, the actual Sawmill Building, I started of with the machinery that goes into this Sawmill. These are multiple projects on its own. INCREDIBLE castings of the machinery.
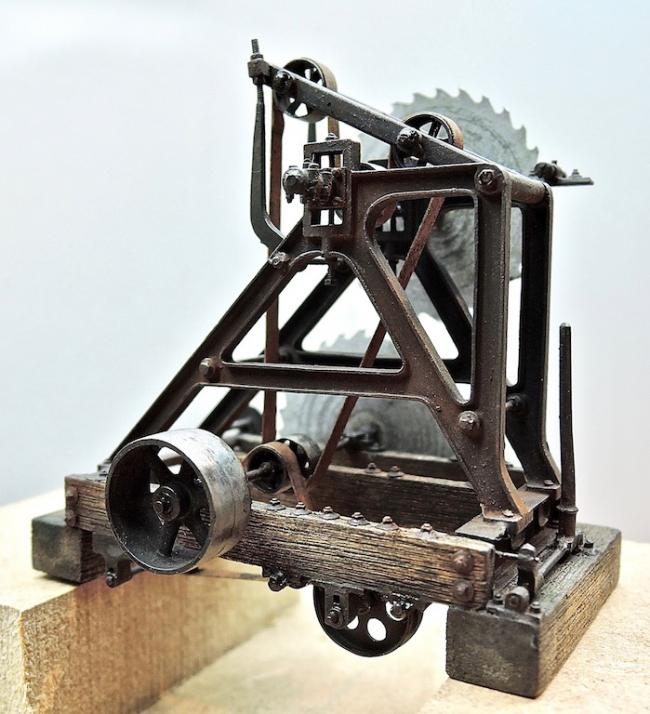
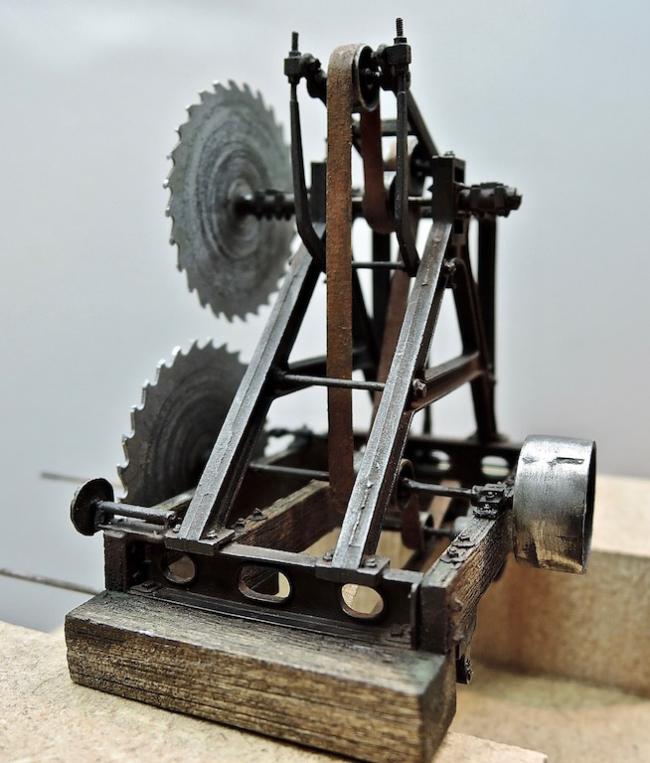
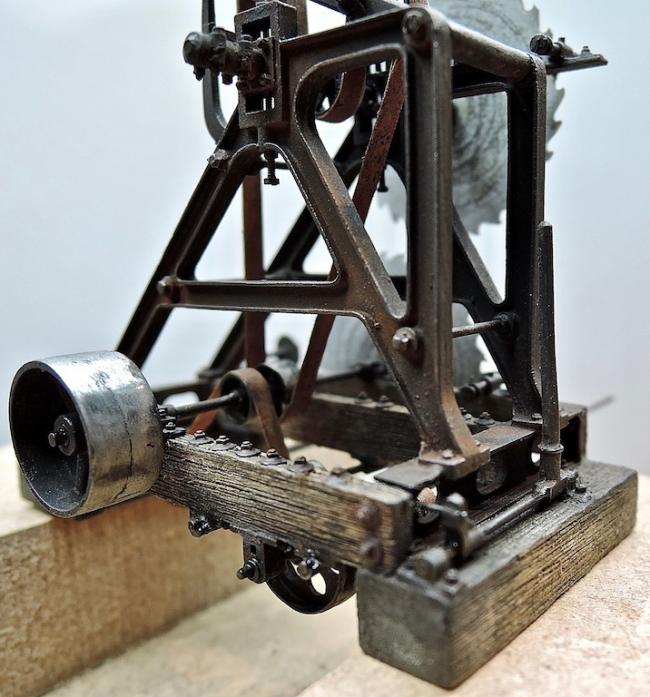
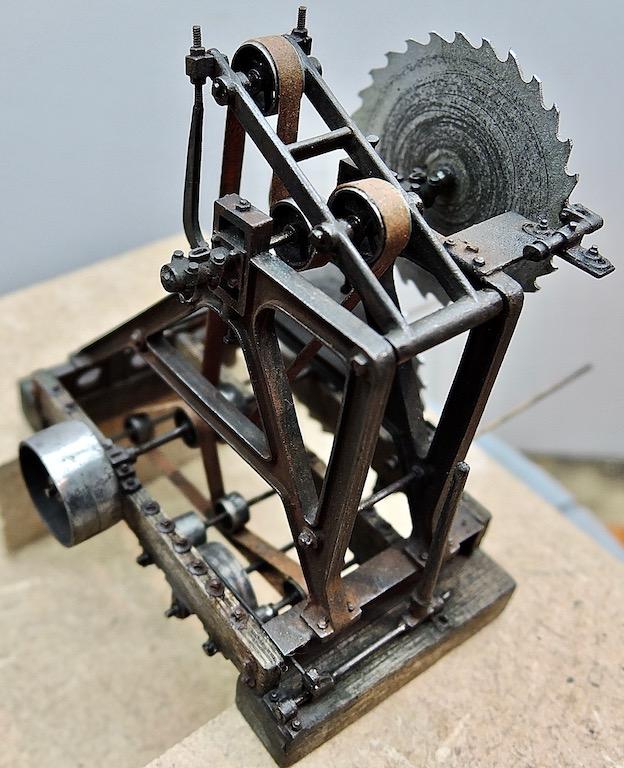
So, here is the first one, the Double Husk. Of course more weathering when everything will be put together.
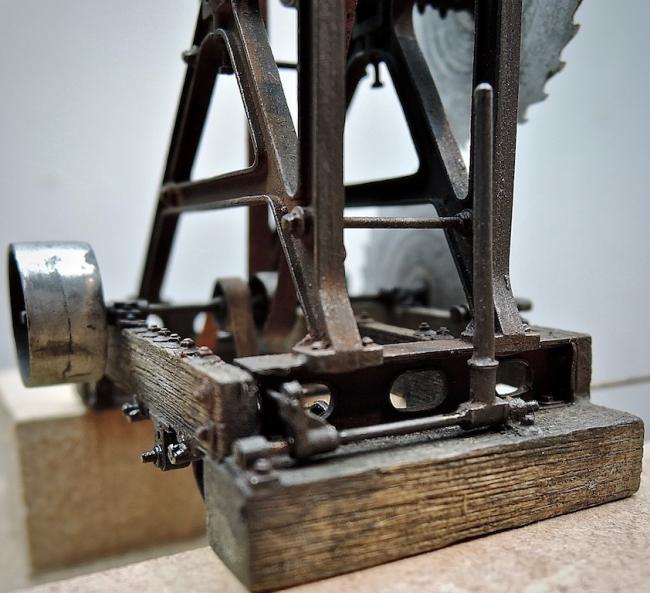
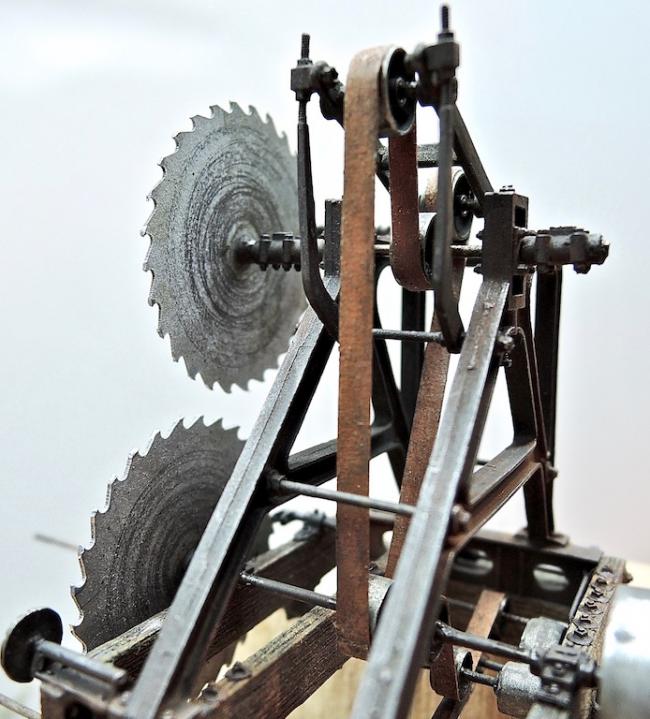
I think I will have to rely on you guys for answers to any additional build related questions that certainly will rise..
No way back now........
Robert
While still waiting for the Truck Repair, which is traveling around the globe apparently ( it's in India...of all places, for the moment ) I decided to start on a project that will fill my modeling time for the next year I presume. The O scale Sawmill Project.
After taking the boxes in and out of my cabinet about a thousand times, study the content, man there is no end to the amount of castings, loads of wood, enough templates to cover my wall and so on, I finally found enough courage to start this huge build.
While I am still studying the manual, the templates etc, I am trying to get myself a picture of this build, the actual Sawmill Building, I started of with the machinery that goes into this Sawmill. These are multiple projects on its own. INCREDIBLE castings of the machinery.
So, here is the first one, the Double Husk. Of course more weathering when everything will be put together.


I think I will have to rely on you guys for answers to any additional build related questions that certainly will rise..
No way back now........
Robert

Comments
Terry
Jerry
Frank
Great job! The coloring on the wood is really great!
Anyways here's the next installment . I could say each time how incredible the castings are, but I believe you got the point by now...:
and a closeup from the wood.
I make my own 'chalk paint' as a matter of speaking...
When this is dry, after a night or so, I can easily apply a second layer of chalk without diluting the first. The varnish has sealed that first layer. It's not that I cover the whole surface again, but I can put accents where I like them with a different color.
This proces takes more time because of the drying time of the varnish is much longer than the alcohol which evaporates immediately .
Then I start playing with diluted oils . Then, if I think it's necessary , some more accents with the chalk pencils and the artist's stump.
When all is completely dry and I am satisfied, I seal everything with a VERY thin layer of extra mat varnish. But that is really just a 'mist' of the stuff. A matter of consolidating everything so one can handle it without taking of the last layer of chalk.
Hope this helps a little.
And Kevin, when I look at your latest build, I don't have any doubts that you can't model like this....And for the tiny parts, I do have to use a head magnifier. I lost my Hawk's Eye a while ago...
Was the log in your photo above one you created yourself using our toothpick method to create the presence of former tree limbs (knots) or one you found outside?
(http://www.craftsmankituniversity.com/vanforum/uploads/imageupload/621/ZNQD7IA1PMB1.jpg)
As always, there are great photos to illustrate your progress.
Thanks, Later, Dave S Tucson, AZ
Thanks Steven, my pleasure .
Later, Dave S. Tucson, AZ
This is such a fantastic build and it's only the beginning...
to be continued....
Awesome work!
As always this looks amazing. Just like the real deal. Thanks for these detail photos.
Later, Dave S. Tucson, AZ
soon more..