Howdy, Stranger!
It looks like you're new here. If you want to get involved, click one of these buttons!
Categories
- 956 All Categories
- 3 Picture Posting and Resizing
- 60 New Member Introductions
- 101 Off-Topic Forum
- 2 Photography
- 2 Resources
- 18 New Product Information
- 165 The SierraWest Forum
- 12 Brett's Blog
- 120 General News & Ramblings
- 3 Re-Release Information
- 1 Q & A about SierraWest
- 9 What Would You Like to See?
- 405 Builds
- 145 HO Scale Builds
- 185 O Scale Builds
- 58 Finished SW Build Pics
- 11 Miscellaneous Builds
- 185 Techniques
- 19 Working with Wood
- 23 Painting Castings
- 4 Masonry
- 16 Scenery
- 37 Tools and Supplies
- 22 Layout Planning & Building
- 38 Miscellaneous
- 19 Prototype Information
- 18 Reference and Research
Another Mortons Foundry Build
I really like all the different buildings and materials in this kit, especially the stone walls. It also has some interesting castings and details. So I thought I'd tackle a build. I will attempt to show my progress as portions come together. I do encourage comments as I'm always looking to improve my techniques. I will photograph portions as I can and post them here. I am using my Samsung S9 phone to take pictures so they may not be the best quality photos.
A disclaimer, in no way do I attempt to live up to Ken's wonderful build, in fact I am using it for inspiration. I will be following the instructions and perhaps using some of my favorite techniques.

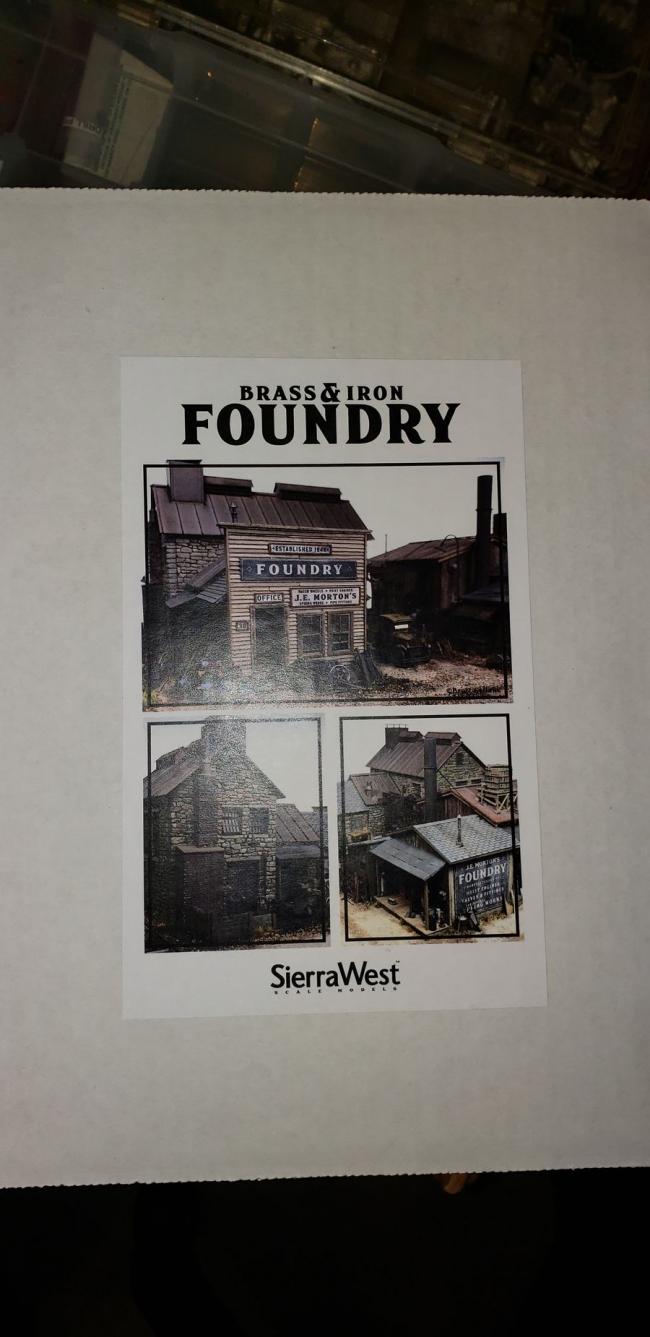
The obligatorily box photo. :-)

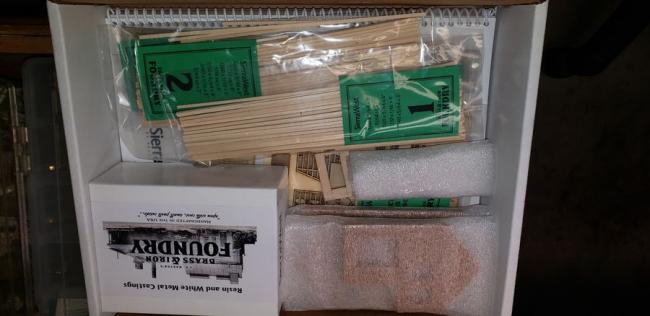
And the open box kit parts.
A disclaimer, in no way do I attempt to live up to Ken's wonderful build, in fact I am using it for inspiration. I will be following the instructions and perhaps using some of my favorite techniques.

The obligatorily box photo. :-)

And the open box kit parts.

Comments
Front Wall.
Left Wall. I left more color on this wall and it is not as heavily weathered because it is under an awning and my reasoning is that it would not receive as much weather as the other sides of the building.
Rear Wall.
Right Wall.
Bryan
Jerry
Joel, I did leave the area under the eaves with more color. Looking at the real world this is often seen on weathered buildings. The eaves are more protected from the elements.
I'm really looking forward to building this kit. There are so many interesting aspects to it and different components.
I have a question. I am at the point of working with the windows. I have removed them from the carrier as described in the instructions and primed them with the Khaki paint as described. Why can't the windows just be left in the carrier and painted there. It seems the only part that would not be painted is the edges, and in the case of windows won't show. Most of the doors the same would apply. Leaving them in the carrier would be less likely to damage them.
Terry
Like Robert I am on board and enjoying what I am seeing and Liking the weathered red barn walls a lot.
Ya think if we left this kit in water for a few days we could get it to swell up to O-Scale? (LOL)
Later, Dave S. Tucson, AZ
Karl.A
Mike
Great progress, love all the little details.
Joel
The clevises were a fun and easy extra little detail. Like I said the hardest part was corralling those little NBW's and keeping them from popping off my tweezers. It's something I will remember and use again.
Alan