Howdy, Stranger!
It looks like you're new here. If you want to get involved, click one of these buttons!
Categories
- 954 All Categories
- 3 Picture Posting and Resizing
- 60 New Member Introductions
- 100 Off-Topic Forum
- 2 Photography
- 2 Resources
- 18 New Product Information
- 164 The SierraWest Forum
- 11 Brett's Blog
- 120 General News & Ramblings
- 3 Re-Release Information
- 1 Q & A about SierraWest
- 9 What Would You Like to See?
- 405 Builds
- 145 HO Scale Builds
- 185 O Scale Builds
- 58 Finished SW Build Pics
- 11 Miscellaneous Builds
- 185 Techniques
- 19 Working with Wood
- 23 Painting Castings
- 4 Masonry
- 16 Scenery
- 37 Tools and Supplies
- 22 Layout Planning & Building
- 38 Miscellaneous
- 19 Prototype Information
- 18 Reference and Research
MY LOGGING CAMP ESSENTIALS
I have been working diligently lately on the Logging Camp Essentials kit to fill out my sawmill and logging camp area on my layout. Here are a bunch of progress photo's on the basic buildings that I have so far completed. I still have to add all the details to the structures and the location of the buildings will be different from the kit suggestion.
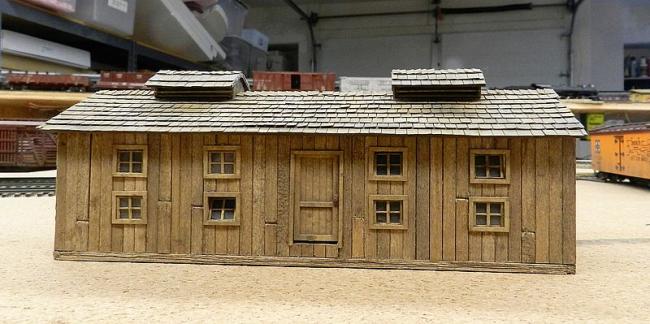
Bunk house
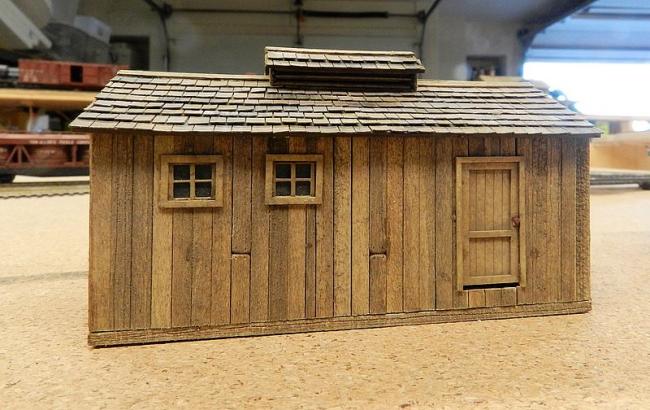
Shower and Latrine
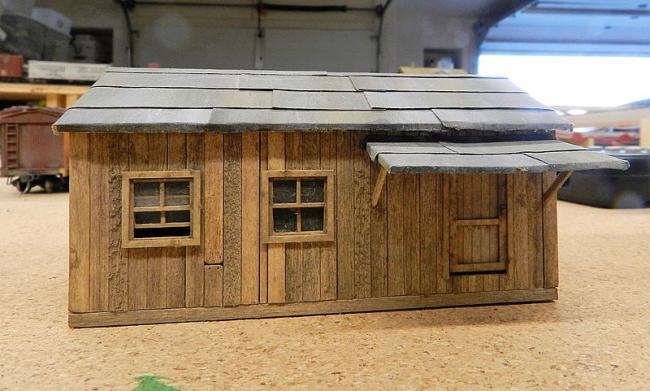
Cook House
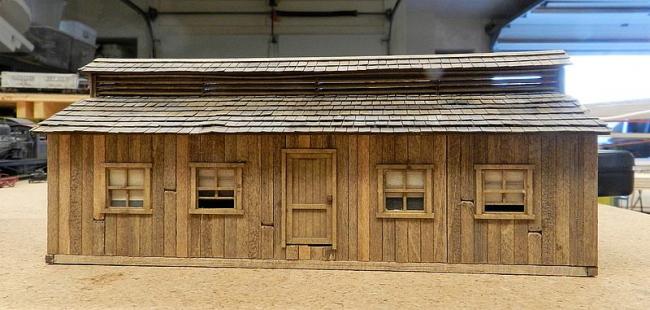
Another Bunk House
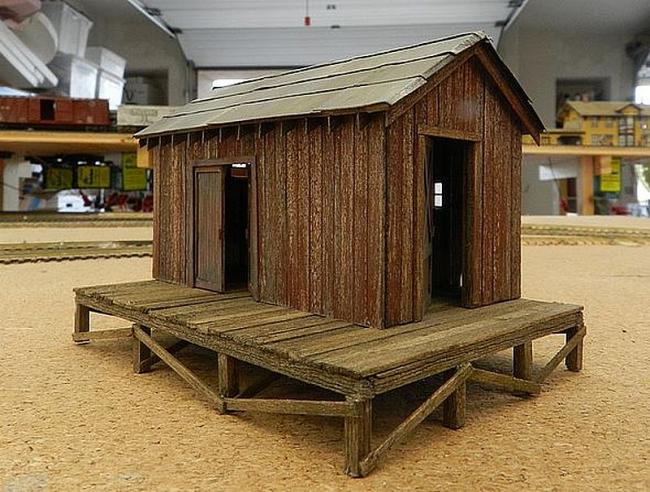
Tool Shed
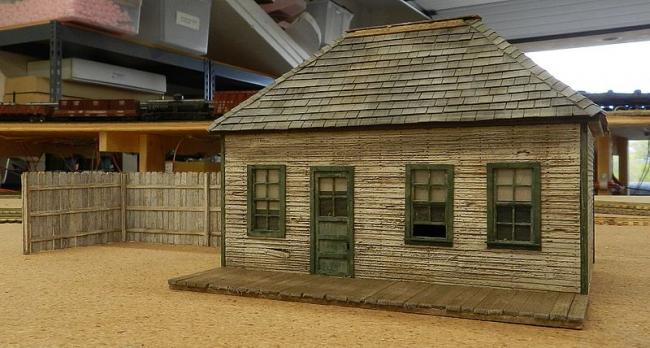
Fuel Depot
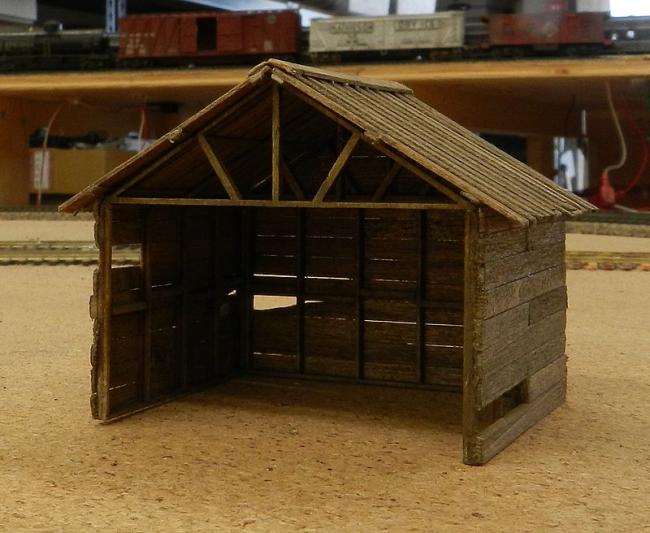
Rigging Shed
I am currently working on the Railroad Station included in the kit. I am not sure where I will locate it. I think that it is to large for my logging Camp.
Bunk house
Shower and Latrine
Cook House
Another Bunk House
Tool Shed
Fuel Depot
Rigging Shed
I am currently working on the Railroad Station included in the kit. I am not sure where I will locate it. I think that it is to large for my logging Camp.

Comments
Great looking set of structures for the logging camp on your layout. My personal favorites are the Tool Shed and Rigging Shed. Could you snap a few more photos of the facades of each of these two structures to share with us? What are the dimensions of the Rigging Shed? It looks very different from the Rigging Shed kit in O-Scale. I also really like the faded finish of the Tool Shed. Can you share what method you used to achieve this weathered look?
Thanks, Dave S. Tucson, AZ
Terry
I appreciate everybody's interest and comments.
The Rigging Shed is 15' x 12' deep in HO scale feet
Your buildings are definitely a taste of what is too come.
I personally cant wait for more if this is what you are starting out with and you call it 'basic' ?
Karl.A
Terry
Thanks for the dimensions of the Rigging Shed, the additional photos and the way you created the weathered wood on the Tool Shed.
Later, Dave S Tucson, AZ
So I brushed the individual strip wood pieces with a wire brush, applied an alcohol/India ink solution to the pieces of strip wood, I then damped brush the colonial yellow onto the strip wood pieces. It took up to 3 coats of paint to get the coverage I wanted. The paint had a slight sheen to it which I didn't like, so once the walls were built, I applied a coat of Model Master's acrylic matte finish.
Here are some photo's of my progress so far.
Terry
Karl.A
Glad you had some spare time to get everything posted here today. This little depot looks great. Really like all the additional photos. Thanks for taking the time to post these for us to enjoy and savor. Nice to see the walls come together and have the freight docks in place. I especially like your color selections and the slightly faded not to weather beaten look. Looking forward to seeing the roof in place followed by more of the overall scene development. Since a depot was often a hub for social activity LP and vehicles will really make the overall scene come alive.
Later, Dave S. Tucson, AZ
Mike
I prepared the sheets of shingles by first applying a wash of Polyscale roof brown. I then applied alternating stripes of Rembrandt pastels of 408.7 and 408.9 raw umber and alcohol. The pictures really do not give justice to how the shingles turned out. I was very pleased with the results.
and you say it looks better in person ? .... really nice job.
Looking forward to its 'integration'.
Karl.A